
A bathroom closet’s deeper shelves and higher storage present different organizational challenges than open shelving or under-sink cabinets, since items can genuinely disappear from view and reach in a way that’s less common on a fully visible open shelf.
Below are 15 ways to build a system that actually stays organized, with real costs and practical notes for each.
1. Start With a Total Reset
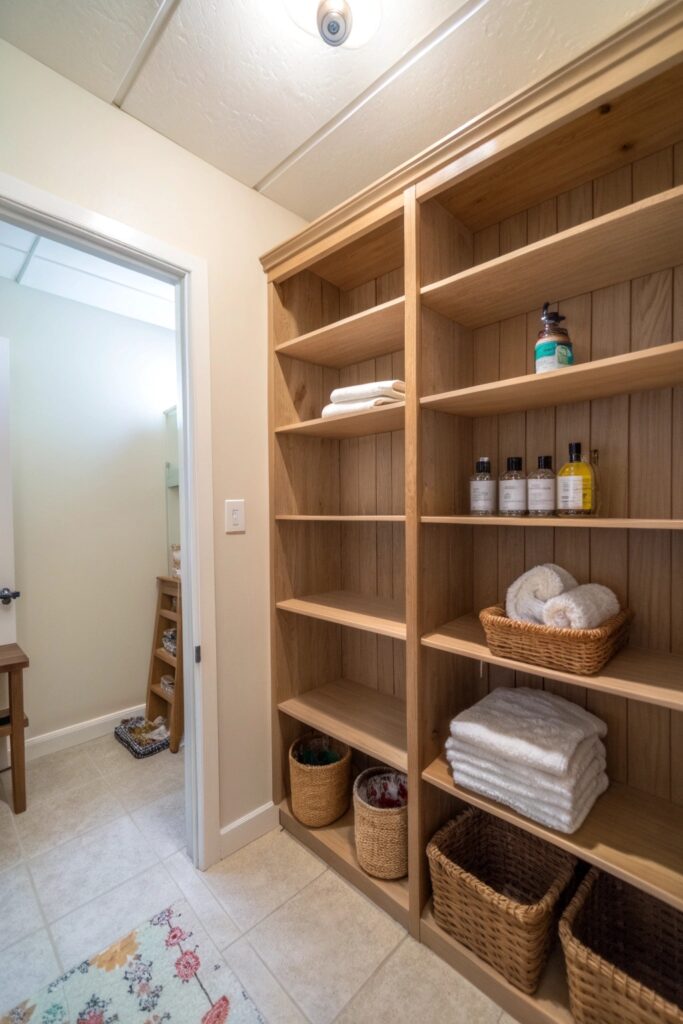
Emptying the entire closet and sorting contents on a nearby surface, rather than reorganizing in place, is the only way to genuinely see everything you’re working with and avoid simply shuffling clutter around.
Set aside genuine time for this step (an hour or more for a full closet) rather than rushing through it, since a hurried reset often just relocates clutter instead of actually addressing it.
2. Toss Anything Expired or Empty
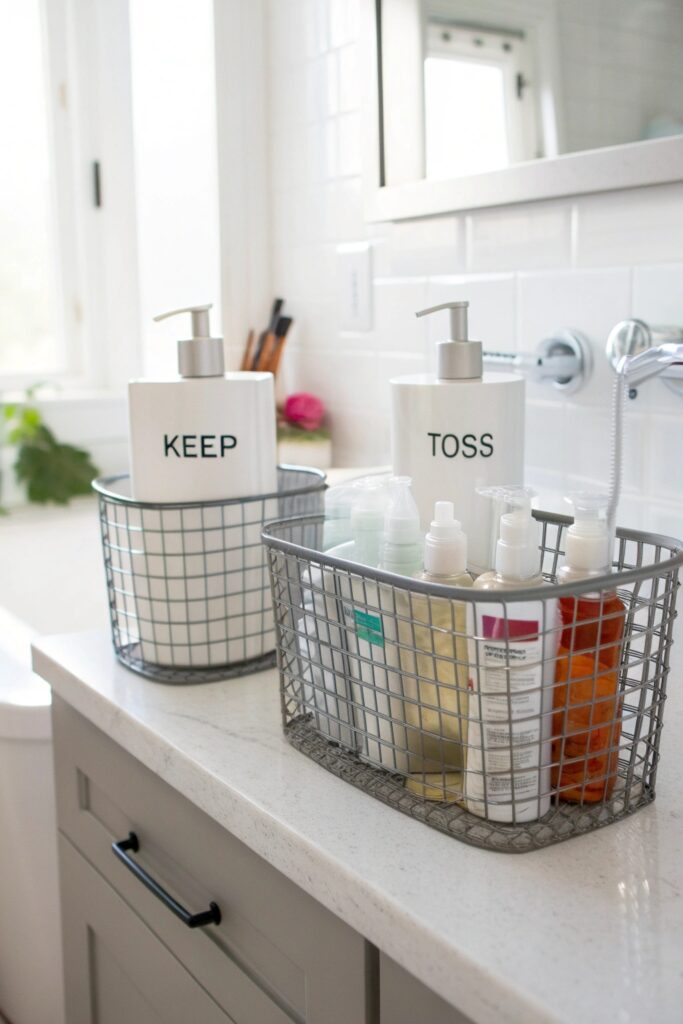
Checking expiration dates on medications and toiletries during the reset removes items that shouldn’t be kept regardless of how the rest of the closet gets organized, and this step alone often clears more space than expected.
Medications specifically are worth checking carefully, since expired ones can lose effectiveness well before the date most people assume, based on the packaging alone.
3. Use Clear Bins for Everything
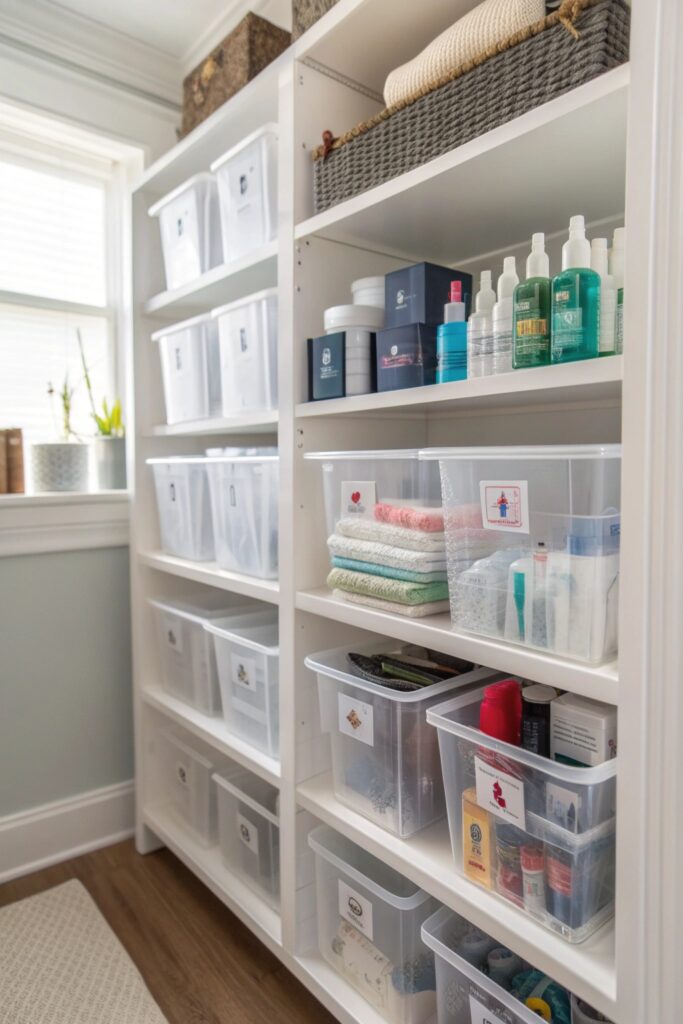
Clear containers ($10-25 each) let you identify contents at a glance without pulling every bin down from a shelf, which matters considerably in a closet where items are stored above eye level.
Choose bins sized specifically to your shelf depth, since an oversized bin that doesn’t fit flush wastes the exact vertical space you’re trying to gain back.
4. Install Adjustable Shelving
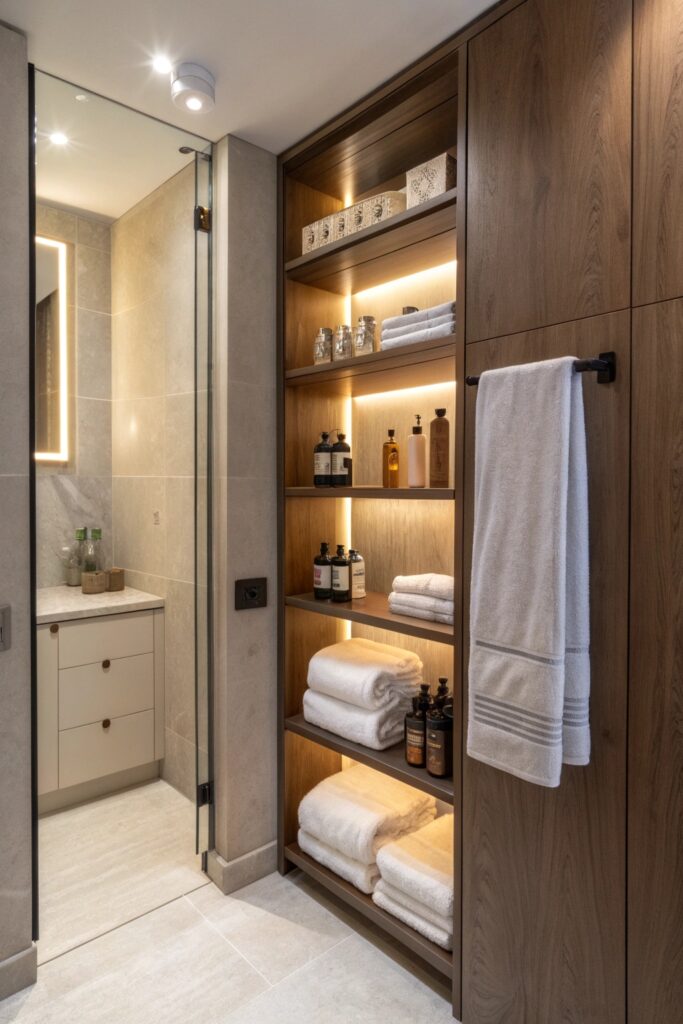
Shelving that can be repositioned ($30-80) adapts to genuinely changing storage needs over time, unlike fixed shelves that lock the closet into one configuration regardless of what you’re actually storing.
Look for shelving with holes at frequent intervals, which allows finer height adjustments than systems with only a few fixed positions.
5. Add a Door-Mounted Organizer
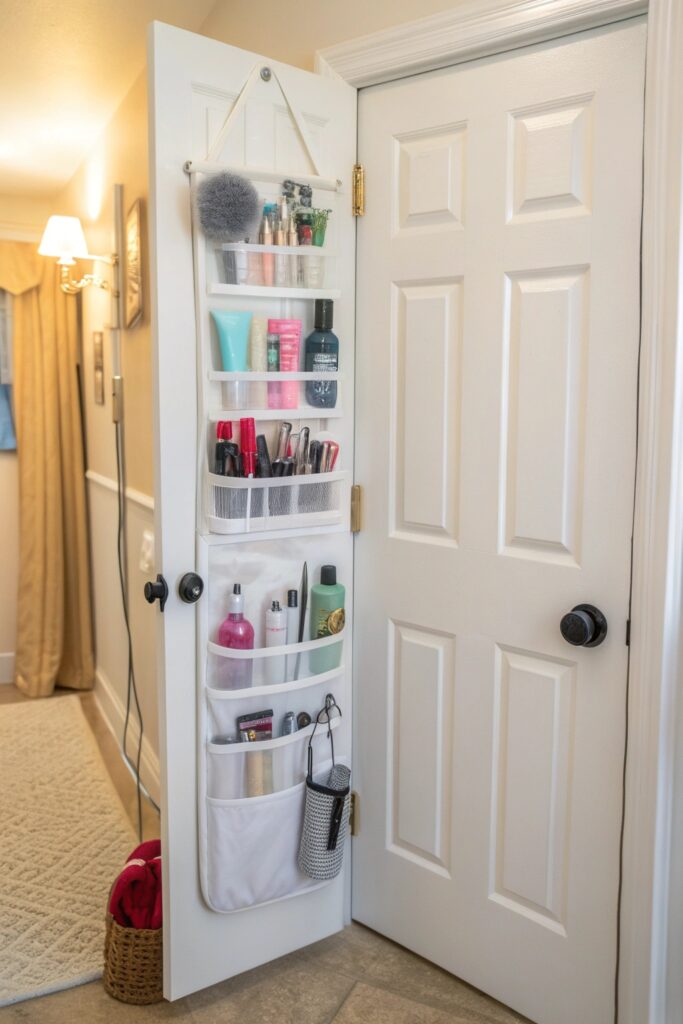
An over-the-door rack or pocket organizer ($15-35) uses space that’s otherwise completely unused, working well for smaller items that don’t need dedicated shelf space.
Choose an organizer with reinforced stitching or a sturdy frame if it will hold anything with real weight, since lower-quality door organizers can sag or tear over time.
6. Try Stackable Drawer Organizers
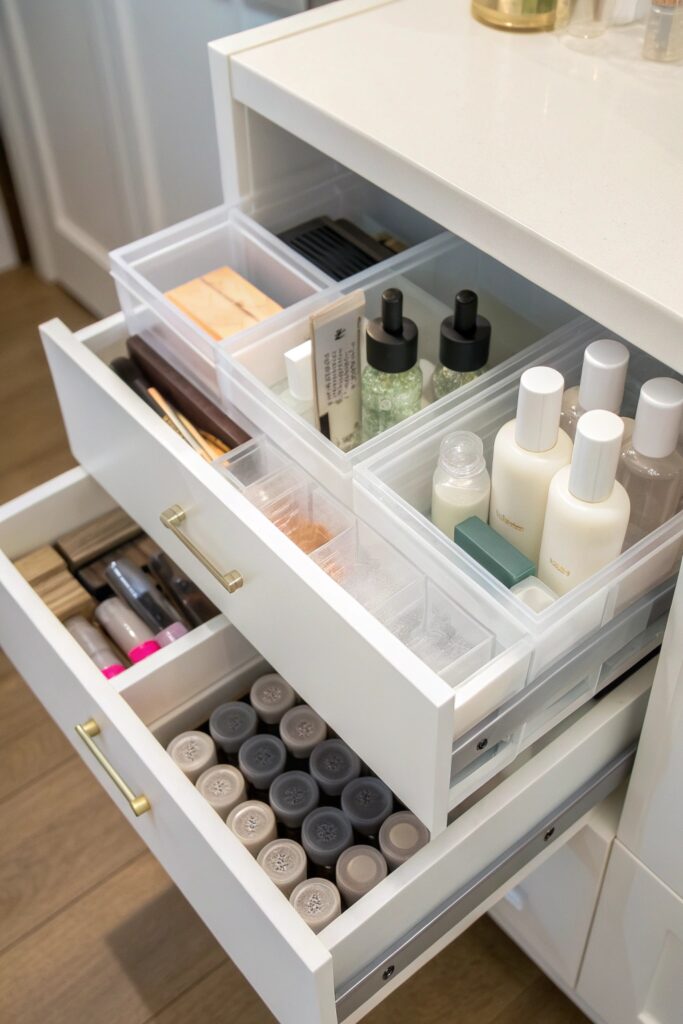
Stackable units with drawers ($30-70) provide the accessibility of a drawer with the space efficiency of shelving, letting you access items without needing to remove everything stacked above.
Confirm your closet’s shelf height accommodates the stacked unit’s full height before buying, since some stacking systems need more vertical clearance than a standard shelf spacing provides.
Why Stackable Beats Fixed Trays
A fixed open tray requires removing everything above it to access anything below, while stackable drawer units let you slide out just the specific drawer you need — this difference matters more than it initially seems once a closet is genuinely full and in daily use.
This system also makes restocking easier, since you can quickly see which drawer needs refilling without inspecting the whole closet.
7. Group Products by Frequency of Use
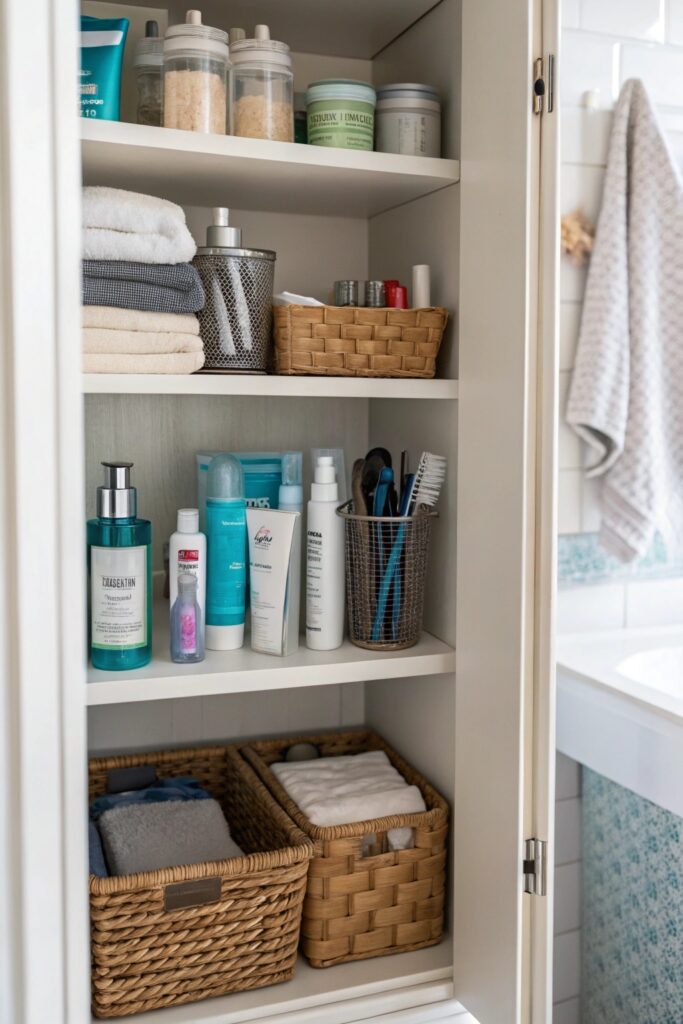
Placing daily-use items at eye level and less frequent items on higher or lower shelves matches storage convenience to actual usage patterns, rather than organizing purely by category without considering access.
Revisit this placement occasionally, since which items count as daily-use can shift with the seasons or as household routines change.
8. Use Turntables for Deep Shelves
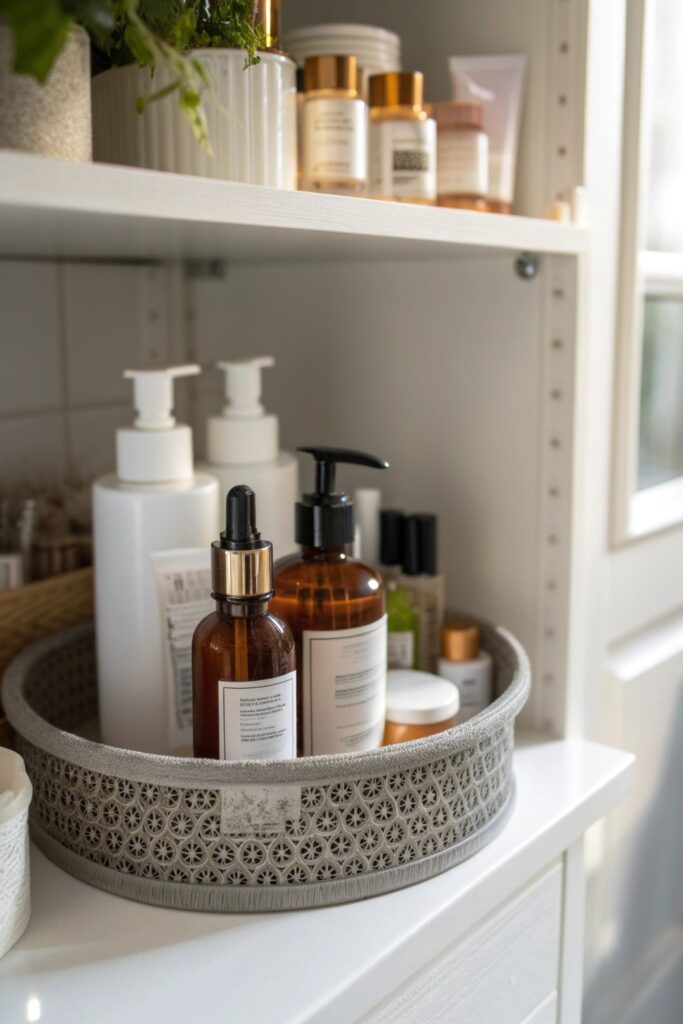
A lazy susan ($10-20) on a deep shelf makes items at the back reachable by spinning them forward, solving the common problem of deep closet shelves becoming a place where items disappear from view.
Look for turntables with a raised lip specifically, which helps keep smaller bottles from sliding off during rotation.
9. Add Under-Shelf Baskets
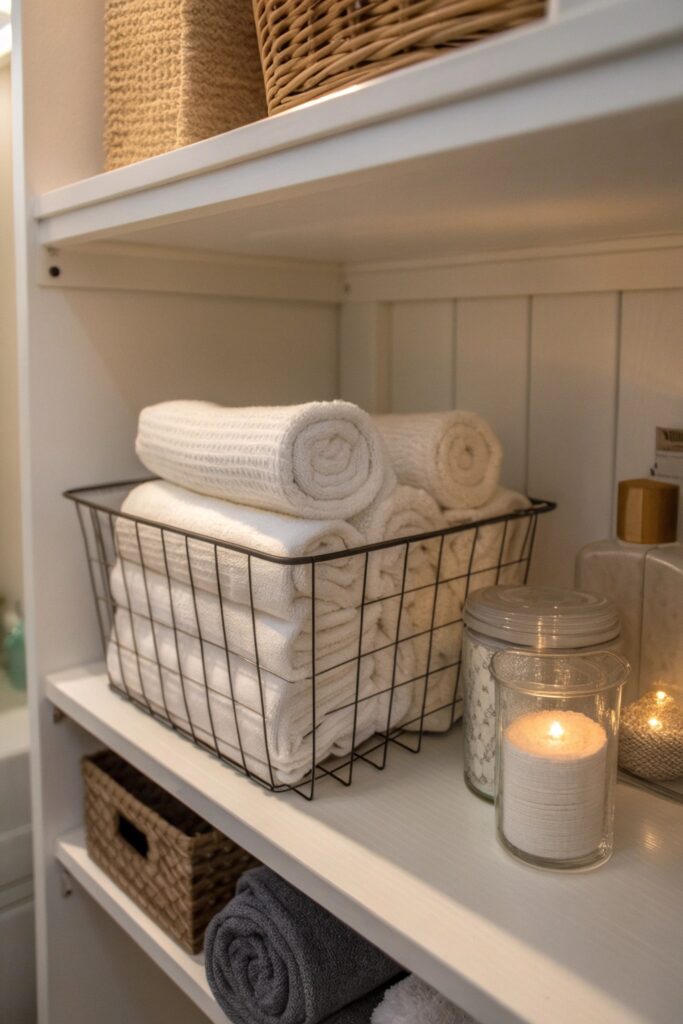
Wire baskets that hang from an existing shelf ($10-20 each) add a genuine second storage layer without requiring any new shelving installation, using the vertical gap above items already on the shelf.
Choose baskets with sturdy handles specifically, since anything hanging from a shelf edge needs a genuinely reliable attachment to avoid tipping.
10. Store Towels Vertically, Not Stacked
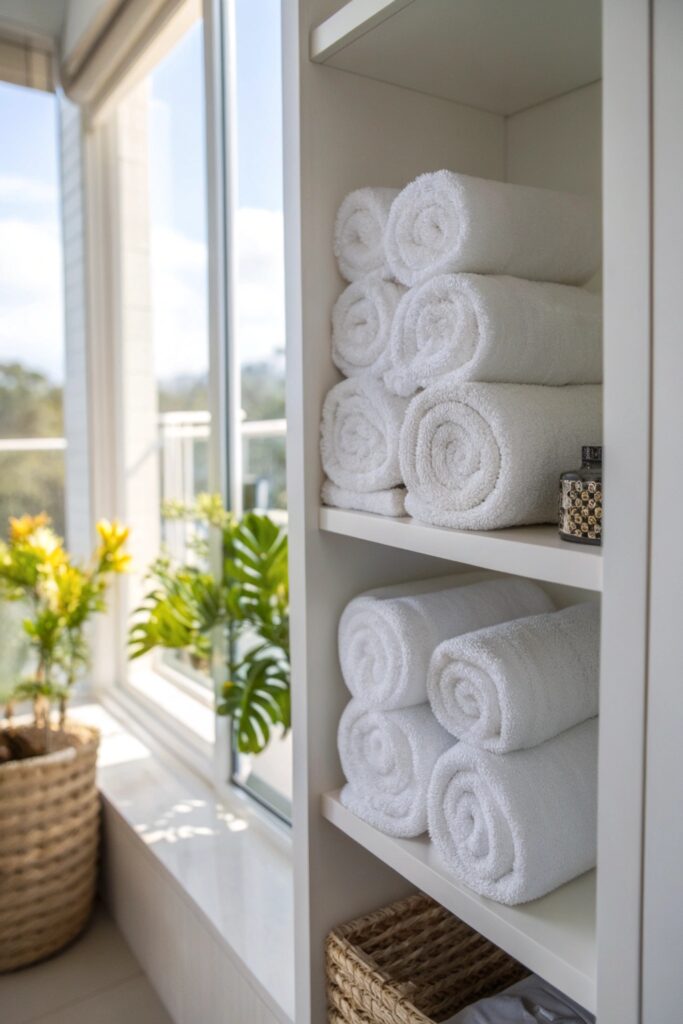
Rolling or standing towels upright, rather than stacking them flat, makes every towel visible and accessible without needing to remove the ones on top to reach ones underneath.
This method also lets towels air out slightly between uses, which can help with lingering dampness in a more humid bathroom closet.
11. Create a Designated “Backstock” Zone
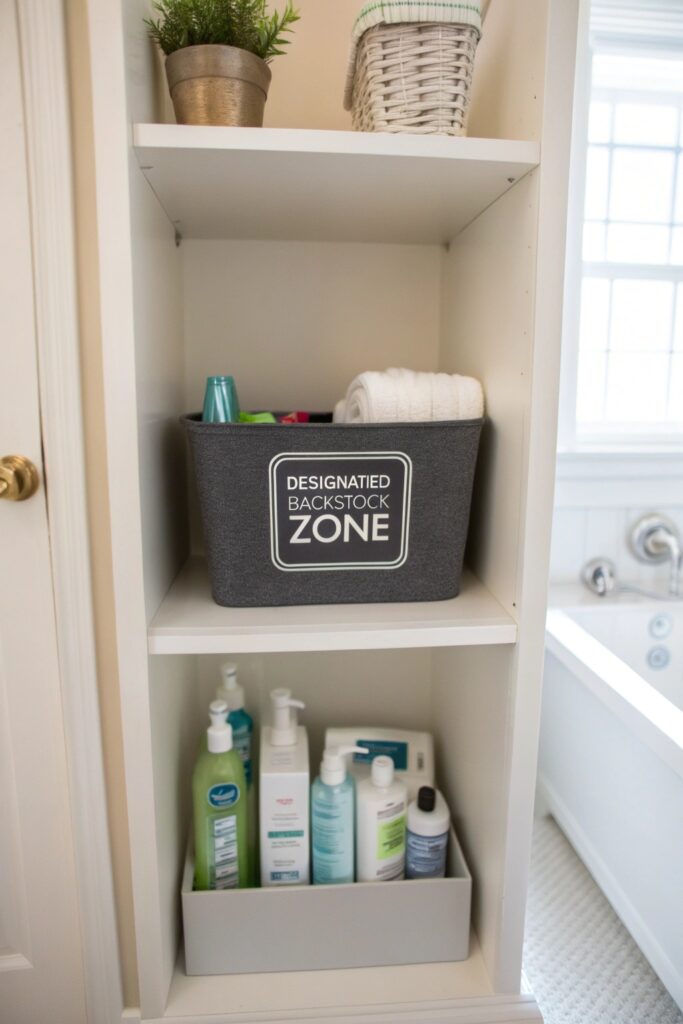
A specific shelf or bin reserved for backup supplies (extra toilet paper, unopened toiletries) keeps overflow inventory from mixing with daily-use items and cluttering the more accessible parts of the closet.
Review this zone every few months to confirm backstock quantities still make sense, since buying habits and household needs shift over time.
12. Use Small Drawer Dividers for Tiny Items
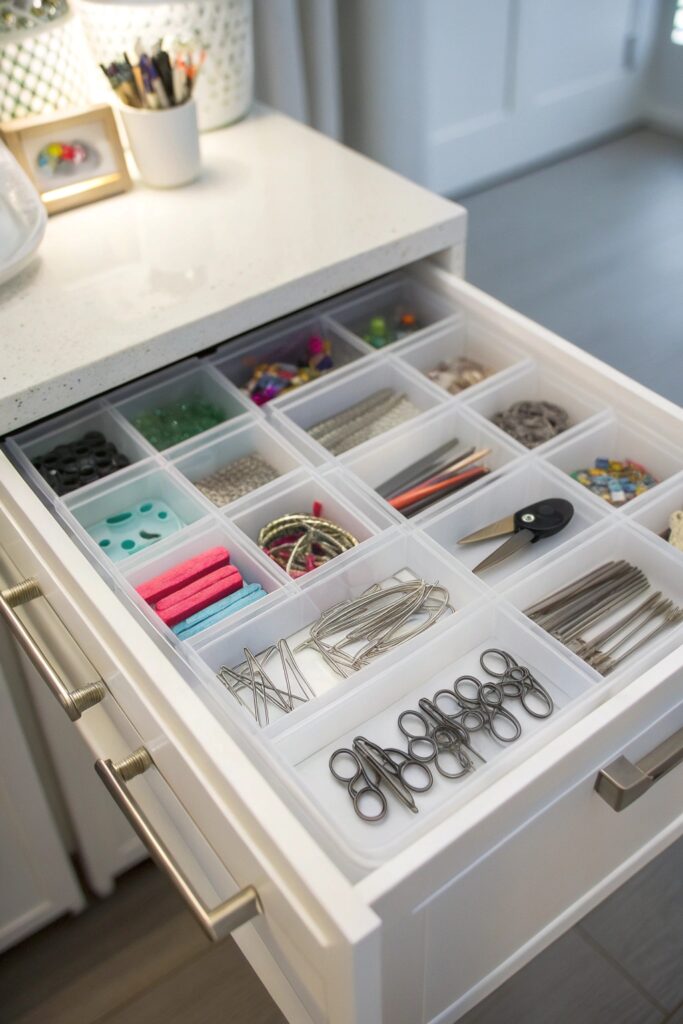
Dividers within a drawer or bin ($10-20) prevent small items — hair ties, bobby pins, small tools — from becoming a jumbled pile every time the drawer opens.
Choose dividers sized specifically to your smallest, most scattered items, since oversized compartments don’t solve the same problem tiny items create.
13. Hang a Slim Rolling Cart Inside (If You Have Room)
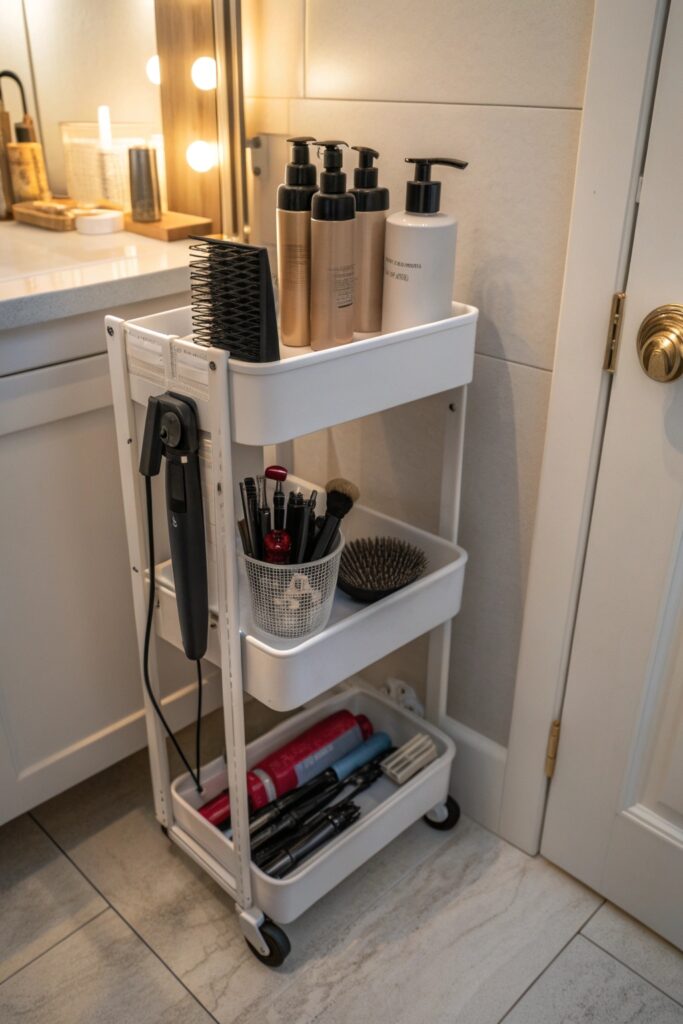
A narrow rolling cart ($40-90) adds flexible storage that can be pulled out for full access, working well in a closet with enough floor clearance to accommodate it.
Measure the closet’s floor clearance carefully before buying a cart, since even a slim cart needs genuine swinging room for the door to close properly.
14. Label Everything (Yes, Even the Obvious Stuff)
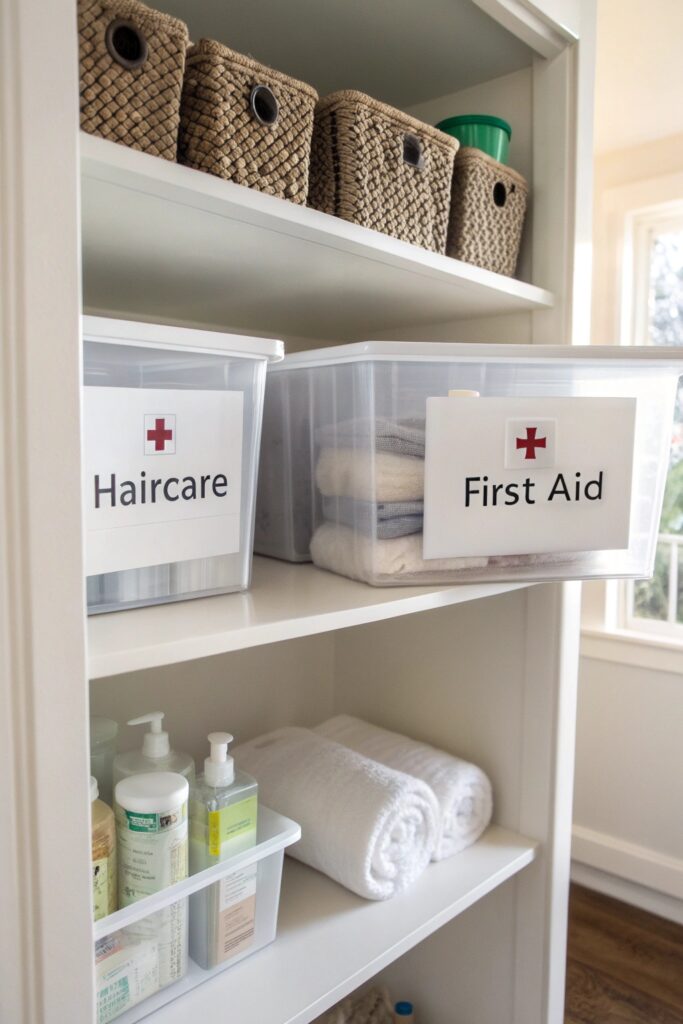
Clear labels on bins and shelves help every household member maintain the system correctly, which matters even more in a closet than open shelving since contents aren’t always immediately visible.
A label maker produces more durable, legible labels than handwritten ones, which matters for labels expected to last through months of regular handling.
15. Do a Seasonal Mini-Reset
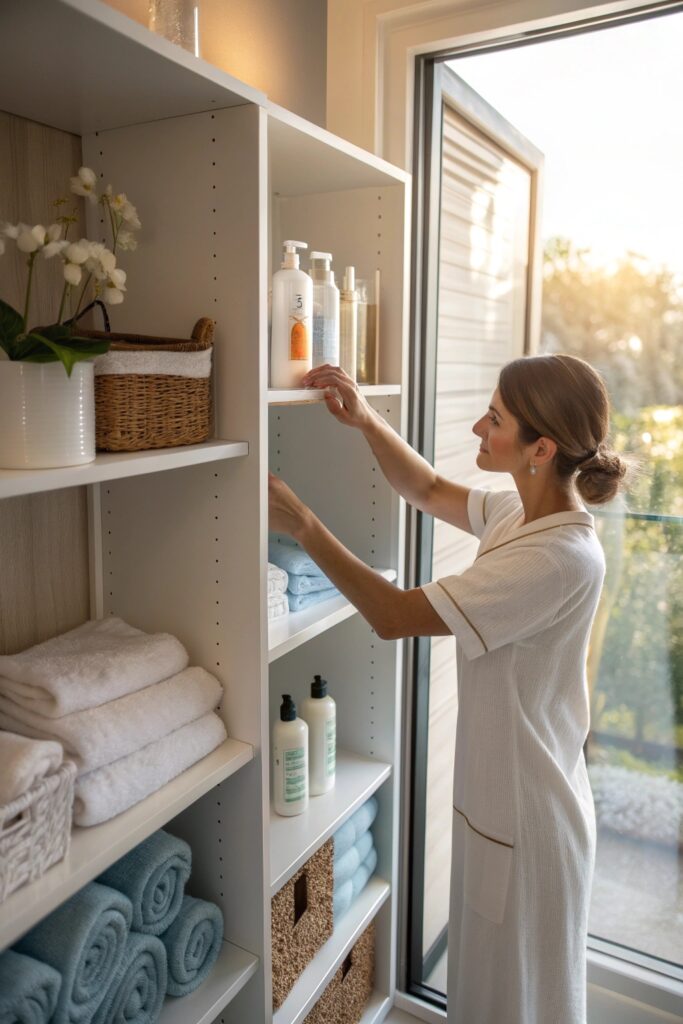
A brief seasonal check (roughly every three months) catches products that have expired or categories that have shifted, keeping the closet from gradually reverting to the disorganized state it started in.
Final Thoughts
A total reset and frequency-based placement matter more than any specific storage product, since both address why closets become disorganized in the first place rather than just containing the symptoms. Turntables and vertical towel storage are worth prioritizing next, since both directly solve the specific accessibility problems deep closet shelving creates.