
A Rust-Oleum can that won’t spray is usually a simple, fixable issue — a clogged nozzle, an under-shaken can, or cold temperature — rather than a genuinely defective product, and working through these causes in order resolves the large majority of cases without needing a replacement can.
Below are 12 causes to check, starting with the most common before moving to less frequent but still plausible explanations.
1. The Nozzle Is Clogged
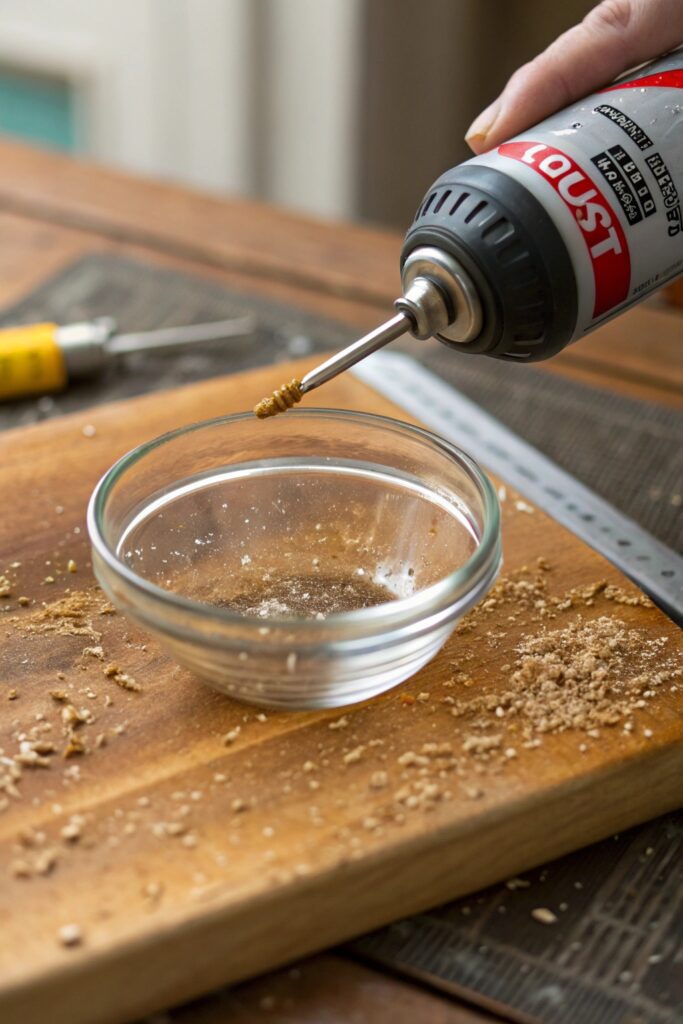
Dried paint buildup inside the nozzle’s tiny opening is the single most common reason a can stops spraying, especially if the can was set down without being cleared or turned upside down and sprayed briefly after the last use.
Remove the nozzle and soak it in a small container of paint thinner or acetone for 10-15 minutes, then clear the opening with a pin or the tip of a straightened paperclip before reattaching.
2. You Didn’t Shake the Can Long Enough
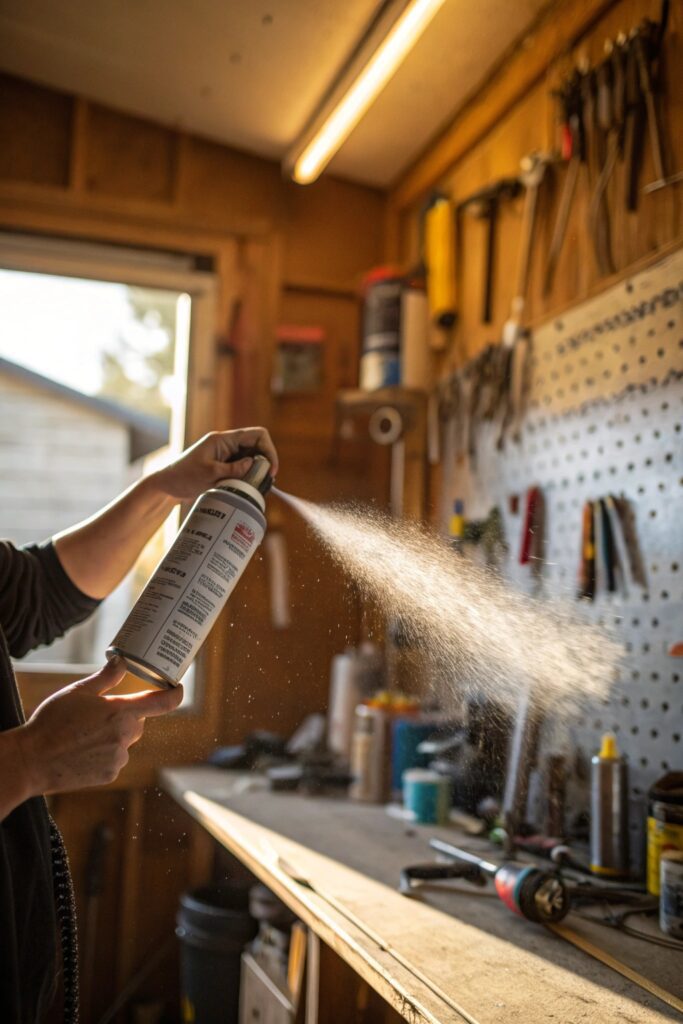
Rust-Oleum specifically recommends shaking for a full 2 minutes after the mixing ball starts rattling, not just until you hear it moving — an under-mixed can has inconsistent paint-to-propellant ratio that can cause weak or inconsistent spray.
Shake again periodically during use, especially on a longer project, since the paint and propellant can begin separating again after several minutes of standing between sprays.
3. The Can Is Too Cold
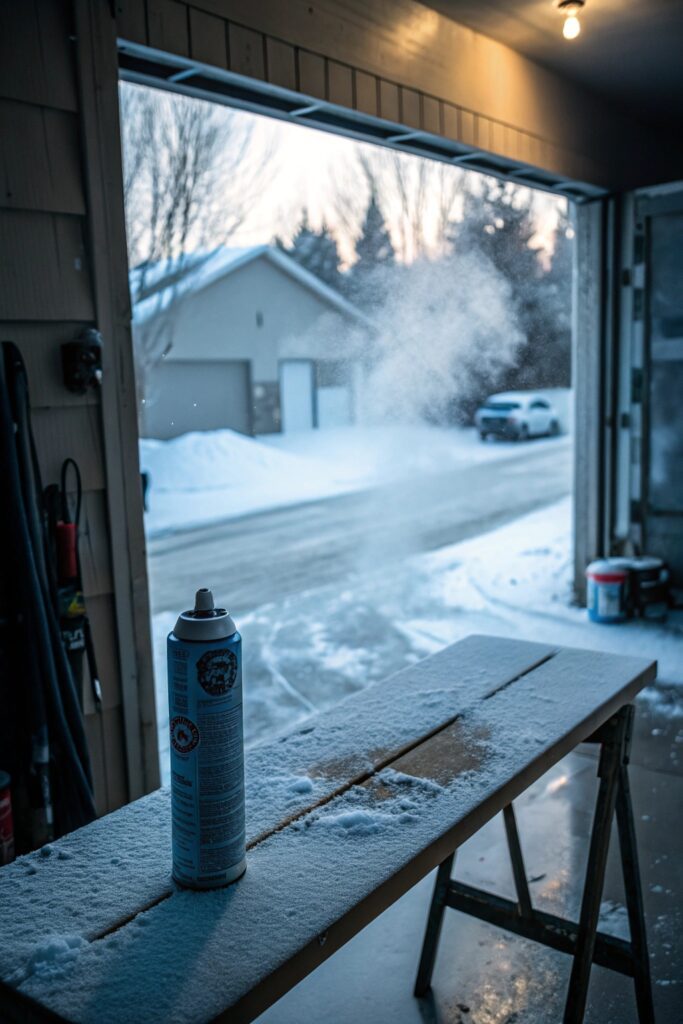
Spray paint cans rely on propellant pressure that drops significantly in cold temperatures, and a can stored in a cold garage or used outdoors in cool weather may simply lack the pressure needed to spray properly, even when otherwise full and functional.
Warm the can to room temperature (65-75°F) before use — submerging it briefly in warm (not hot) water can speed this up if you need to use it sooner than letting it sit indoors would allow.
4. The Can Is Empty (Even If It Doesn’t Feel Like It)
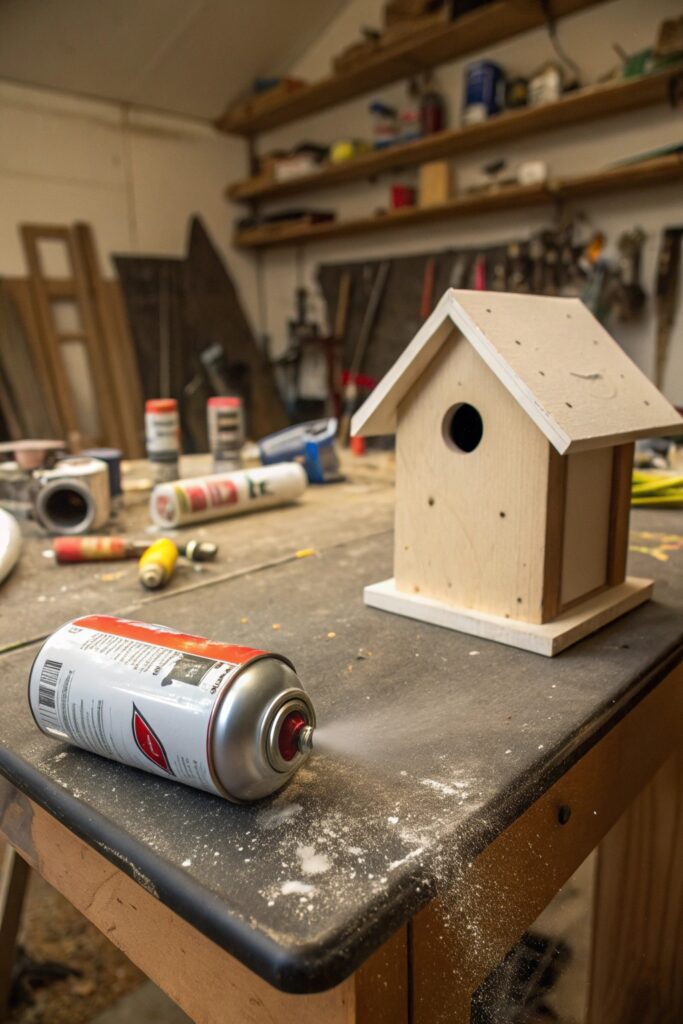
Propellant can remain in a can after the actual paint has been fully used, giving a false impression of remaining product when shaking or weighing the can — this is easy to mistake for a clogged or malfunctioning nozzle.
Compare the can’s weight against a genuinely full one if available, or simply try a completely fresh can to rule this out before spending time troubleshooting a nozzle or valve issue that may not actually be the problem.
5. Nozzle Installed Backward or Incorrectly
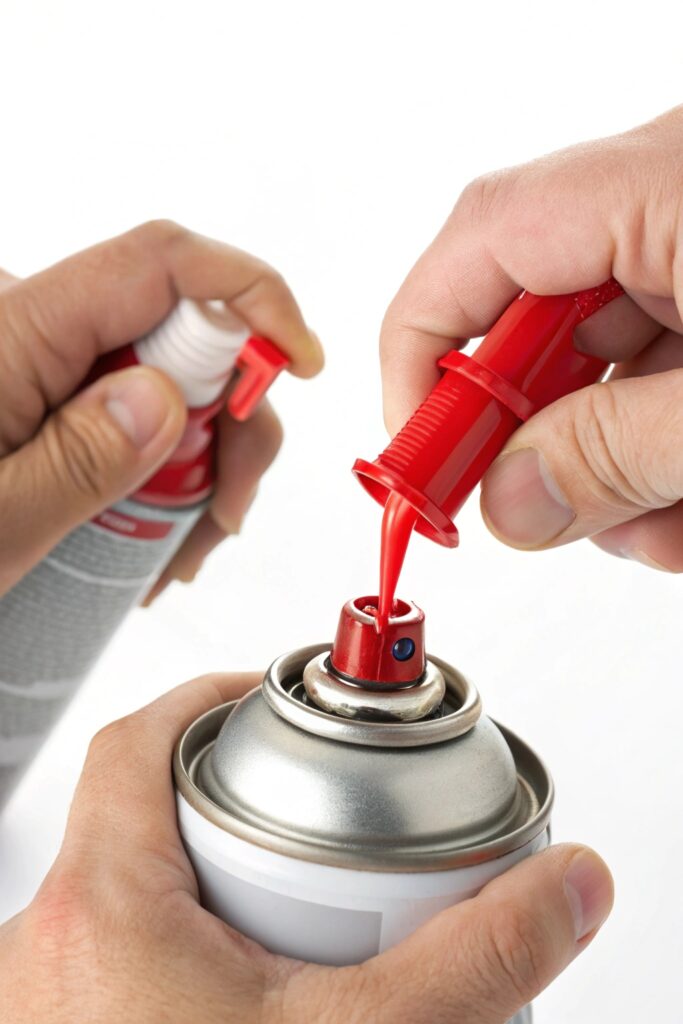
If a nozzle was removed for cleaning and reinstalled, it’s possible to seat it slightly off-angle or backward, which prevents the internal valve from engaging properly even though the nozzle looks correctly placed at a glance.
Compare the reinstalled nozzle’s orientation against a fresh, unused can of the same product line, checking specifically that the spray hole faces forward and the nozzle sits fully and evenly seated on the valve stem.
6. The Spray Tip Is Worn Out
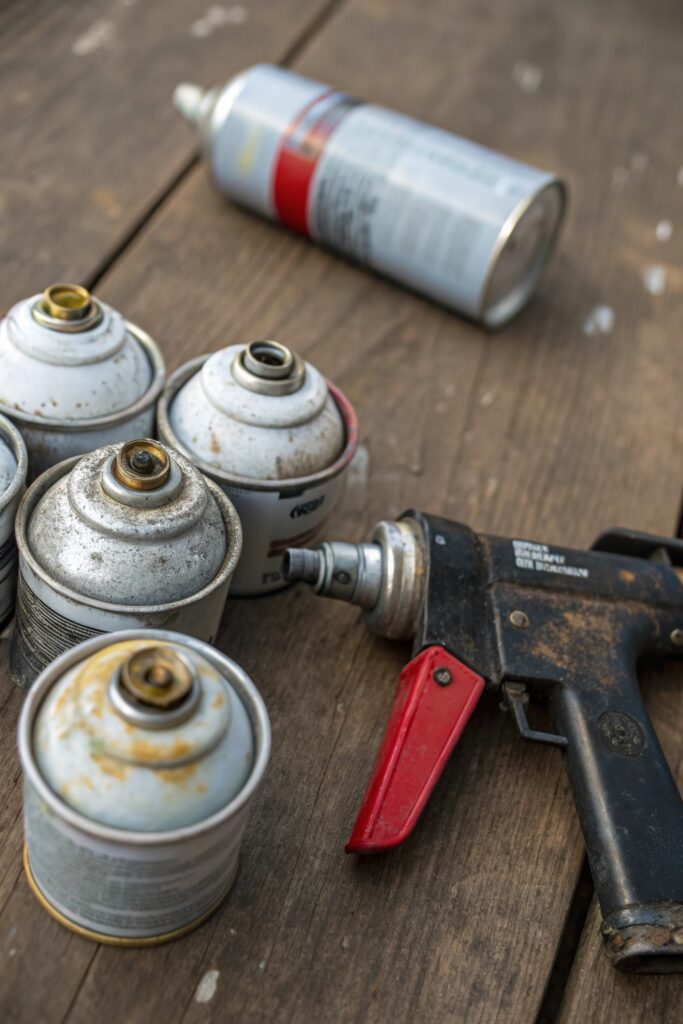
Nozzles do wear out with repeated use, particularly the small internal components that control atomization — a nozzle from a well-used can may simply no longer function correctly even after thorough cleaning.
Rust-Oleum nozzles are generally interchangeable across the brand’s product line, so a spare nozzle from another can (cleaned first) can help determine whether the nozzle itself, rather than the can, is the actual problem.
7. Paint Has Dried Inside the Can
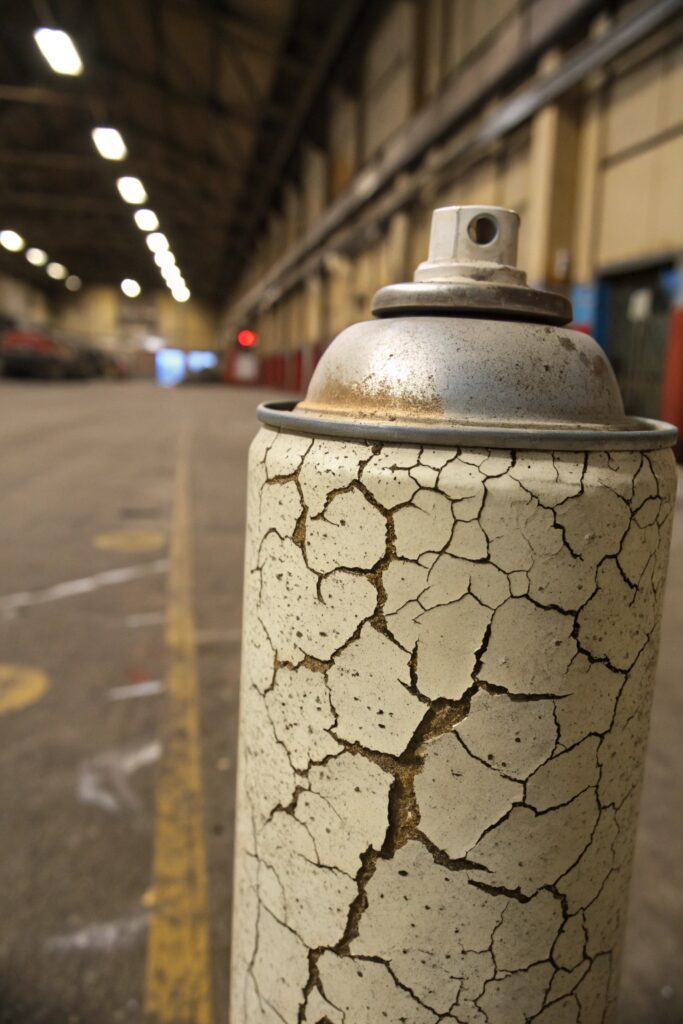
A can that’s been opened and used previously, then stored for an extended period, can develop dried paint or a skin inside near the valve opening, blocking flow even before it reaches the external nozzle.
Shaking vigorously and spraying briefly with the nozzle removed (pointed safely away, outdoors) can sometimes clear this internal blockage, though a can with significant internal drying may not be recoverable.
8. Holding the Can Too Far or Too Close
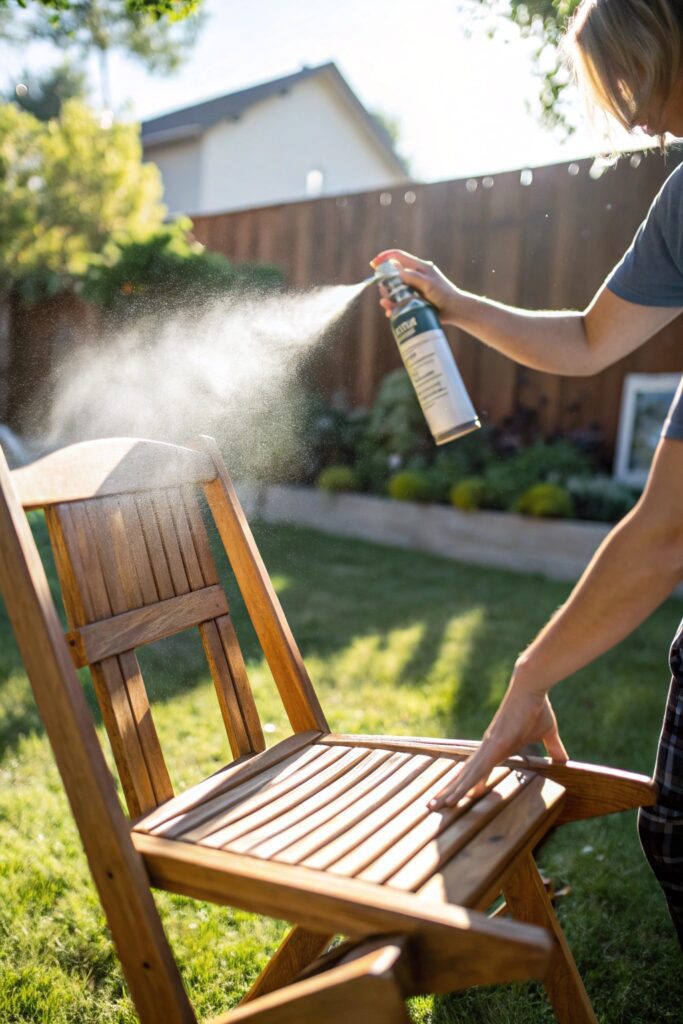
While this typically affects spray quality rather than causing a complete failure to spray, holding the can at an unusual angle or extreme distance can sometimes prevent the nozzle from engaging fully, particularly on cans with a stiffer or more finicky trigger mechanism.
Hold the can upright, roughly 10-12 inches from the surface, and press the nozzle straight down fully rather than at an angle, which ensures full valve engagement.
9. Nozzle Angle Is Off
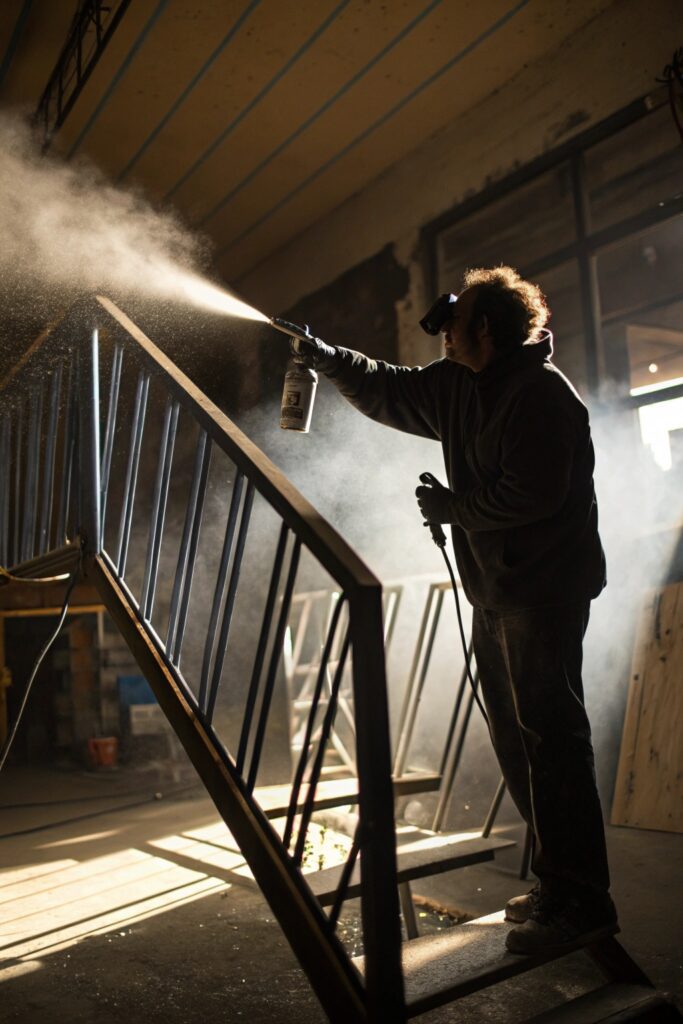
A nozzle that’s rotated even slightly from its intended forward-facing position can direct spray internally against the can’s cap rather than out through the intended opening, which can appear as though the can simply isn’t spraying.
Check that the nozzle’s directional marking (usually a small arrow or flat edge) lines up correctly, and rotate it back to the proper orientation if it’s shifted.
10. Pressure Buildup Issues
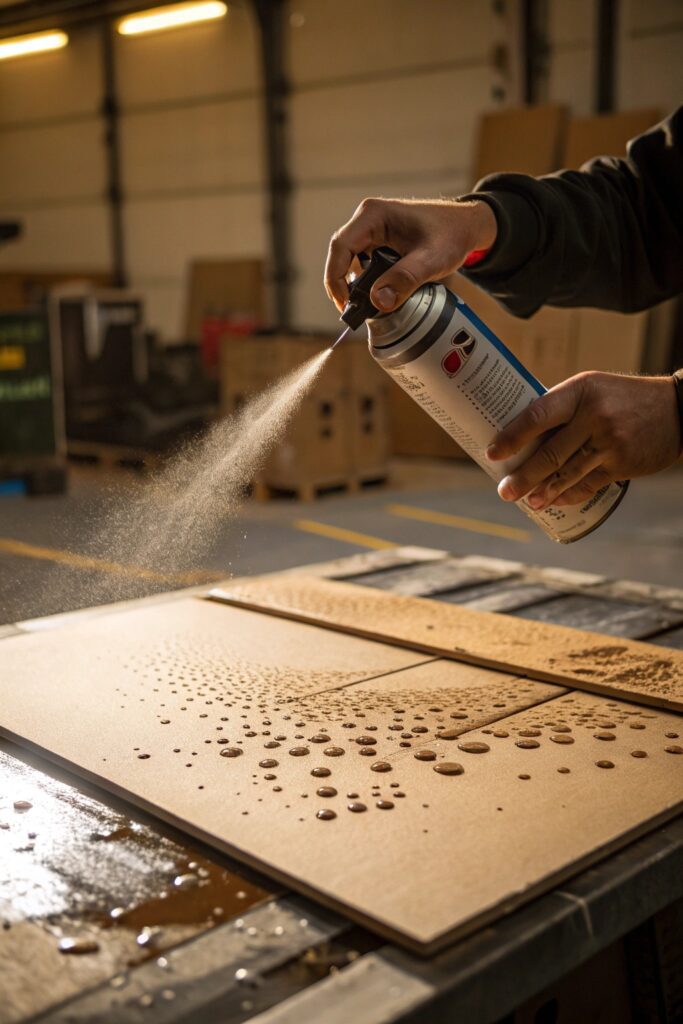
In rare cases, a manufacturing defect or damage to the can itself can prevent proper pressure buildup, meaning the can simply doesn’t have the internal pressure needed to push paint through the nozzle regardless of how well it’s shaken or how clean the nozzle is.
If a can feels unusually light or makes an odd sound when shaken (beyond the normal mixing ball rattle), this may indicate a pressure or seal issue — Rust-Oleum’s customer service will typically replace confirmed defective cans.
11. Blocked Vent Hole on Top of the Cap
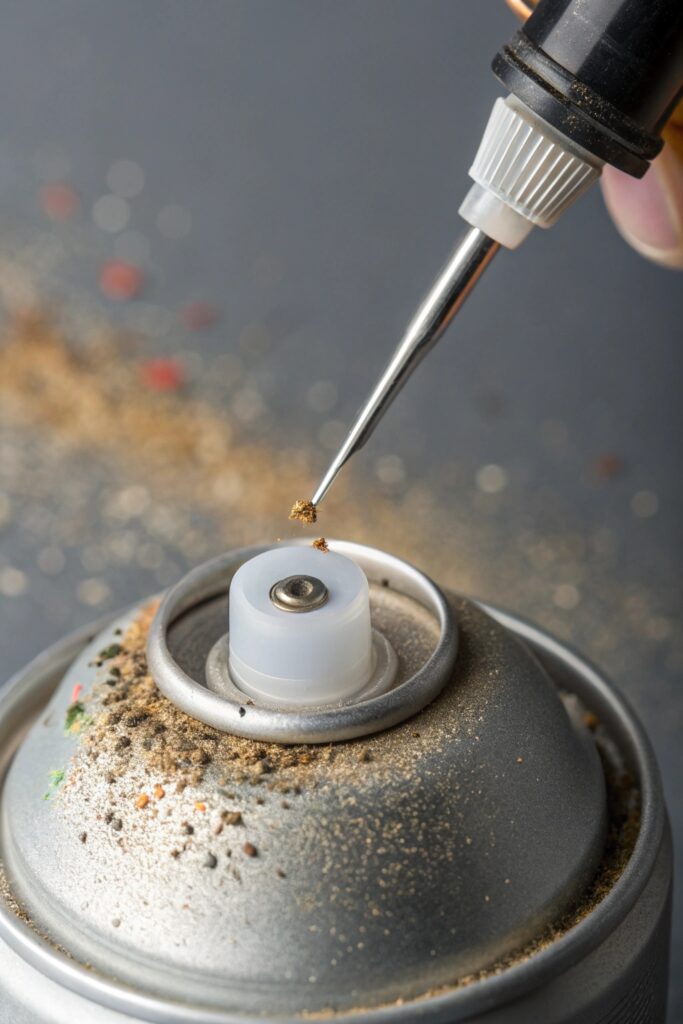
Some spray paint caps have a small secondary vent hole that helps regulate airflow during spraying, and if this gets blocked with dried paint or debris, it can affect spray consistency or cause the can to stop spraying properly.
Check the cap (not just the nozzle) for any visible small holes and clear them the same way you would the main nozzle opening, using a pin or fine wire.
12. Using the Wrong Technique Overall
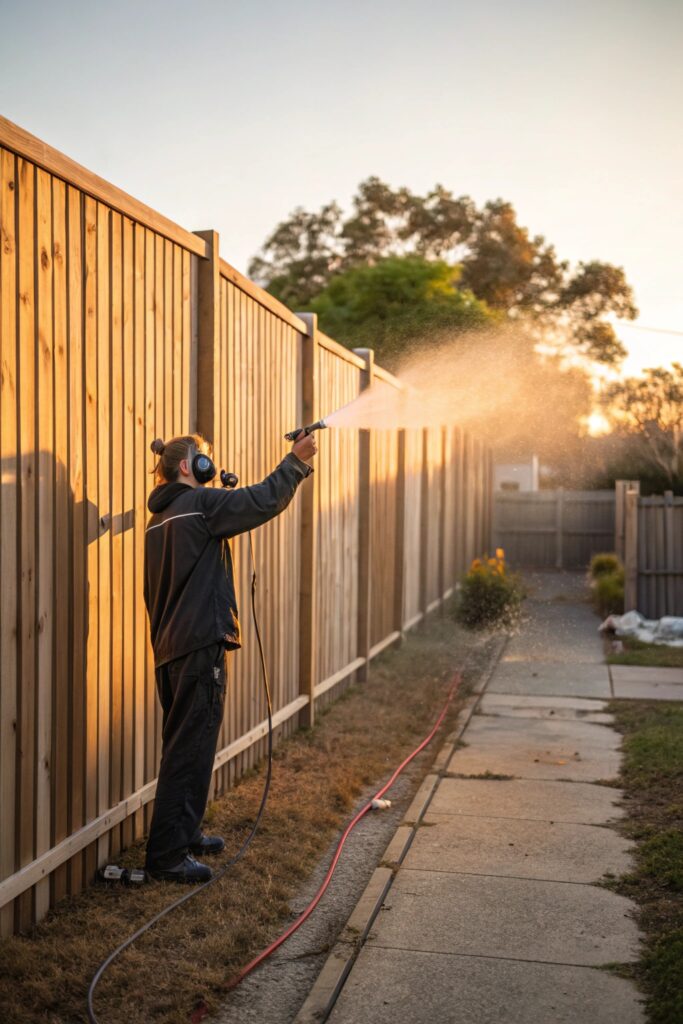
Sometimes what feels like a malfunctioning can is actually a technique issue — spraying at an angle, inconsistent pressure on the trigger, or expecting immediate full coverage from a single light pass rather than building up thin, even coats.
Test spray on cardboard or scrap material first to confirm the can is functioning properly and to recalibrate your technique before starting on the actual project surface.
Final Thoughts
A clogged nozzle and insufficient shaking account for the majority of spray failures, and both are quick to check and fix without any tools beyond a pin for clearing the nozzle opening. If a can still won’t spray after working through these causes, testing with a nozzle from a different can helps isolate whether the problem is the nozzle itself or something with the can’s internal pressure or paint.