
A decorated graduation cap works best when it genuinely reflects something personal — your field of study, your background, or your sense of humor — rather than following whatever’s trending that year.
Below are 15 design directions worth considering, with practical notes for each.
1. Galaxy and Stars Cap Design

Acrylic paint in a blended dark blue and purple base creates a genuinely convincing night-sky effect, with white paint dots and a few larger star shapes layered on top.
A fine-tip paint pen works well for the smaller star details, while a sponge or larger brush handles the base color across the wider surface.
2. Floral Garden Cap Design
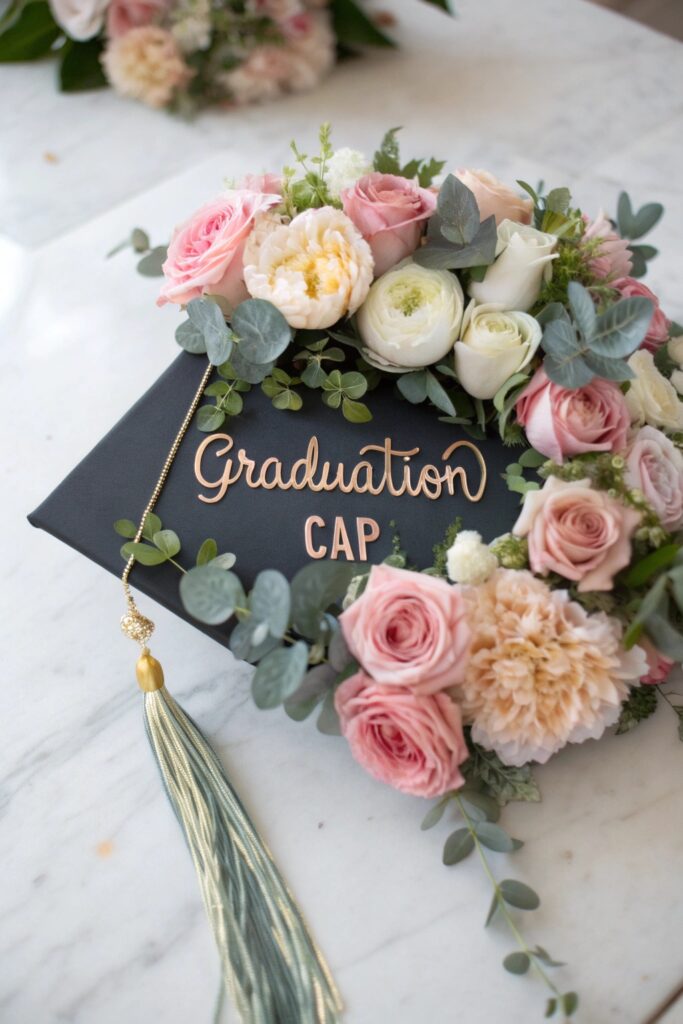
Paper or fabric flowers glued in a cluster along one edge add genuine dimension that a flat painted design can’t achieve.
Choose flowers in a genuinely lightweight material like paper or thin fabric, since heavier silk or fresh flowers add weight that can shift or fall off during the ceremony.
3. Pop Culture Reference Cap
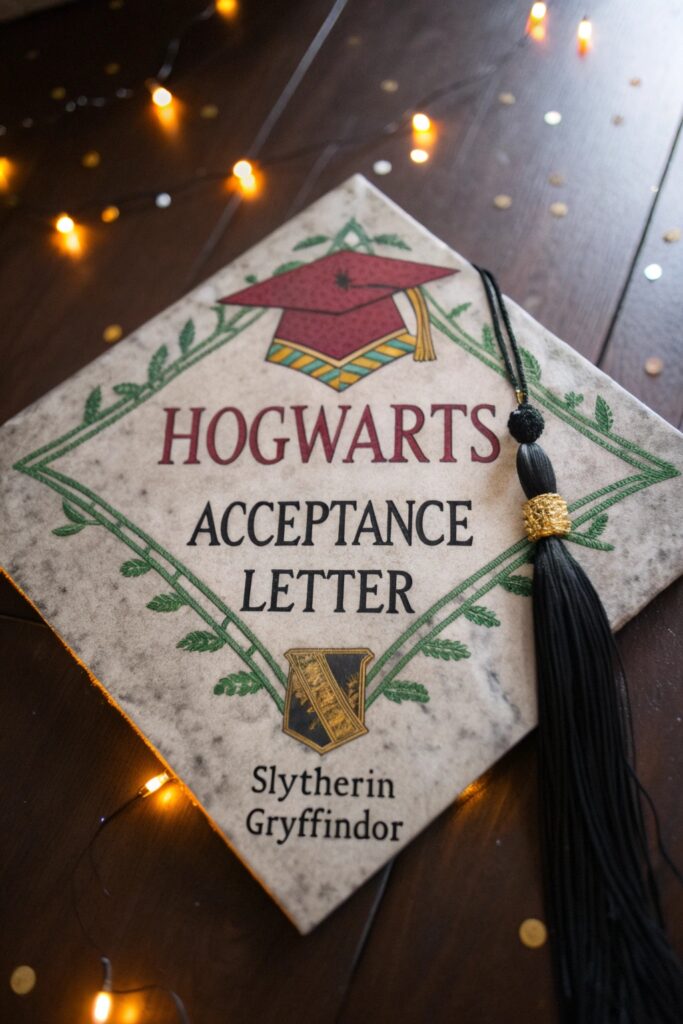
Keep any referenced characters or logos to a hand-drawn or painted interpretation rather than a printed image, which avoids the copyright concerns that come with reproducing licensed artwork.
A simple silhouette or symbol referencing the theme, rather than an exact character likeness, keeps the design original while still clearly communicating the reference.
4. Inspirational Quote Typography Cap
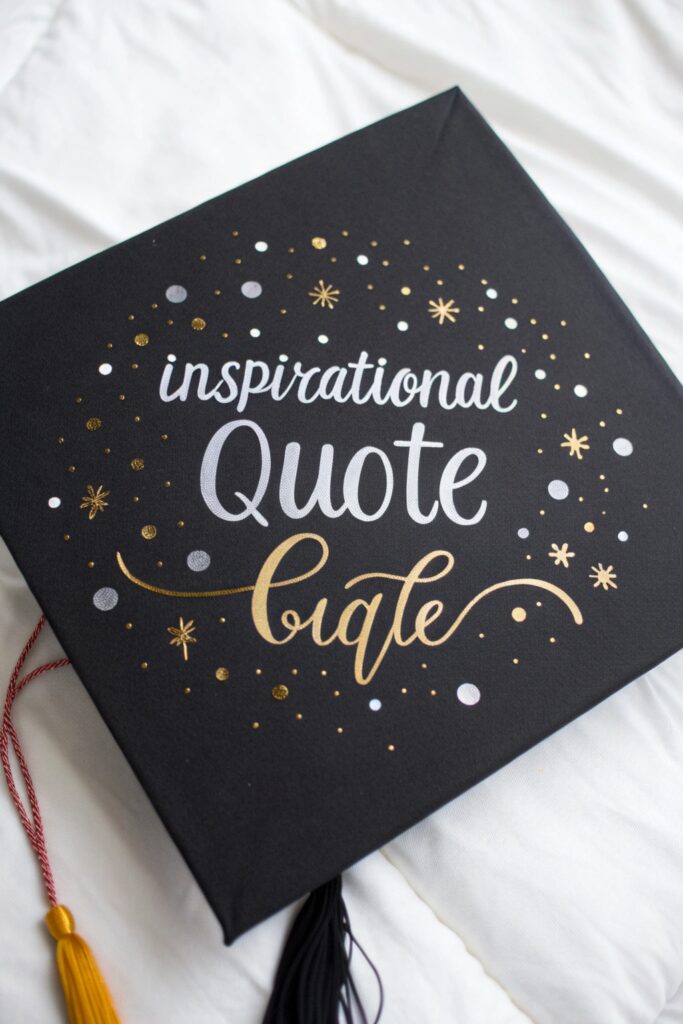
Stick to a genuinely short phrase — under ten words — since a cap’s surface area limits how much text can stay legible from a normal viewing distance.
Sketch the text placement on paper first and measure it against the cap’s actual dimensions, since text that fits on paper doesn’t always translate directly to the smaller surface.
5. Debt and Humor Cap Design

Keep this style genuinely light and self-aware rather than bitter, which tends to land better with the broader crowd at a ceremony.
Pair the humor with a genuine touch of color or pattern, which keeps the design from reading as purely a punchline without any visual interest.
6. Map and Travel Cap Design

A simplified map outline, rather than an intricate, detailed one, reads more clearly at the distance most people will actually view the cap from.
Use a paint pen or thin brush for the connecting travel lines between locations, which reads more cleanly than trying to paint them with a wider brush.
7. Career and Future Goals Cap

Icons or symbols related to your specific field genuinely communicate more at a glance than a paragraph of text would.
Choose a color palette that ties back to your school’s colors if you want the design to feel connected to the ceremony itself.
8. Artistic Mandala Cap Design
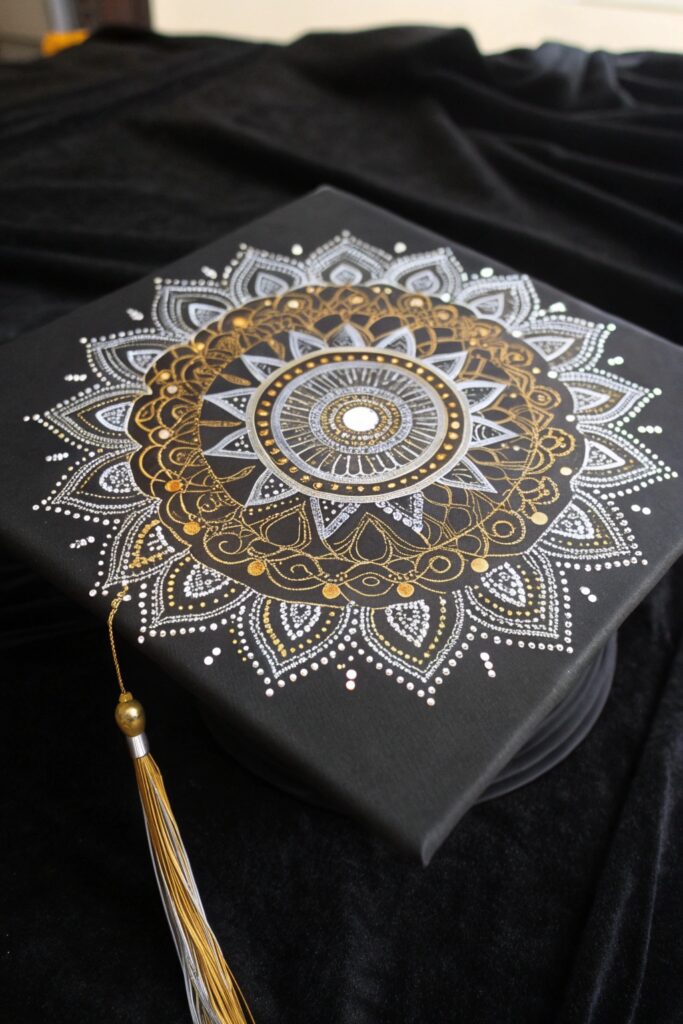
Starting from the center point and working outward genuinely helps keep a mandala’s symmetry consistent as the design gets more detailed toward the edges.
Use a compass or a simple household object as a guide for the initial circles, which helps keep the mandala’s proportions even before adding detail.
9. Bookworm and Literature Cap

A stack of painted book spines or a favorite short quote works well here, though original wording avoids any concern about reproducing copyrighted text.
Choose a font style — script, block letters, or hand-drawn — that matches the overall tone of the rest of your design.
10. Science and STEM Cap Design
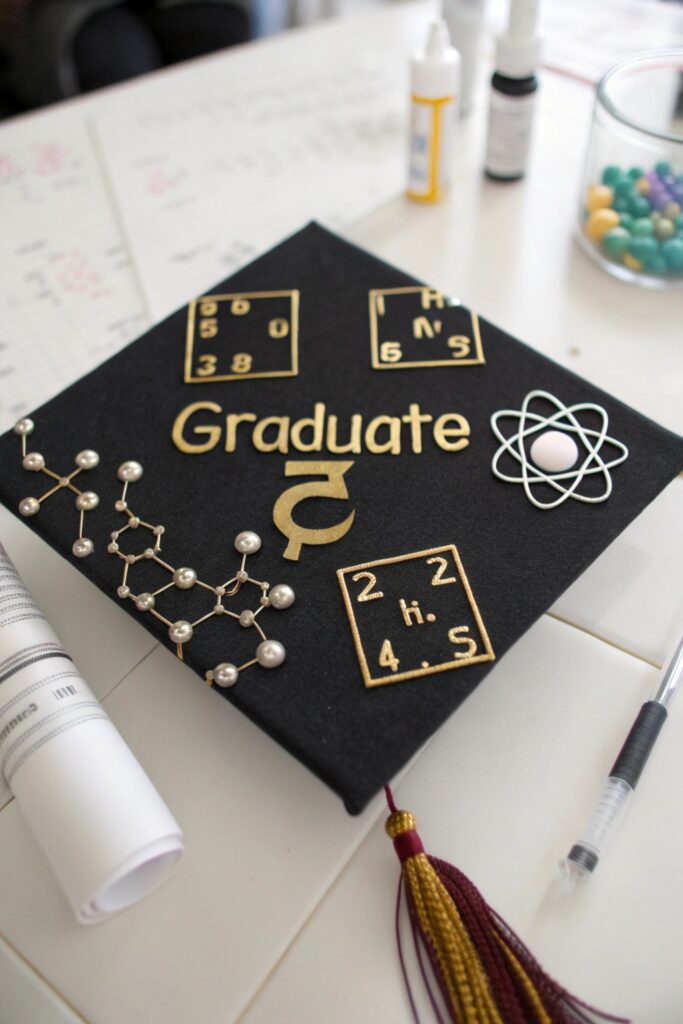
Equations, molecular diagrams, or field-specific symbols genuinely signal your area of study more clearly than generic science imagery would.
Label any diagrams or equations clearly if they’re genuinely field-specific, since not every guest at the ceremony will immediately recognize specialized notation.
11. Family Tribute Cap Design
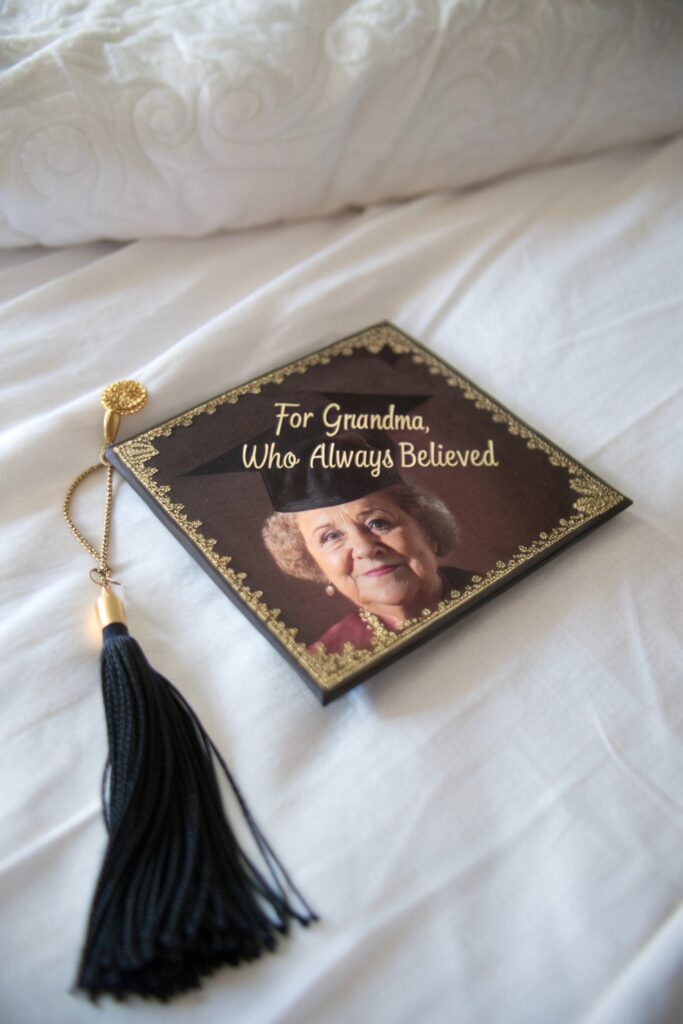
A small painted photo interpretation or a meaningful date genuinely personalizes the cap in a way that resonates most with people who know your specific story.
Keep the tribute detail small and personal rather than covering the whole cap, which lets it read as a genuine meaningful touch rather than the dominant design element.
12. Glitter and Rhinestone Cap Design
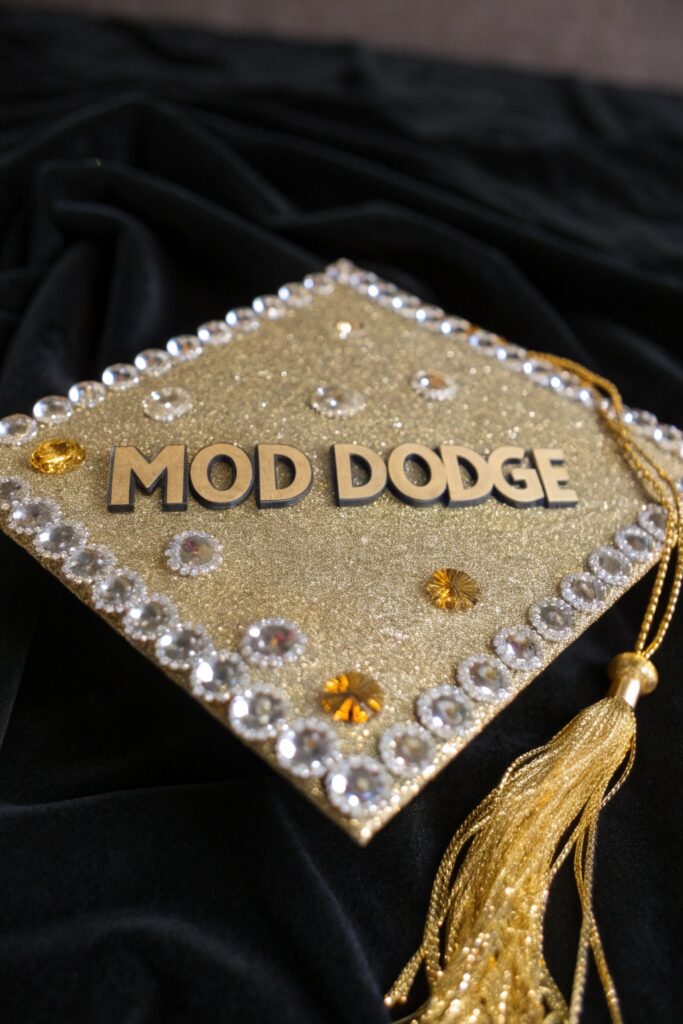
Seal glitter with a genuine clear topcoat after application, which keeps it from shedding all over your graduation gown and the stage.
Apply glitter in thin layers rather than one thick coat, which dries more evenly and sheds considerably less once sealed.
13. Multicultural Heritage Cap
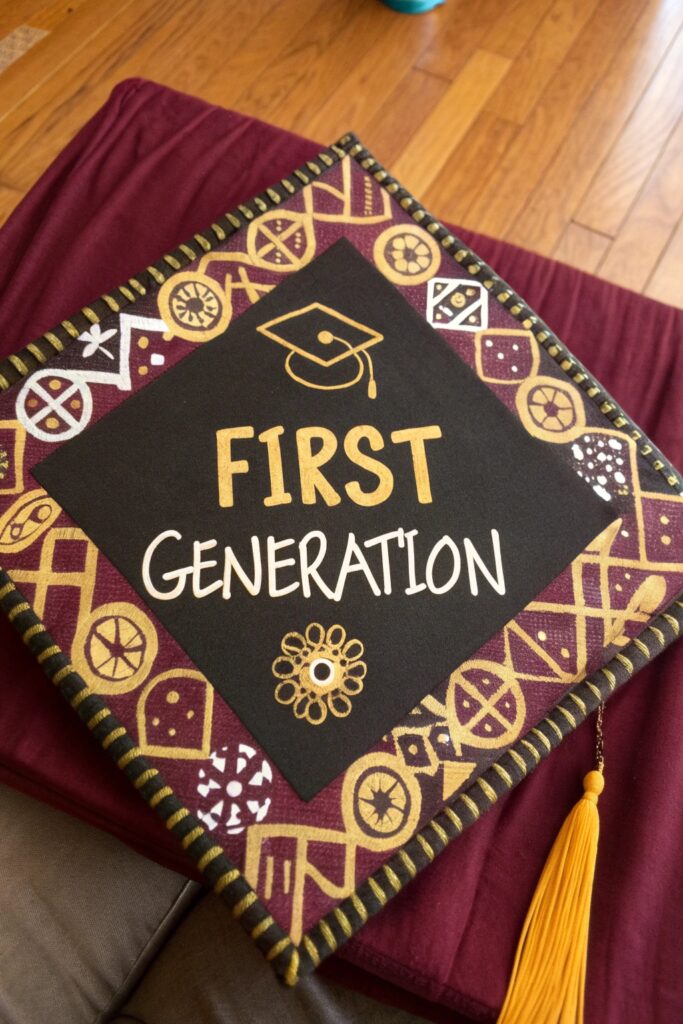
Incorporating a flag, pattern, or symbol from your genuine cultural background creates a design with real personal meaning beyond pure decoration.
Research the specific colors and symbols meaningful to your background before finalizing the design, since accuracy genuinely matters for a tribute like this.
14. Minimalist Black and Gold Cap
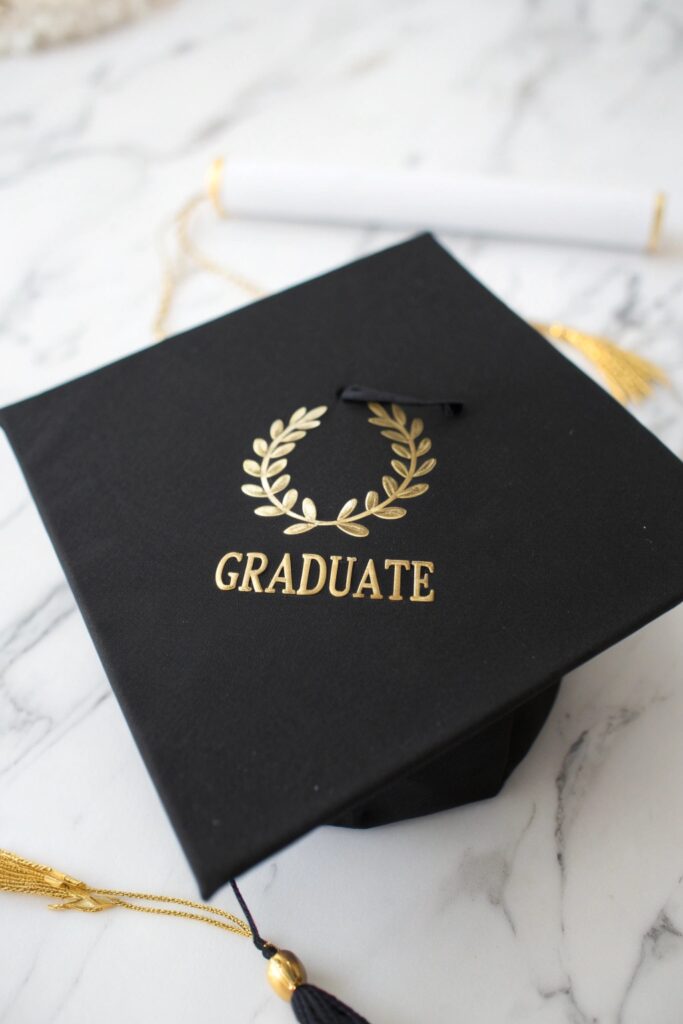
A single genuinely well-placed gold accent, rather than covering the whole cap, tends to look more intentional and sophisticated than a busier design.
Test the gold paint or foil on a small hidden section first, since some metallic finishes look different once fully dry than they do when wet.
15. Custom Portrait or Pet Cap
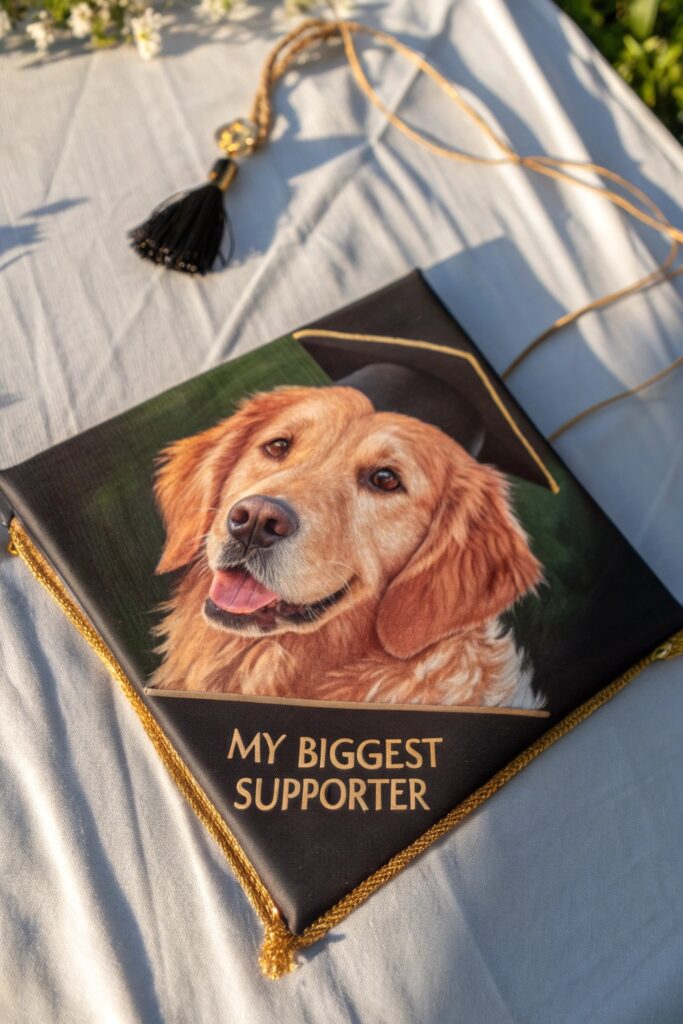
Working from a genuinely high-resolution reference photo makes a hand-painted portrait considerably easier to get right than a blurry or low-quality image.
Materials That Actually Hold Up
Acrylic paint genuinely works better than fabric paint on the cap’s typical polyester surface, since it dries harder and resists smudging during the ceremony itself.
A clear sealant spray over the finished design, applied a day ahead to let it fully cure, protects the artwork from humidity, light rain, or accidental bumps while you’re wearing it.
Timing the Project Right
Start the design at least a week before the ceremony, which gives paint and adhesive genuine time to cure fully and gives you room to fix anything that doesn’t turn out as planned.
Most of these designs cost under $20 in materials if you’re working with basic craft supplies, making this one of the more affordable ways to personalize the graduation experience.
Final Thoughts
Check your school’s specific policy on cap decoration before starting, since some ceremonies have restrictions on size, attachments, or content. Practice your design on paper first regardless of which style you choose, since it’s considerably easier to adjust a sketch than to redo paint or glued elements on the actual cap.