
Under-sink storage presents a genuinely unique organizational challenge — the plumbing itself splits the usable space and limits what fits, which is why generic bin solutions designed for a flat cabinet floor often don’t work well in this specific spot.
Below are 12 ways to make this space genuinely functional, with real costs and practical notes for each.
1. Measure Around Your Pipes First
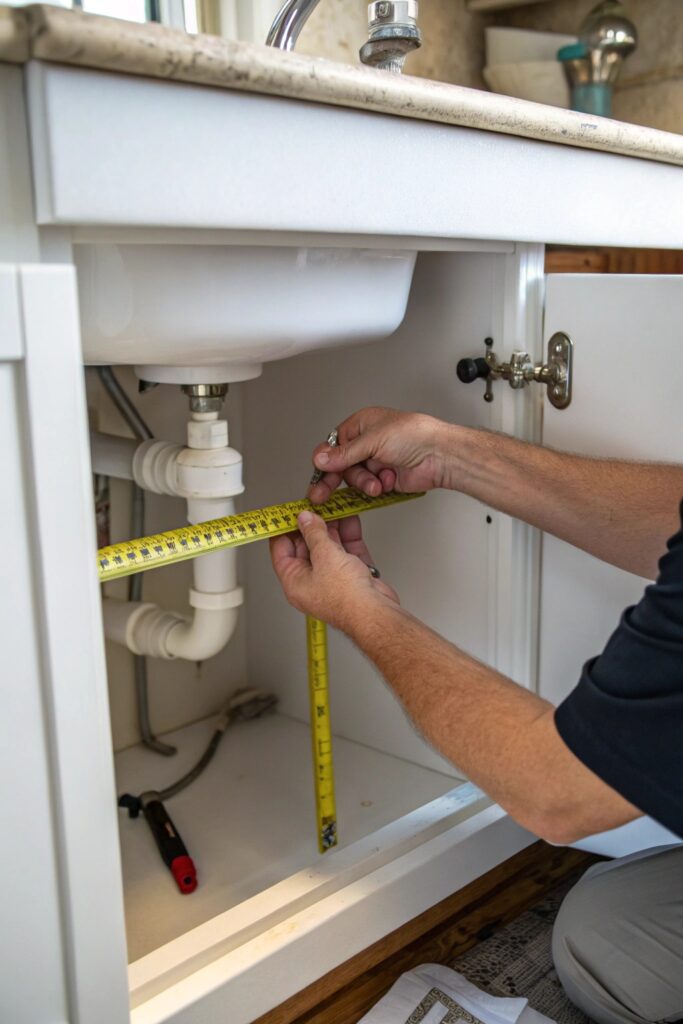
Every under-sink storage solution needs to work around the P-trap and supply lines specifically, so measuring the actual clear space on either side of the pipes before buying anything prevents purchasing organizers that simply don’t fit.
Sketch a rough diagram of your specific cabinet’s pipe layout if it’s genuinely irregular, since under-sink plumbing configurations vary enough between homes that assuming a standard layout can lead to costly return trips.
2. Use Stackable Bins on Either Side
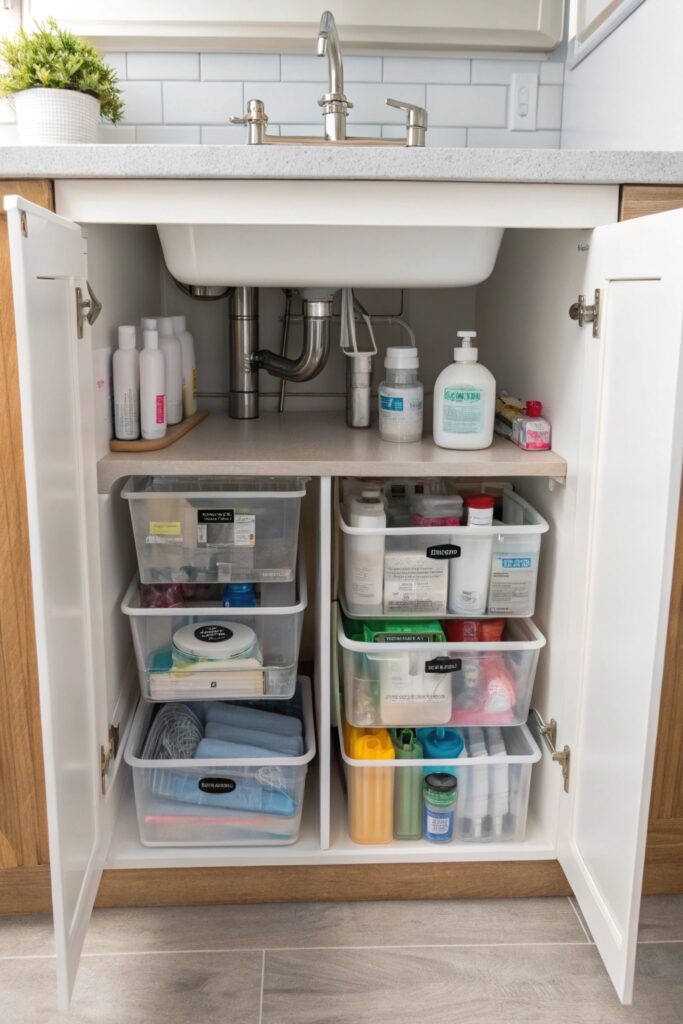
Bins sized to fit the two side spaces flanking the pipes ($10-20 each) make efficient use of the areas that are actually usable, rather than trying to fit one large container that the pipes prevent from sitting flush.
Choose bins with open tops or handles for easy removal, since anything stored deep under a sink needs to be genuinely easy to pull out for it to stay in regular use.
3. Add a Sliding Drawer System
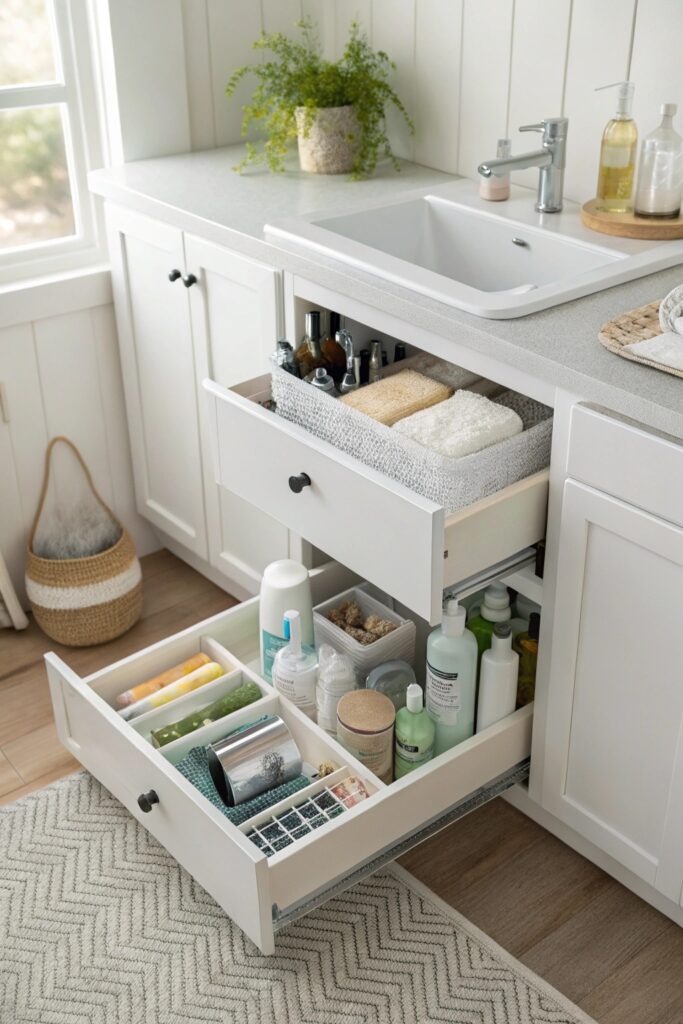
A pull-out drawer insert ($40-100) designed for under-sink cabinets brings the back of the space into easy reach, solving the genuine accessibility problem this specific storage area presents.
Confirm the drawer system’s dimensions account for your pipe placement before installing, since some sliding systems require a fully clear rectangular footprint that pipes can interfere with.
4. Install a Tension Rod for Hanging Spray Bottles
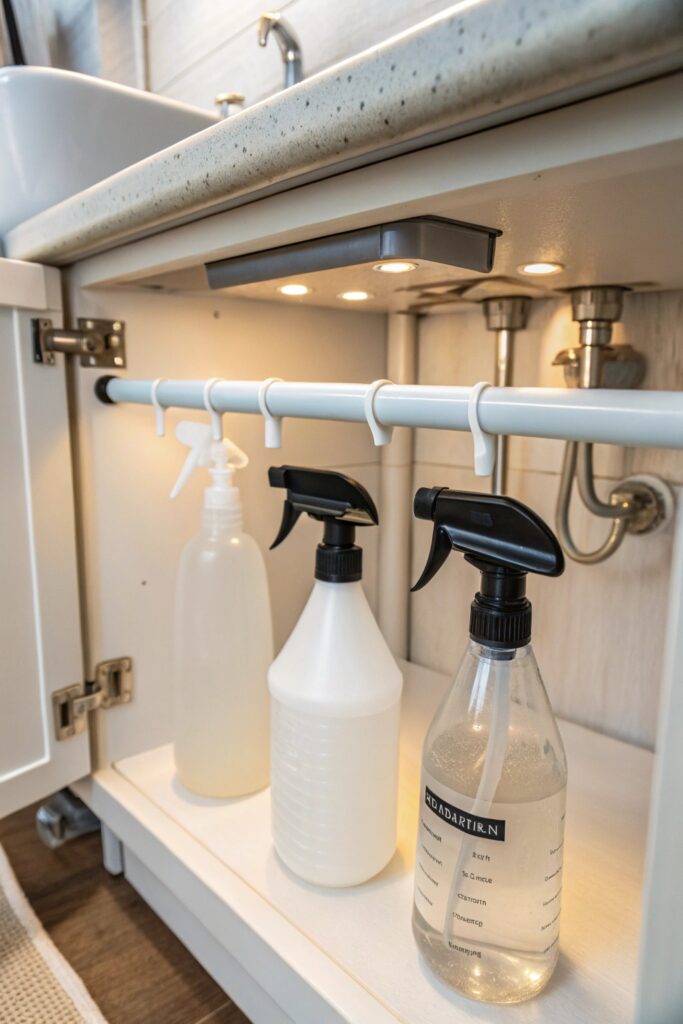
A tension rod ($5-10) installed horizontally lets spray bottles hang by their trigger handles, using vertical space above the cabinet floor that would otherwise sit empty.
This is one of the lowest-cost solutions on this list and requires no permanent installation, making it a genuinely low-risk option to try before investing in more elaborate storage.
Why This Trick Works So Well
Hanging bottles by their trigger rather than standing them upright roughly doubles the usable vertical space in that section of the cabinet, since standing bottles waste the air space above them that a hanging bottle’s body occupies more efficiently.
5. Use a Turntable for Small Bottles
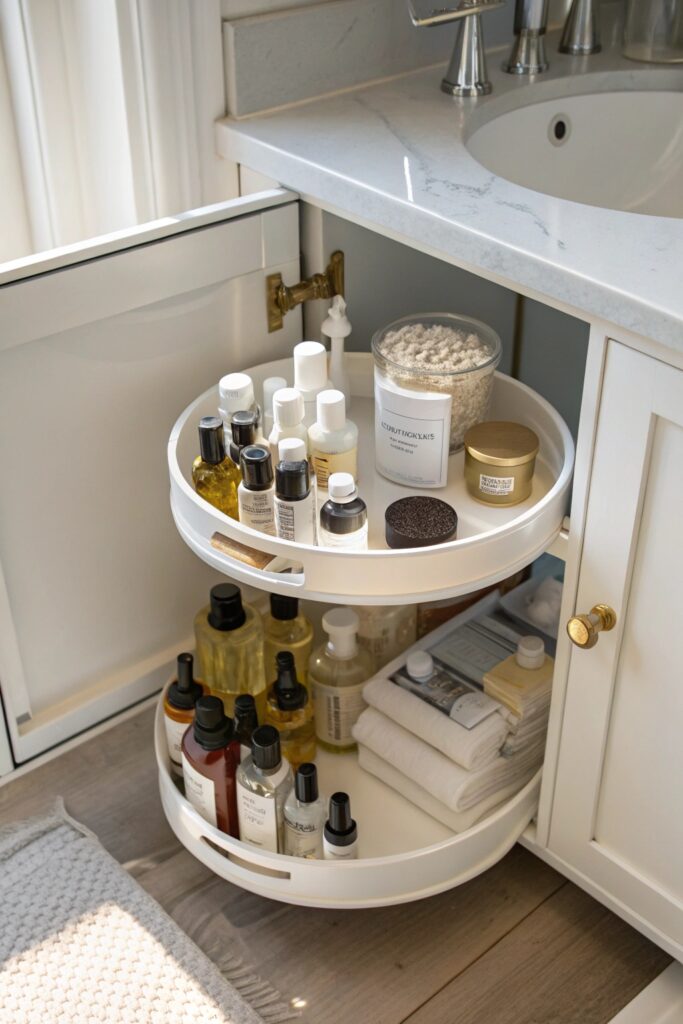
A lazy susan ($10-20) makes items at the back of a deep under-sink cabinet reachable by spinning them forward, rather than requiring you to reach blindly past pipes into the cabinet’s rear corners.
This works particularly well for smaller, frequently used bottles (all-purpose cleaner, glass cleaner) that get used often enough to justify the turntable’s footprint.
6. Try a Pipe-Straddling Shelf
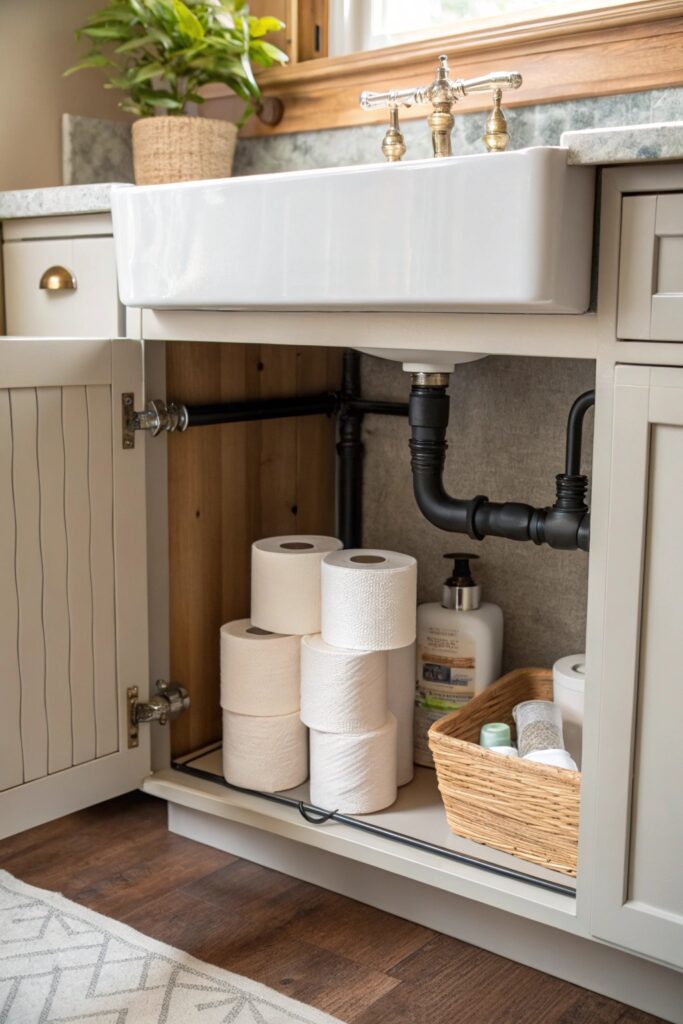
A shelf specifically designed with a cutout or adjustable width to fit around plumbing ($20-50) adds a genuine second storage tier above the pipes, doubling the cabinet’s effective capacity.
Measure carefully before purchasing, since these shelves need to match your specific pipe height and spacing to sit level and stable.
7. Store Cleaning Supplies in a Caddy
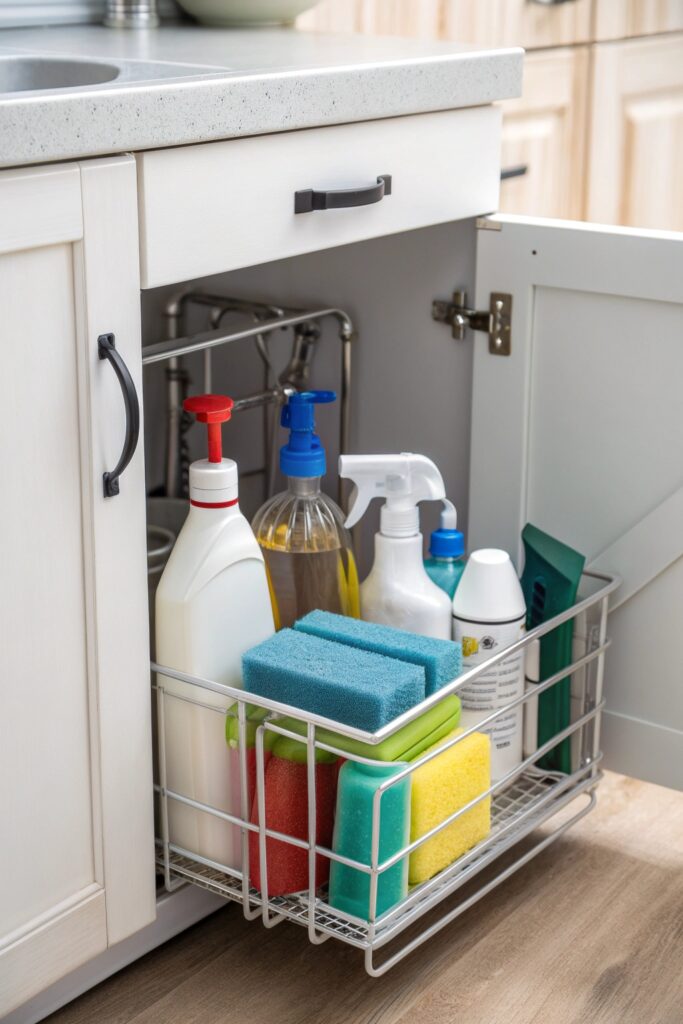
A portable caddy ($15-30) groups cleaning supplies into one liftable unit, letting you pull the entire kit out at once rather than gathering individual bottles from scattered spots.
This also makes it easier to carry supplies to other rooms for cleaning, rather than needing separate cleaning kits stored in multiple locations throughout the home.
8. Add Adhesive Hooks for Small Tools
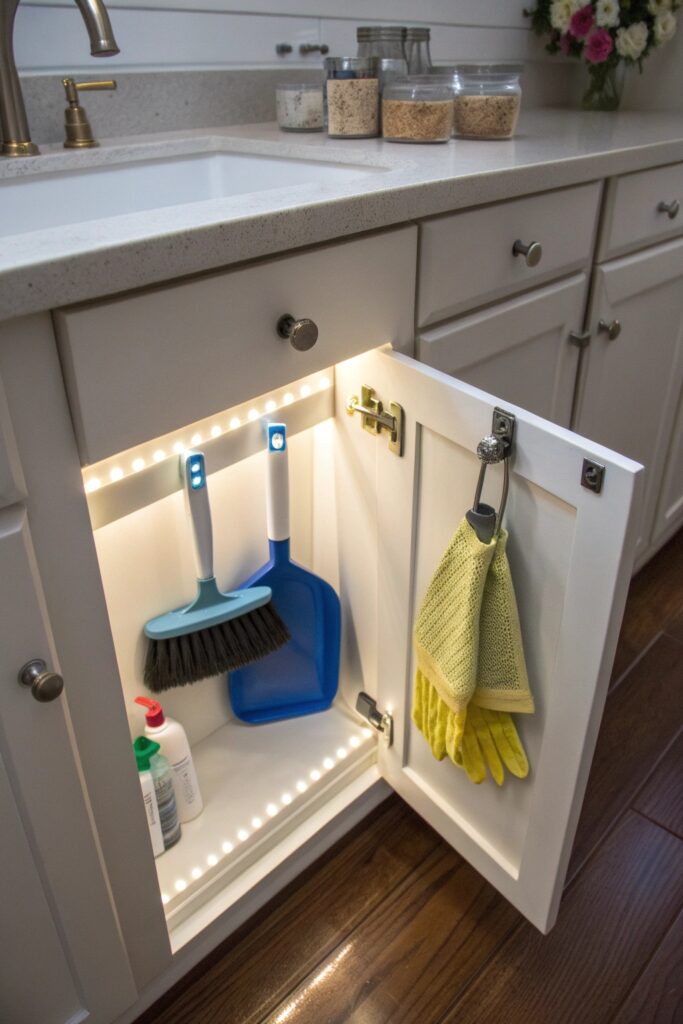
Small adhesive hooks ($5-15) on the inside of the cabinet door or side walls hold scrub brushes, gloves, or small tools using space that’s otherwise completely unused.
Confirm the hook’s weight rating matches what you’re hanging, since an overloaded adhesive hook is a common and easily avoidable failure point in cabinet organization.
9. Use Clear Labeled Bins for Everything
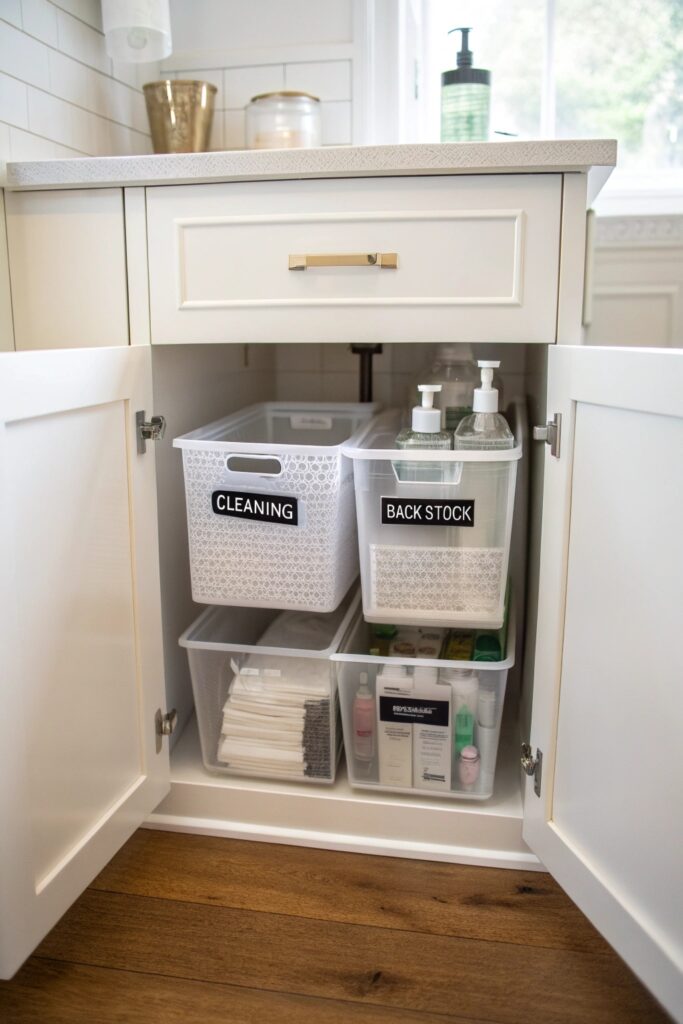
Clear containers with visible labels let you identify contents without pulling every bin out to check, which matters considerably in a dark, hard-to-see cabinet space like under a sink.
This combination of visibility and labeling is what separates a genuinely functional system from one that looks organized initially but becomes confusing again within a few weeks.
10. Keep a Small Trash Can Off to the Side
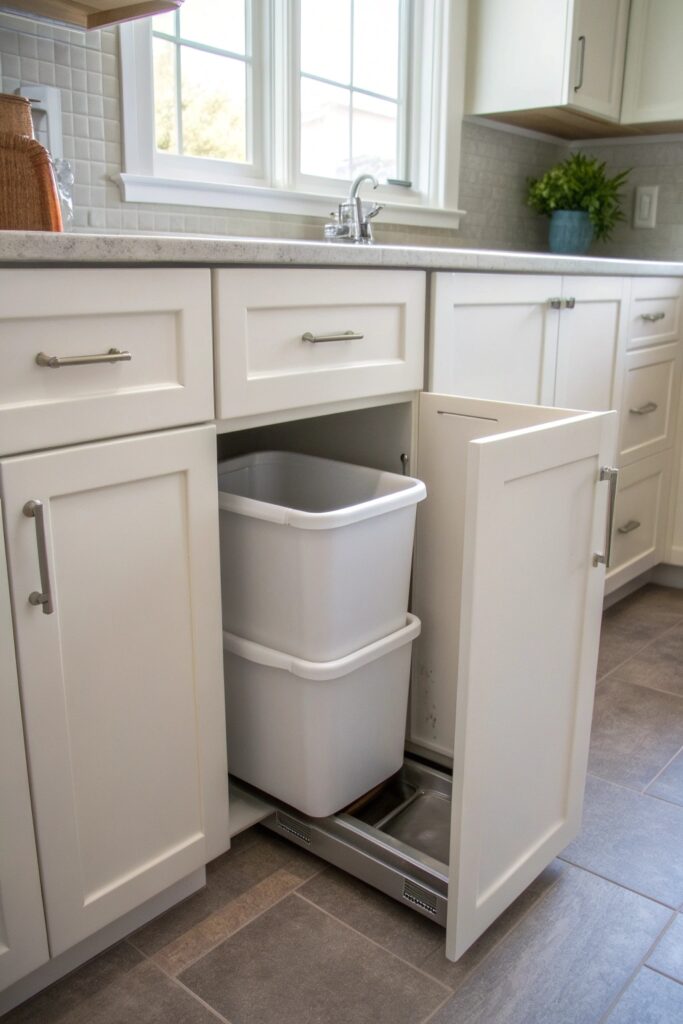
A compact trash can (used for bathroom-specific waste like cotton swabs or expired products) fits in one of the side spaces flanking the pipes, keeping this waste contained without needing a separate freestanding can elsewhere.
Choose a size proportional to the actual available space rather than the largest can that technically fits, since oversized bins in this location often end up wedged in ways that make removal and emptying genuinely difficult.
11. Add a Vertical Divider for Flat Items
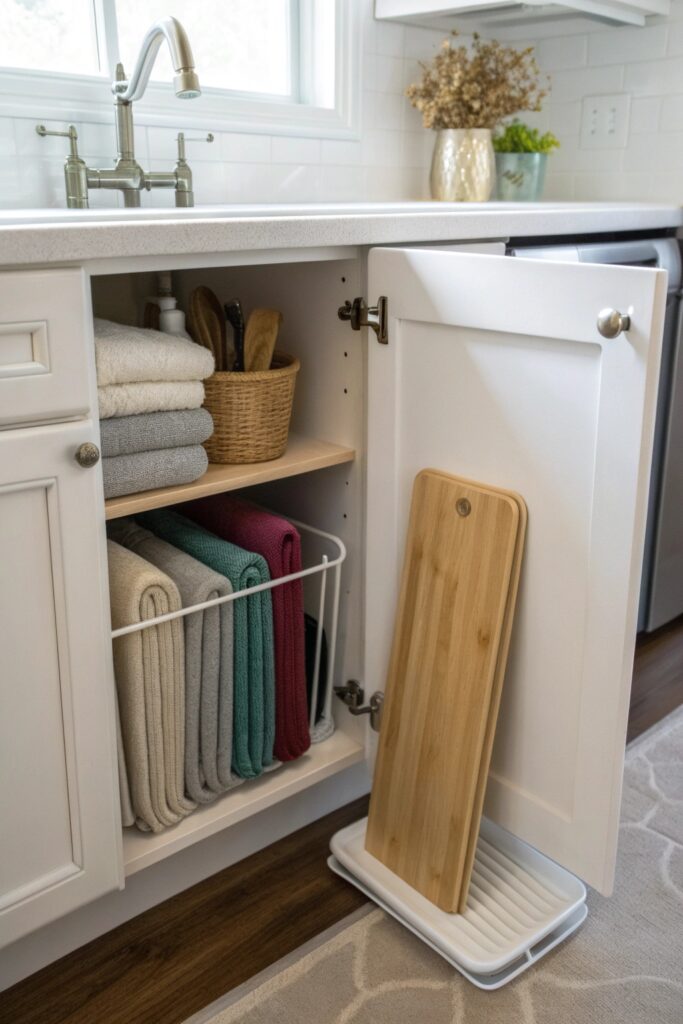
A simple divider (a tension rod, a repurposed file organizer, or a purchased vertical rack) keeps flat items like cutting boards, trays, or hair tool storage upright rather than stacked flat, where the item you need is always on the bottom.
This principle, common in kitchen cabinet organization, adapts well to a bathroom’s under-sink space for any flatter items that don’t stack neatly.
12. Do a Monthly Under-Sink Check
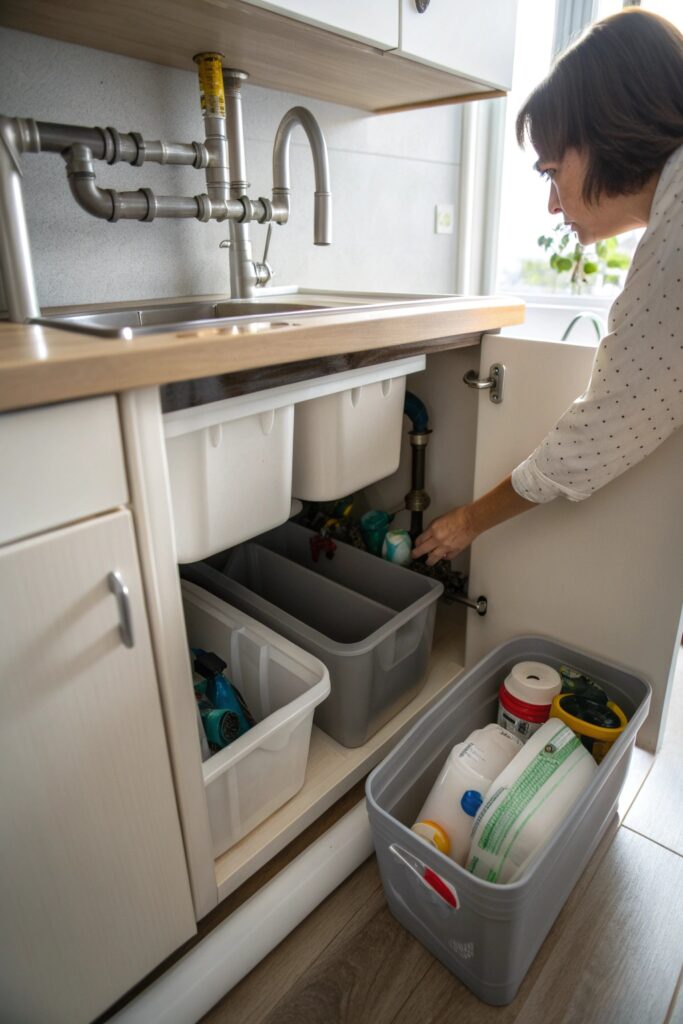
A brief monthly review catches expired products, leaks, or general disorganization before they become a larger problem, since under-sink cabinets are genuinely easy to forget about between active uses.
This is also the right time to check for any early signs of a pipe leak, which under-sink storage can otherwise hide from view until water damage has already occurred.
Final Thoughts
Measuring around your specific pipe layout before buying anything matters more here than in almost any other storage area, since under-sink space varies more between homes than a standard cabinet or drawer does. Tension rods and turntables are worth trying first if you’re on a tight budget, since both are low-cost, low-commitment ways to test whether a solution genuinely works in your specific space before investing in a larger organizational system.