
A gritty, sandpaper-like texture on a spray paint project usually traces back to one of a few specific causes — application technique, environmental conditions, or surface prep — and identifying which one applies determines whether the fix is a quick adjustment or a full redo.
Below are 10 causes to check, along with the specific technique adjustments that prevent each one going forward.
1. You’re Spraying Too Close to the Surface
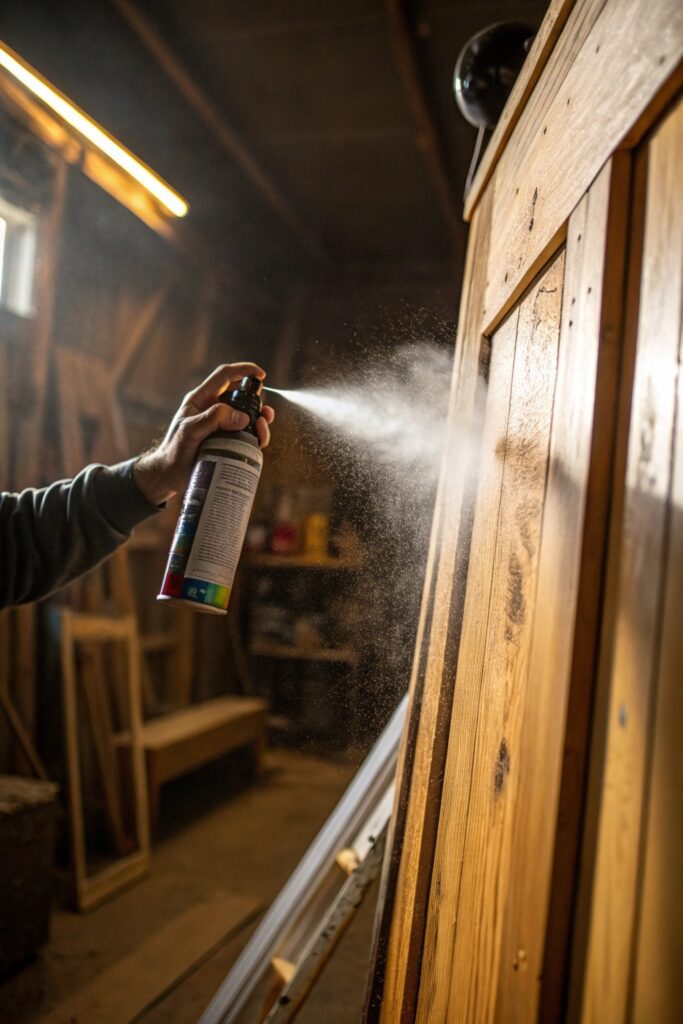
Holding the can too close to the surface (closer than the recommended 10-12 inches for most spray paints) causes the paint to land in a heavier, less atomized pattern, which dries with a rougher, more textured finish rather than a smooth coat.
Maintain a consistent distance throughout the pass, and keep the can moving steadily rather than pausing in one spot, which both contributes to an even, smooth application.
2. Dust and Debris Got Trapped in the Wet Paint
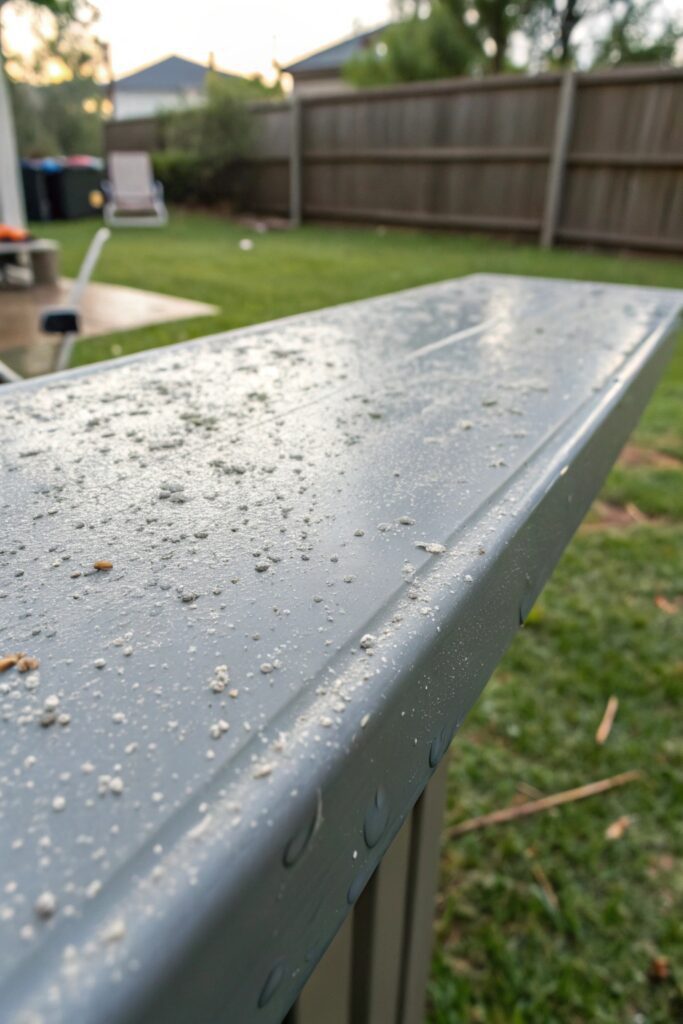
Even small airborne particles — sawdust, pollen, pet hair — landing on paint while it’s still wet get sealed into the finish as it dries, creating a gritty, sandpaper-like texture that wasn’t part of the paint application itself.
Spray in a genuinely clean, low-traffic area, and if working outdoors, choose a calm day rather than one with any noticeable breeze, since even light wind carries enough particulate to affect a fresh coat.
3. You Applied Coats Too Quickly
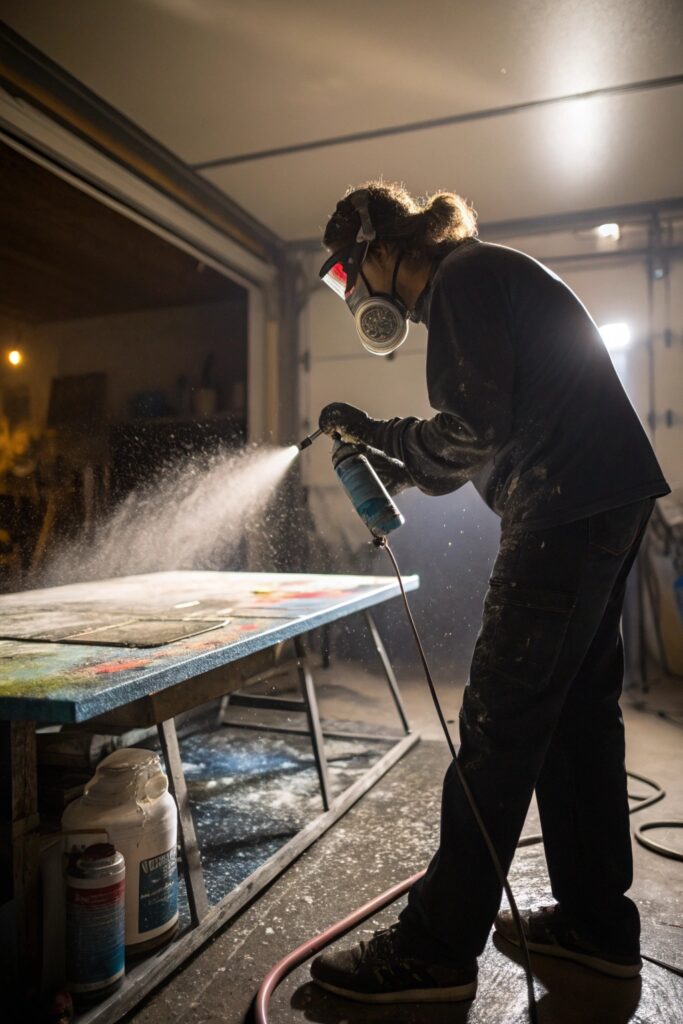
Recoating before the previous layer has properly tacked up causes the layers to interact poorly, often trapping solvents beneath the surface that create a bumpy, uneven texture as they eventually escape through the drying top layer.
Follow the specific product’s recoat window (usually printed on the can, often within 1 hour or after 24+ hours, avoiding the in-between period) rather than guessing based on how the surface feels to the touch.
4. The Paint Started Drying Mid-Air
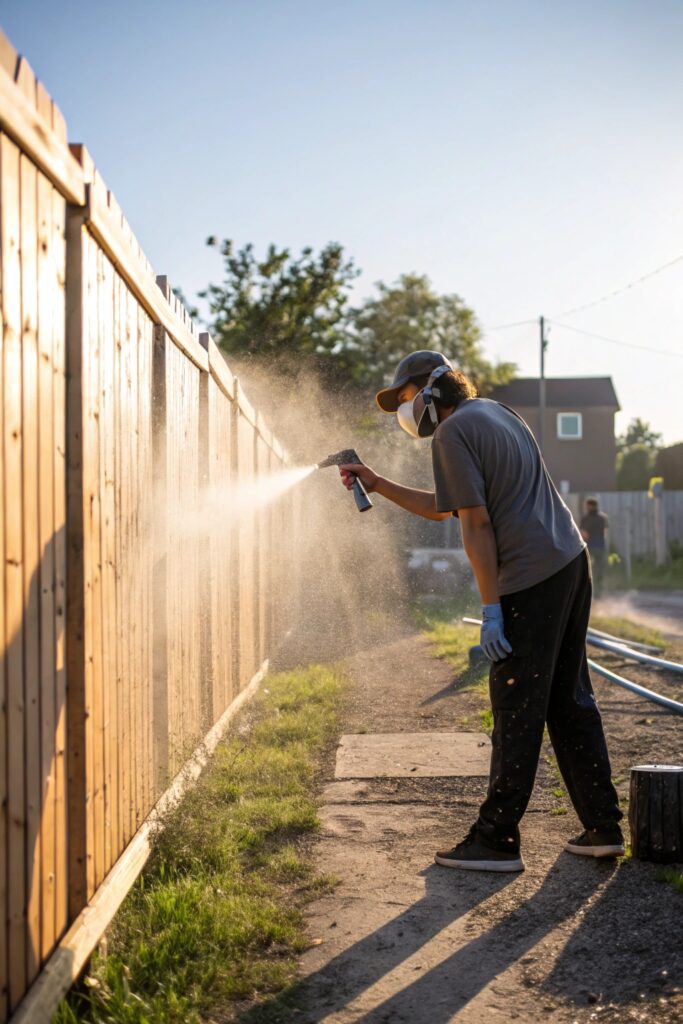
In hot or dry conditions, and especially when spraying from too far away, paint droplets can begin drying before they even reach the surface, landing as small dried particles rather than merging into a smooth wet film.
Spray paint in moderate temperatures (typically 50-90°F depending on the product) and avoid application in direct, intense sunlight or unusually dry conditions, both of which accelerate this mid-air drying effect.
5. You Didn’t Sand Between Coats
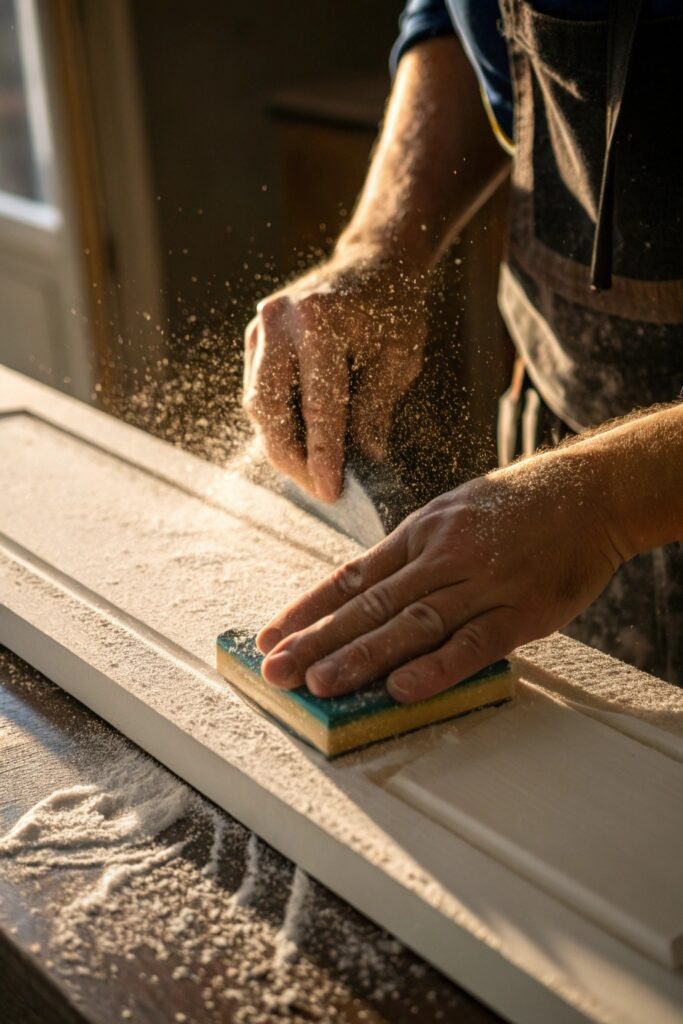
Skipping a light sanding pass between coats lets minor texture and imperfections from the first coat carry through and compound with each subsequent layer, building up a rougher overall finish than starting with a truly smooth base each time.
A very fine grit sandpaper (400-600 grit) lightly passed over a fully dried coat, followed by wiping away dust before the next coat, meaningfully improves final smoothness on multi-coat projects.
6. The Surface Wasn’t Prepped Properly
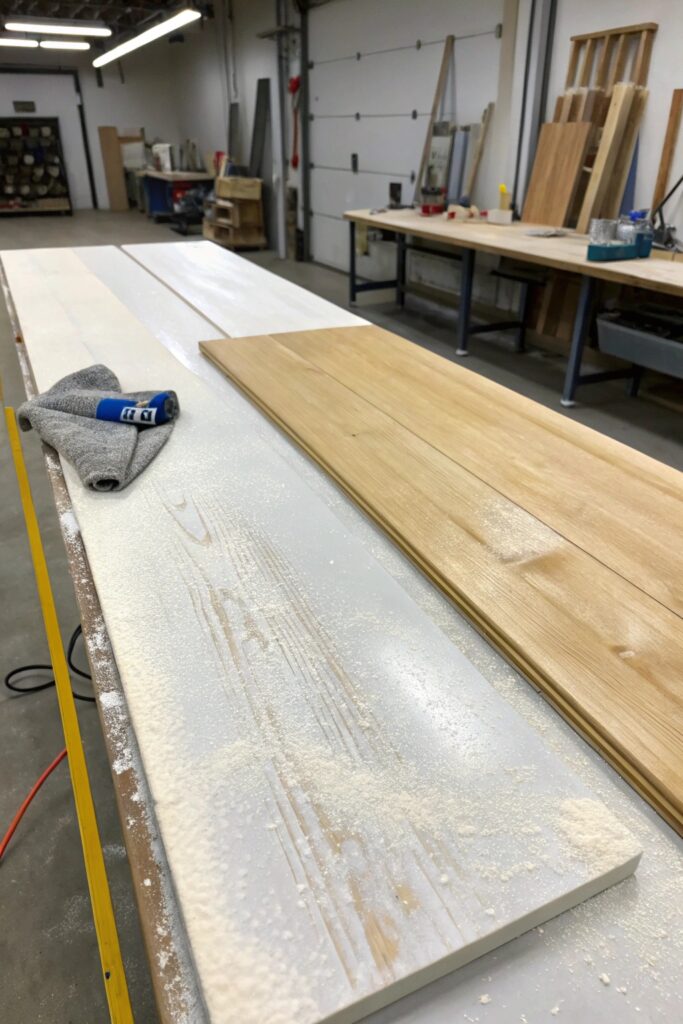
Painting over a surface with existing texture, old paint flaking, or residual dust and oils prevents new paint from bonding and leveling smoothly, since it’s essentially replicating whatever texture and contamination already existed underneath.
Clean the surface thoroughly, sand away any existing texture or loose material, and wipe with a tack cloth immediately before painting to remove any remaining dust that regular wiping might miss.
7. You’re Using the Wrong Type of Paint for the Surface
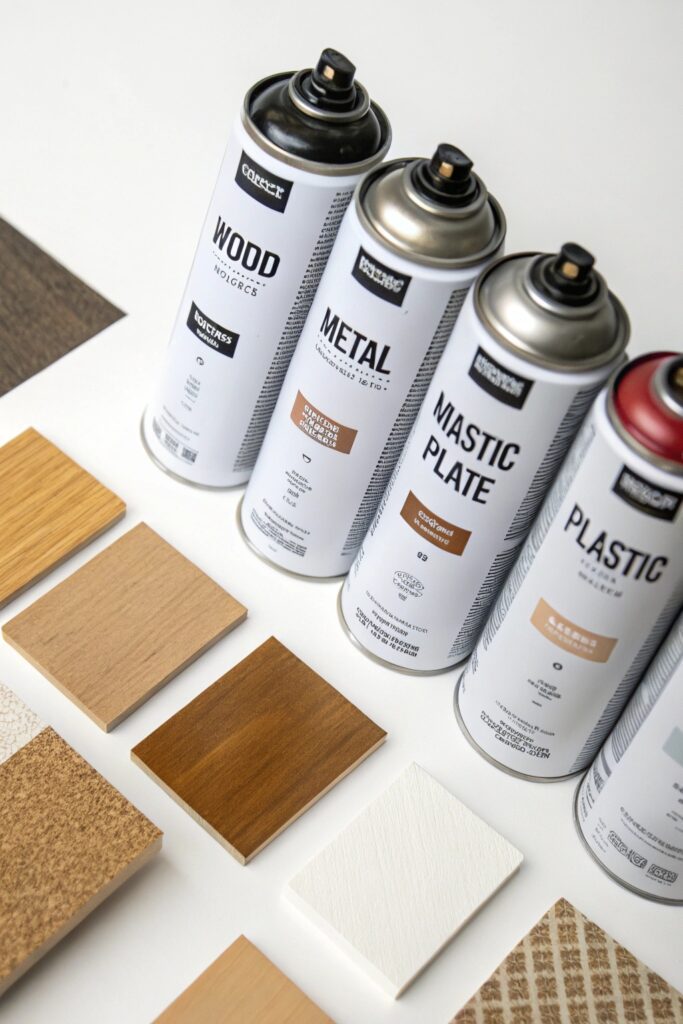
Using a paint not formulated for the specific material you’re covering (a plastic-specific paint on bare wood, for instance, or vice versa) can cause poor adhesion and an uneven cure, which often presents as a rough, inconsistent texture.
Match the paint formulation to your surface material specifically — most spray paint lines clearly label which surfaces they’re designed for (metal, plastic, wood, multi-surface) directly on the can.
8. Humidity Levels Were Too High
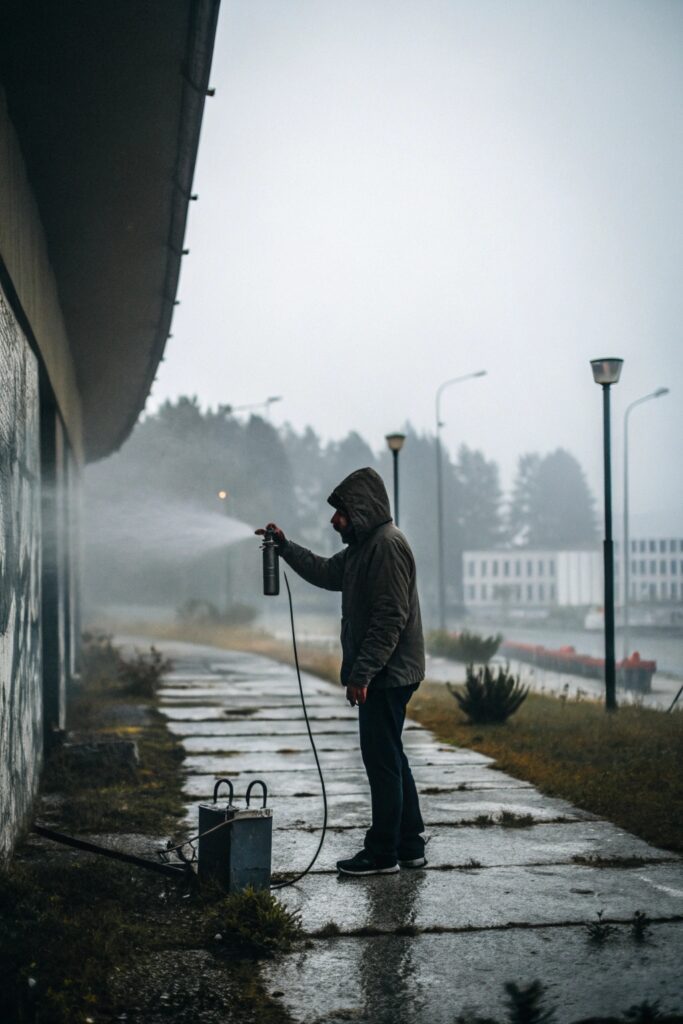
High humidity slows solvent evaporation unevenly across the painted surface, which can cause the paint film to cure with a slightly textured, uneven surface rather than the smooth finish it would achieve in more moderate conditions.
Check the specific product’s recommended humidity range (often under 70% relative humidity) and, if possible, wait for a drier day or use a dehumidifier in an enclosed spraying space.
9. You Applied Too Many Heavy Coats
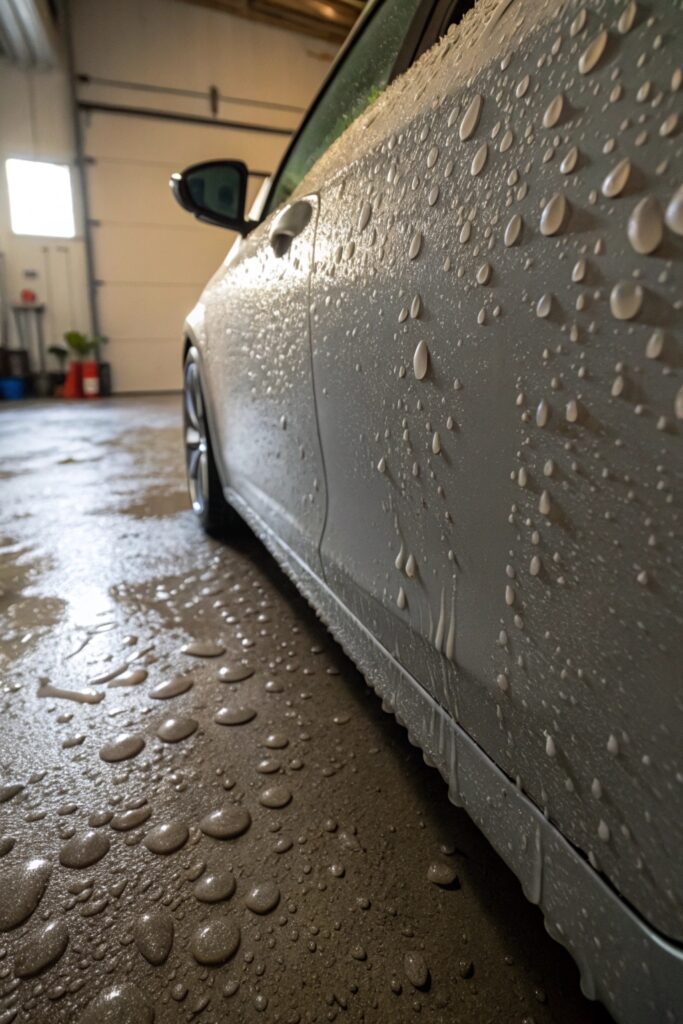
Thick, heavy coats — even if each individual pass seems fine — can trap solvents beneath the surface as they dry, leading to a textured, sometimes slightly wrinkled finish as trapped gas works its way out during curing.
Multiple thin coats consistently produce a smoother result than fewer heavy ones, even though it takes more passes and more total drying time to achieve full coverage.
10. You Skipped the Clear Coat Step
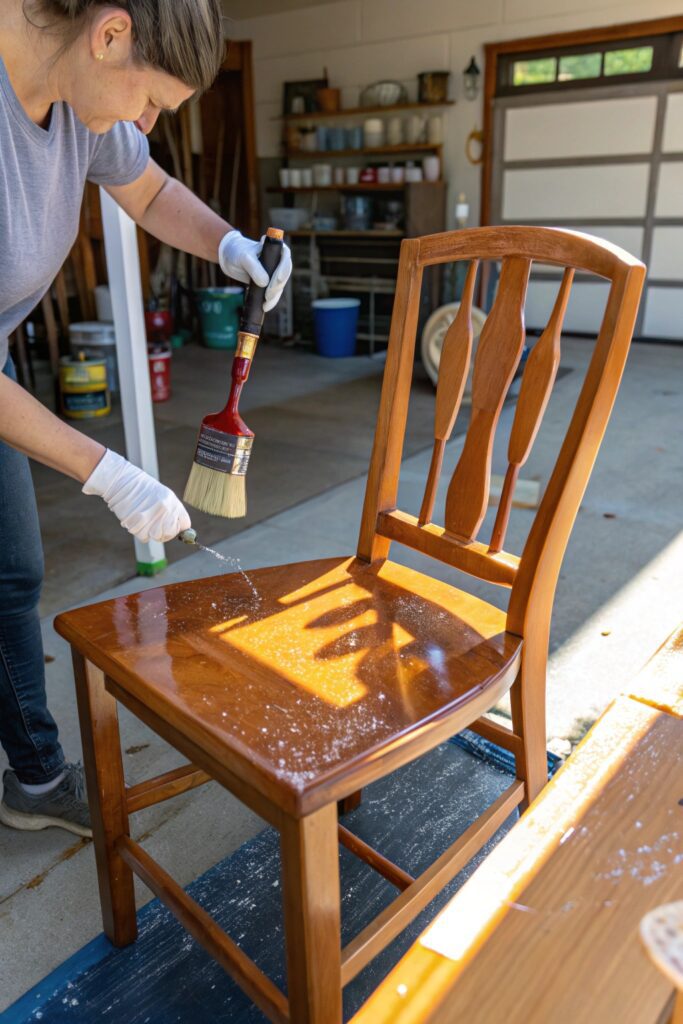
A clear protective topcoat not only adds durability but also helps level out minor texture inconsistencies in the base color coat, smoothing the overall finish in a way that’s noticeably different from a base coat left unsealed.
Choose a clear coat formulated to match your base paint’s finish (matte, satin, gloss) and specifically compatible with the base paint’s chemistry, since mismatched clear coats can react poorly and worsen texture rather than improve it.
How to Salvage a Project That’s Already Dried
If the rough texture has already fully cured, start with a light hand-sanding pass using 400-600 grit sandpaper to knock down the highest points without cutting through to bare material, then wipe thoroughly with a tack cloth before assessing whether the surface is smooth enough or needs an additional thin coat.
For textured spots that don’t sand out easily, a thin coat of the same paint applied correctly (proper distance, thin layer, adequate dry time) often levels out minor remaining texture better than continued sanding, which risks uneven color if you sand through to the surface underneath in some spots but not others.
Final Thoughts
Spray distance and coat thickness are the two most common culprits, and both are simple technique adjustments rather than surface or product issues. If a rough texture has already dried, a light sanding pass followed by a properly applied thin coat usually corrects it without needing to strip the project back to bare material.