
A balcony privacy solution needs to balance genuine screening against your specific lease restrictions, sun exposure, and how much airflow you want to preserve, which is why the right choice varies more by situation than any single universally best option.
Below are 12 ways to add privacy, with real costs and practical notes for each.
1. Hang Outdoor Curtains
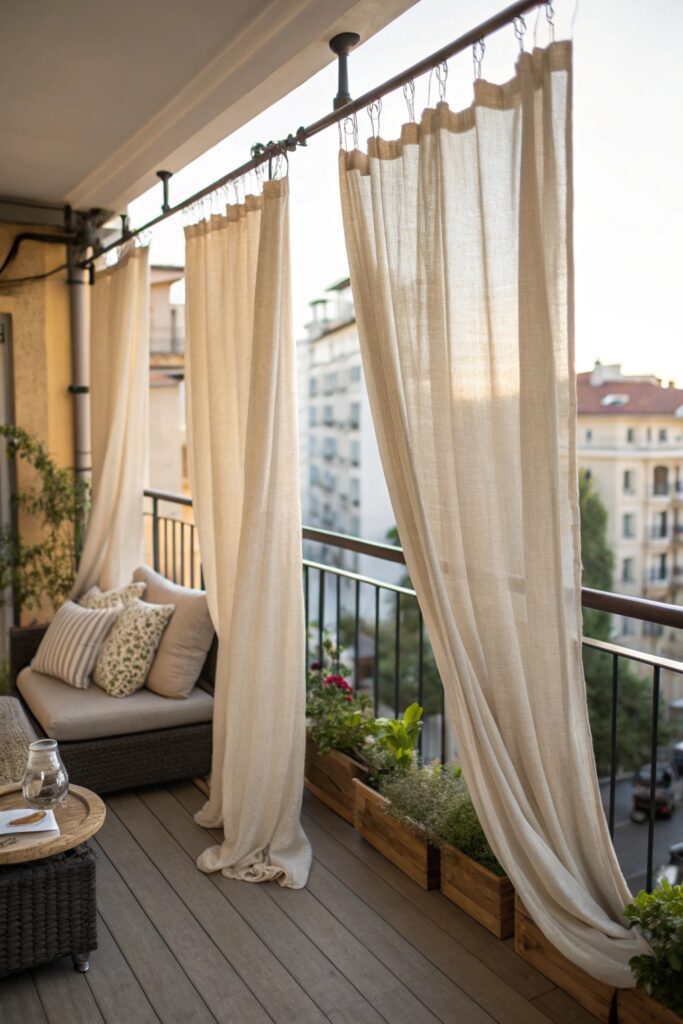
Weather-rated curtain panels ($20-40 per panel) hung from a tension rod between railing posts or an overhead structure create adjustable privacy that can be opened or closed as needed, without any permanent installation.
Choose fabric specifically rated for outdoor use (fade and mildew resistant) rather than repurposing indoor curtains, which will deteriorate considerably faster when exposed to sun and moisture.
2. Install a Bamboo or Reed Privacy Screen
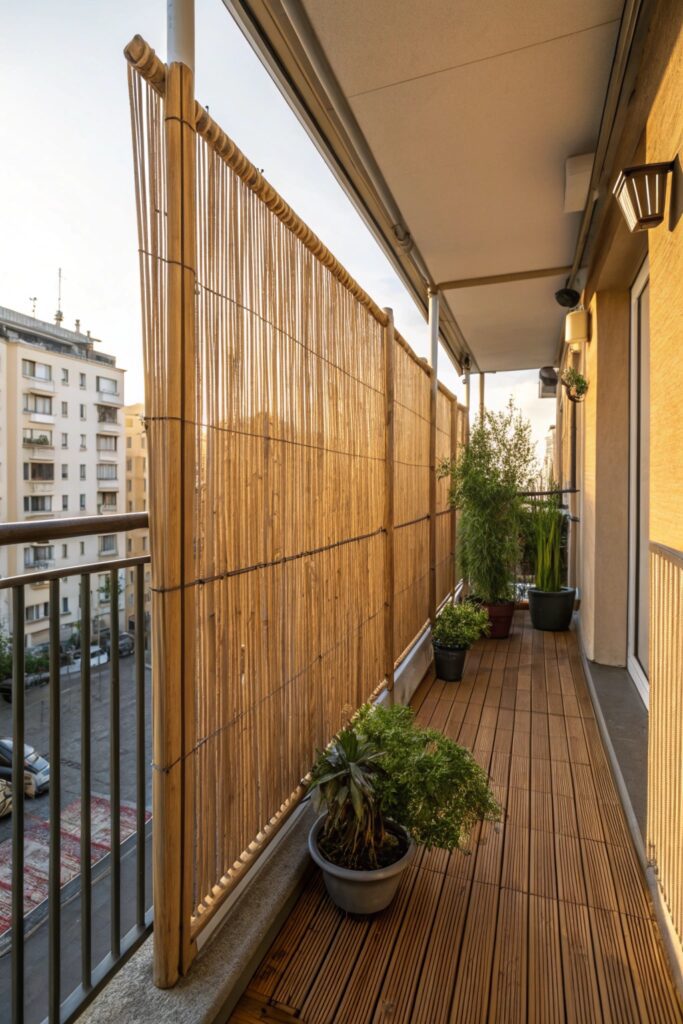
A roll-up bamboo or reed screen ($25-50) zip-tied to a railing provides a genuinely effective visual barrier while still allowing some airflow, and it’s fully removable at move-out, making it a solid renter-friendly option.
Check your specific lease or HOA rules before installing anything attached to an exterior railing, since some buildings restrict visible modifications to balcony exteriors even for removable items.
3. Add a Tall Privacy Fence Panel
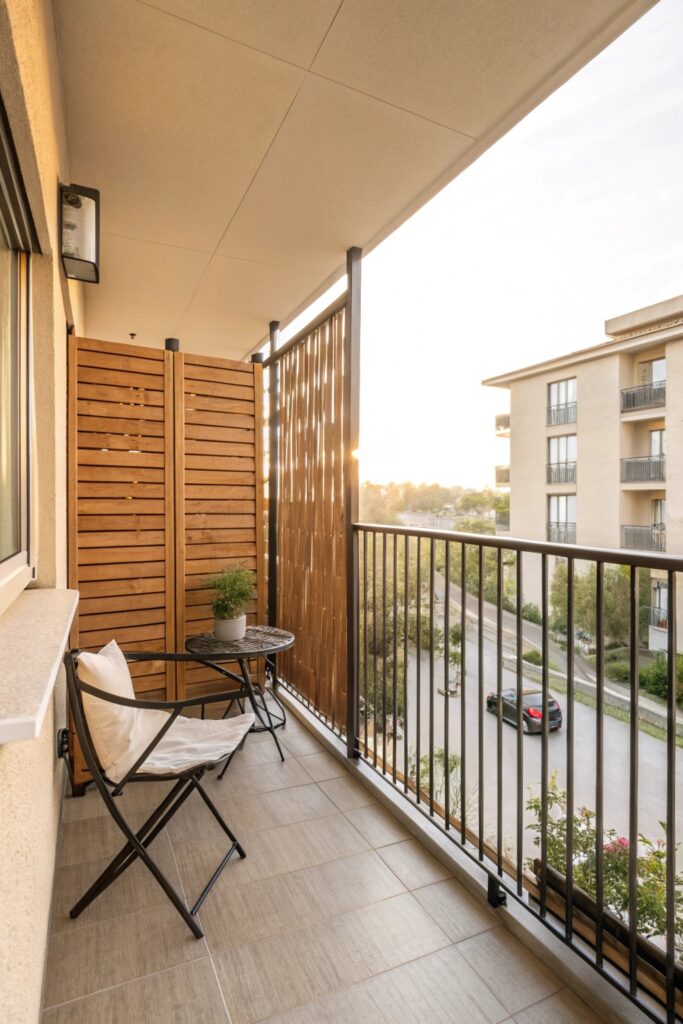
A freestanding privacy panel ($60-150) that doesn’t attach to the railing at all works well where lease restrictions prohibit railing modifications, since it simply stands on the balcony floor rather than being mounted.
Weight matters for stability in wind — check the specific panel’s base design and consider adding sandbags or a weighted planter at the base for genuinely windy balcony locations.
4. Grow a Living Privacy Wall
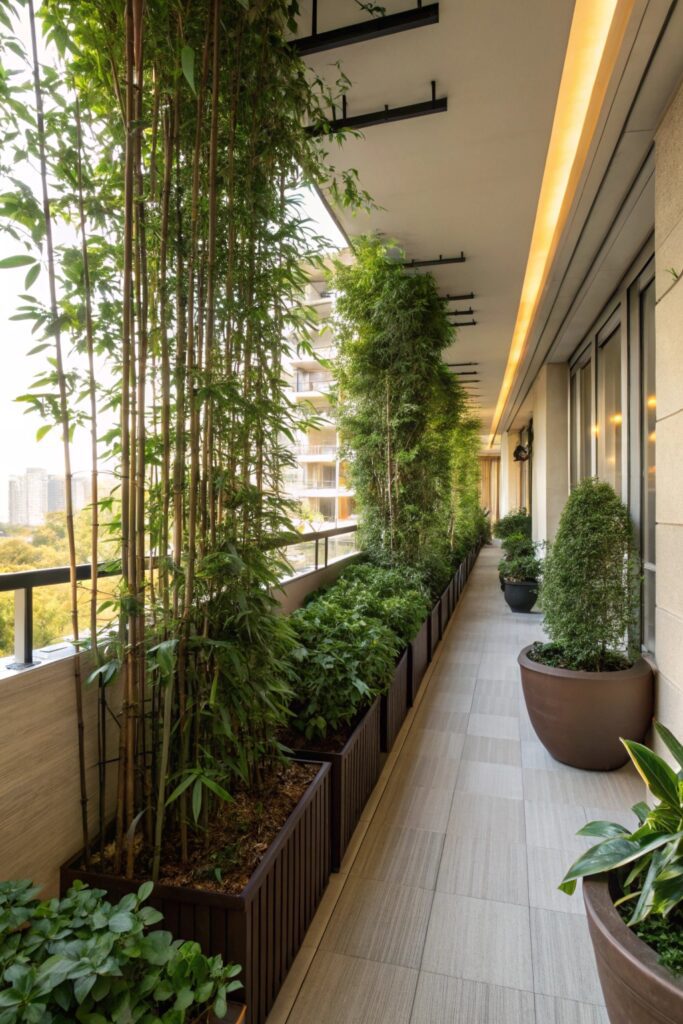
A row of tall potted plants (bamboo, arborvitae, or similar dense evergreens) creates a genuine living screen that also adds greenery and softens the balcony’s overall look, though it takes real time to fill in fully compared to an instant installed screen.
Choose plants rated for your specific climate zone and balcony’s sun exposure, and confirm your building’s weight restrictions for balcony planters if using large, soil-filled containers.
5. Use a Retractable Privacy Screen
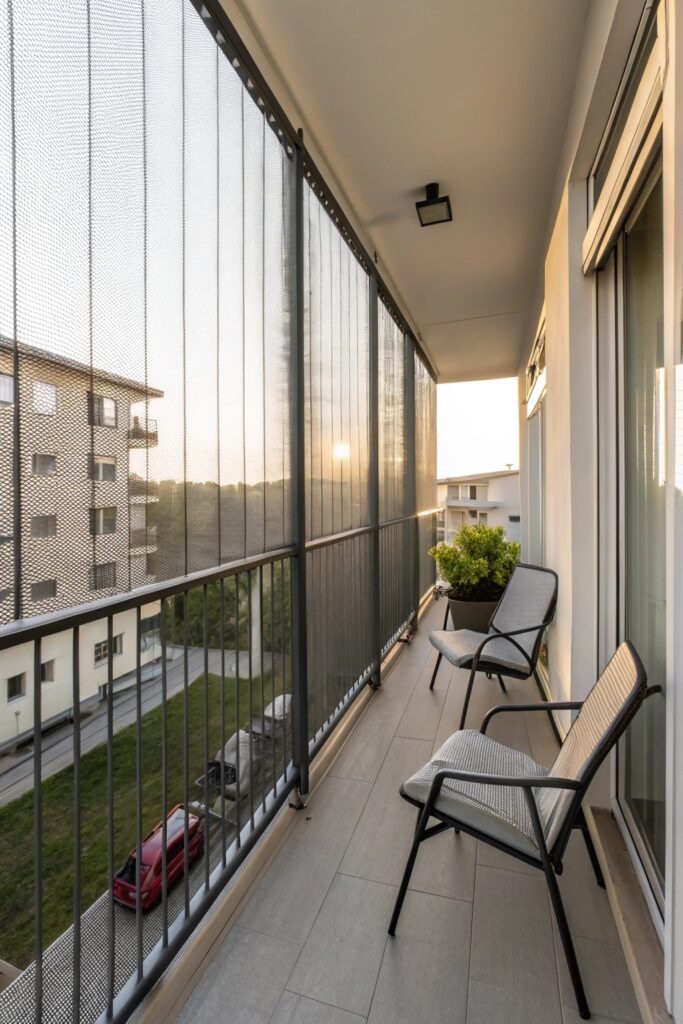
A retractable screen ($40-90) mounted to one side lets you extend privacy only when needed and retract it for full views or ventilation the rest of the time, offering more flexibility than a fixed panel.
This works especially well for balconies used at different times for different purposes — fully open for morning coffee with a view, extended for evening privacy.
6. Hang a Trellis With Climbing Plants
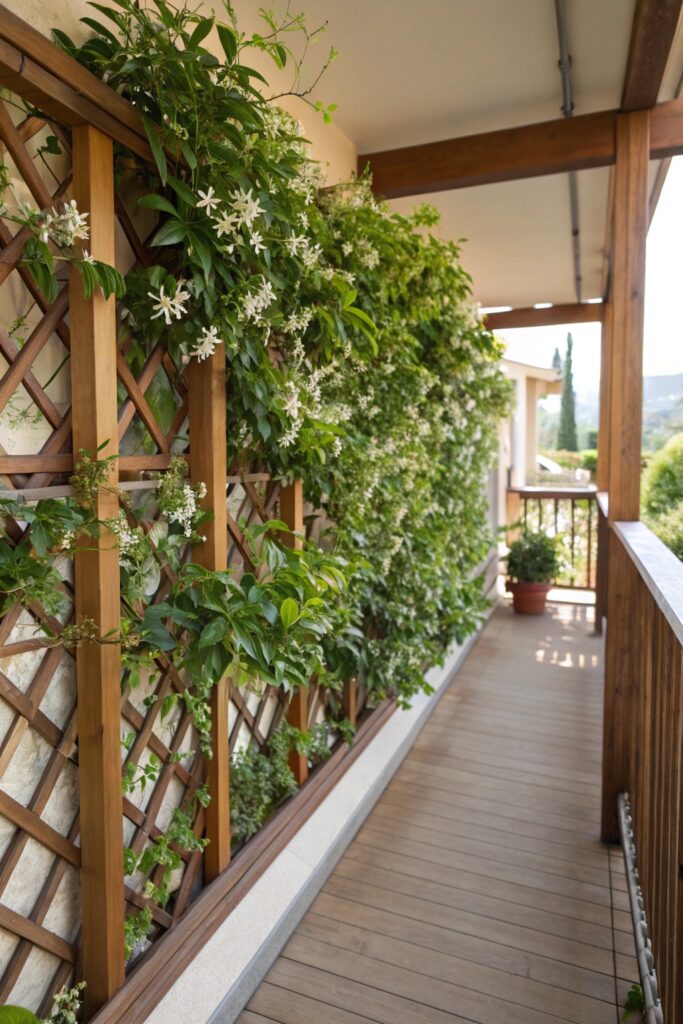
A wood or metal trellis ($30-70) paired with a fast-growing climbing vine (like clematis or morning glory, depending on climate) creates privacy that fills in and becomes more effective over a single growing season.
This is a genuinely lower-maintenance option once established compared to potted screening plants, since a well-chosen climbing vine needs less regular care than a row of individual container plants.
7. Add Outdoor Blinds
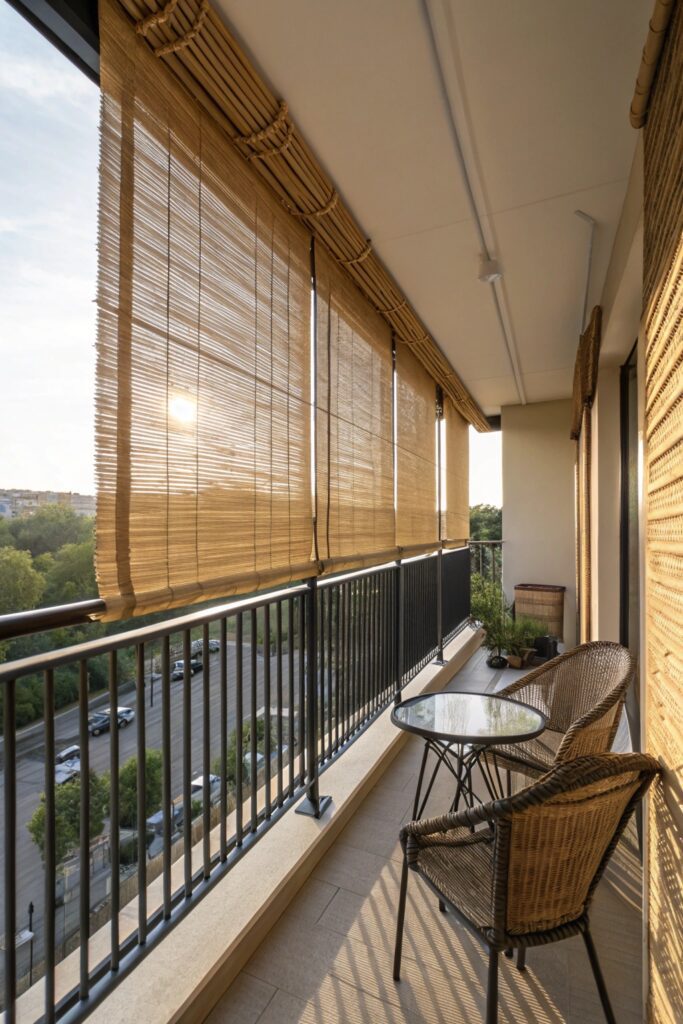
Roll-up bamboo or PVC outdoor blinds ($30-70) mounted at the top of a balcony opening provide adjustable coverage similar to indoor blinds, letting you control exactly how much privacy and light you want at any given time.
Confirm the specific mounting hardware works with your balcony’s structure before purchasing, since some outdoor blind systems require drilling into a ceiling or overhead structure that not all balconies have available.
8. Use Frosted Window Film on Glass Railings
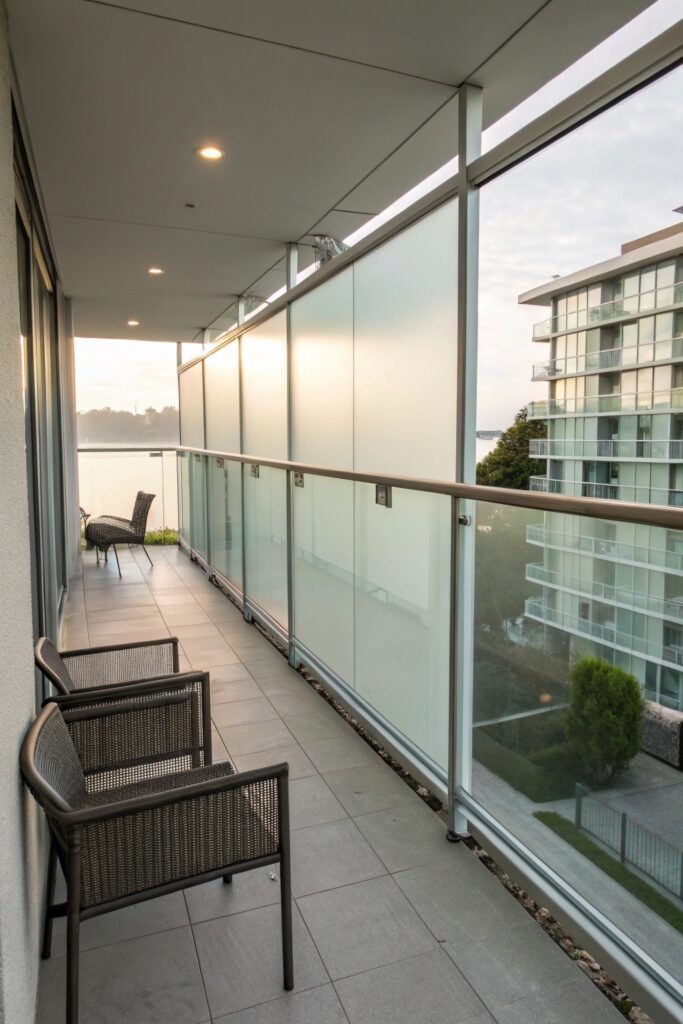
For balconies with glass rather than solid railings, frosted or textured window film ($15-30) blocks direct sightlines while still allowing light through, and it applies without any drilling or permanent structural change.
Static-cling film specifically (rather than adhesive) is fully removable and leaves no residue, which matters for a rental where the glass railing needs to return to its original clear state at move-out.
9. Create a Corner Nook With a Canopy
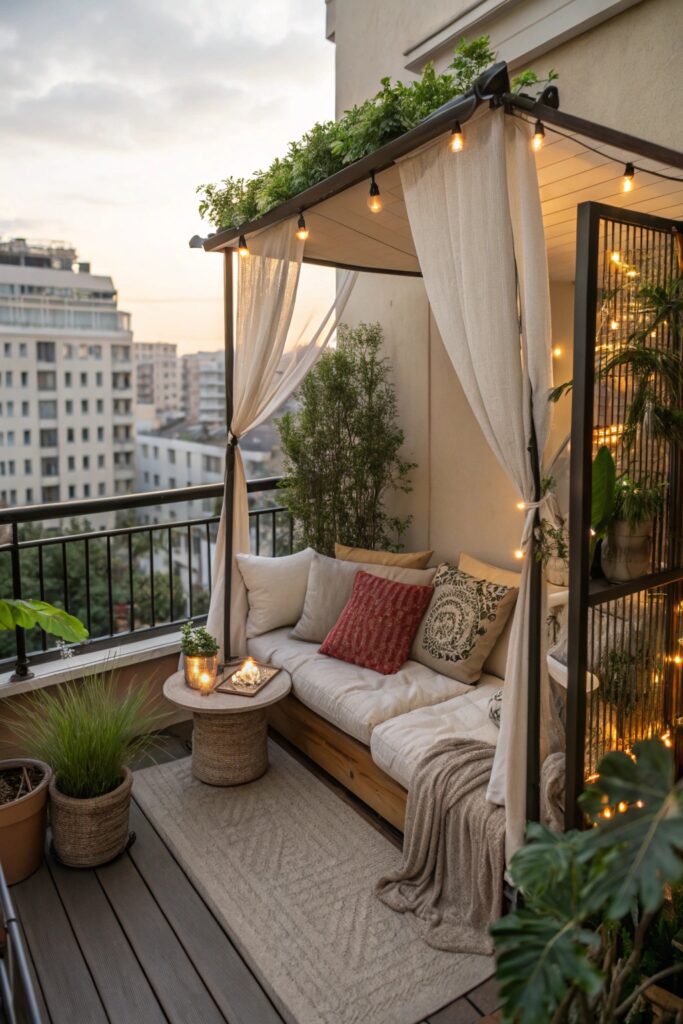
A small canopy or umbrella positioned to cover one seating corner creates a partially enclosed, more private feeling zone within the balcony, working well combined with a side screen for fuller coverage.
This approach also provides genuine sun and light rain protection, adding function beyond just the privacy benefit.
10. Layer in Outdoor Rugs and Furniture for a “Room” Feel
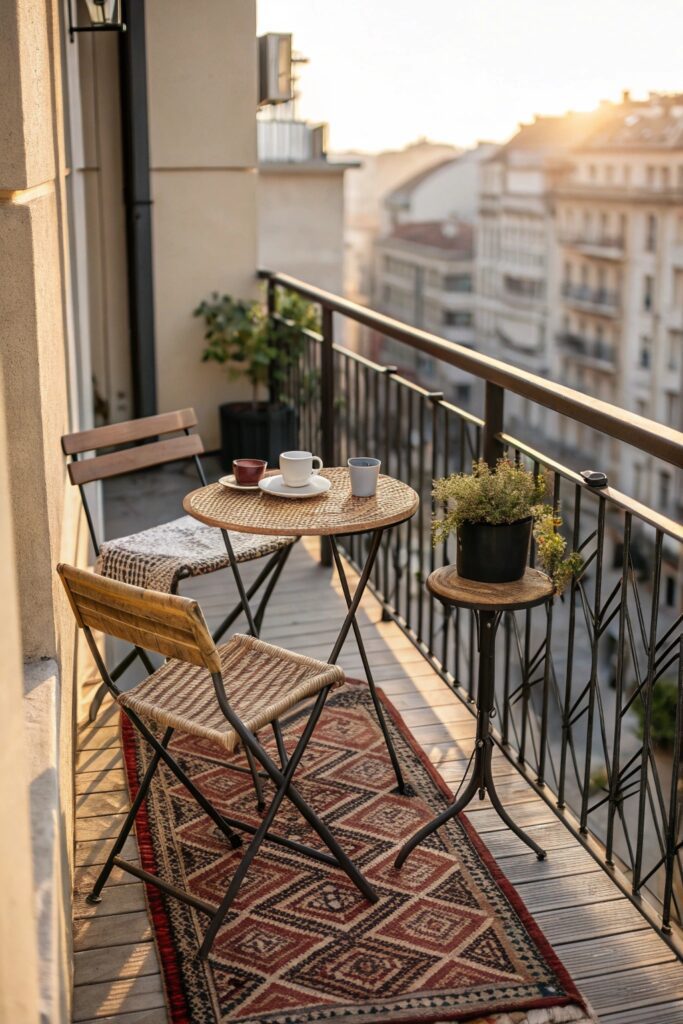
A properly sized outdoor rug and a couple of pieces of furniture transform a balcony from an unused transitional space into a genuine outdoor room, which makes any privacy screening feel like it’s protecting an actual living space rather than an empty platform.
Choose furniture scaled appropriately to your specific balcony’s dimensions — oversized pieces on a small balcony reduce usable floor space more than they add function.
Quick Furniture Checklist
Measure your balcony’s exact dimensions before buying any furniture, confirm weight limits with your building if required, and choose weather-resistant materials (powder-coated metal, treated wood, or all-weather wicker) that won’t deteriorate quickly with direct sun and rain exposure.
11. Use Vertical Garden Panels
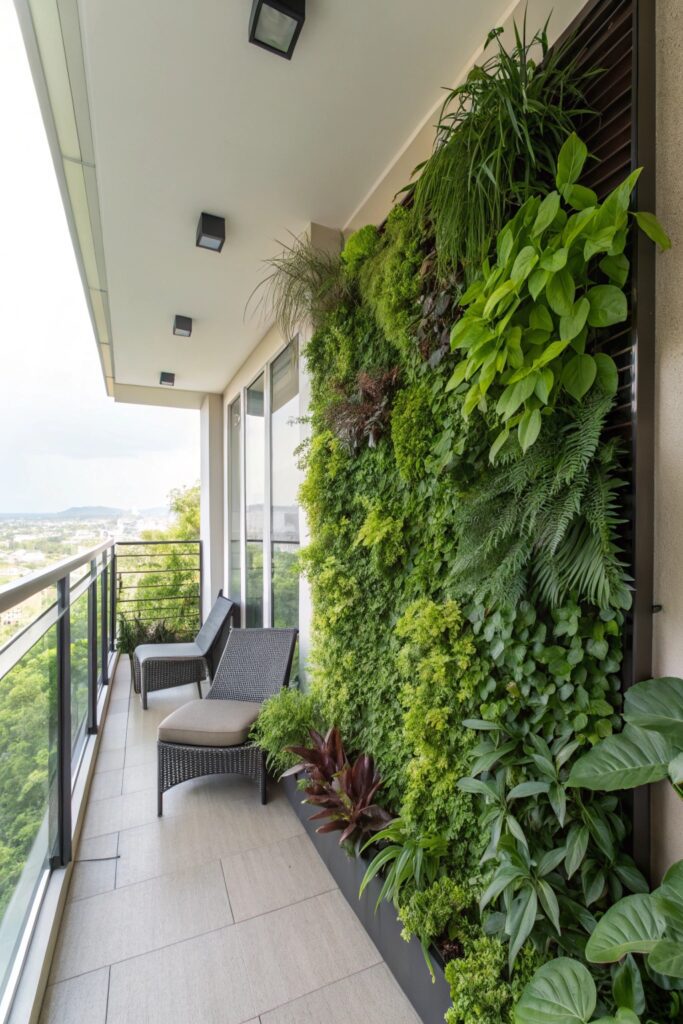
A wall-mounted vertical garden system ($40-100) combines privacy screening with a genuine growing space for herbs or small plants, making efficient use of a balcony’s limited square footage by building upward rather than out.
These systems typically use a pocket or modular panel design specifically built for vertical planting, which handles drainage differently than a standard horizontal planter and is worth reading the specific product’s watering instructions before setup.
12. Add String Lights and a Privacy Screen Combo
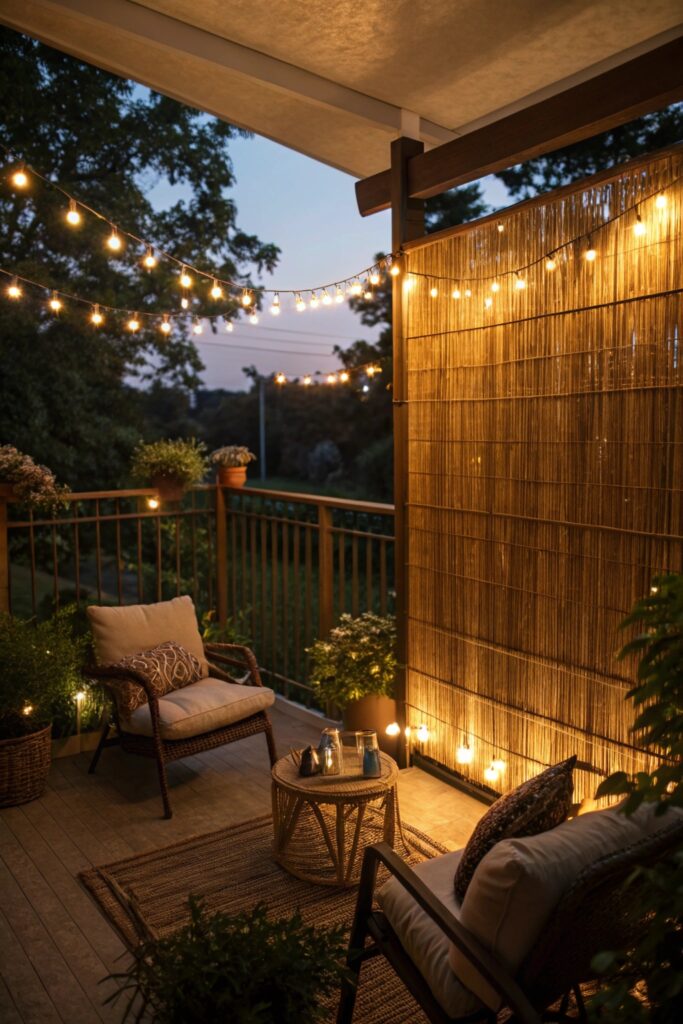
Pairing warm string lights with any of the screening options above extends the balcony’s usable hours into the evening while the screen handles daytime privacy, making the space function well at more times of day.
Solar-powered string lights avoid needing an outdoor-rated extension cord, which is a genuine consideration for balconies without an accessible exterior outlet.
Choosing the Right Option for Your Balcony
Start by checking your lease or HOA restrictions on railing attachments and visible modifications, since this eliminates some options immediately regardless of preference. From there, balance how much privacy you actually need against how much natural light and airflow you want to preserve — a fully solid screen blocks the most sightlines but also cuts the most light, while a living wall or trellis takes longer to establish but preserves more openness in the meantime.
Final Thoughts
Outdoor curtains and a bamboo screen are worth starting with for most rental situations, since both are genuinely effective, fully removable, and don’t require any drilling or permanent installation. A living privacy wall is worth the longer setup time if you’re staying in the space long enough to let plants establish and want a more natural, evolving look.