
A simple coat of paint transforms a plain terracotta pot into something considerably more personal, and most of these designs require just basic craft supplies to execute.
Below are 15 painted pot ideas worth trying, with practical notes for each.
1. Bold Geometric Patterns
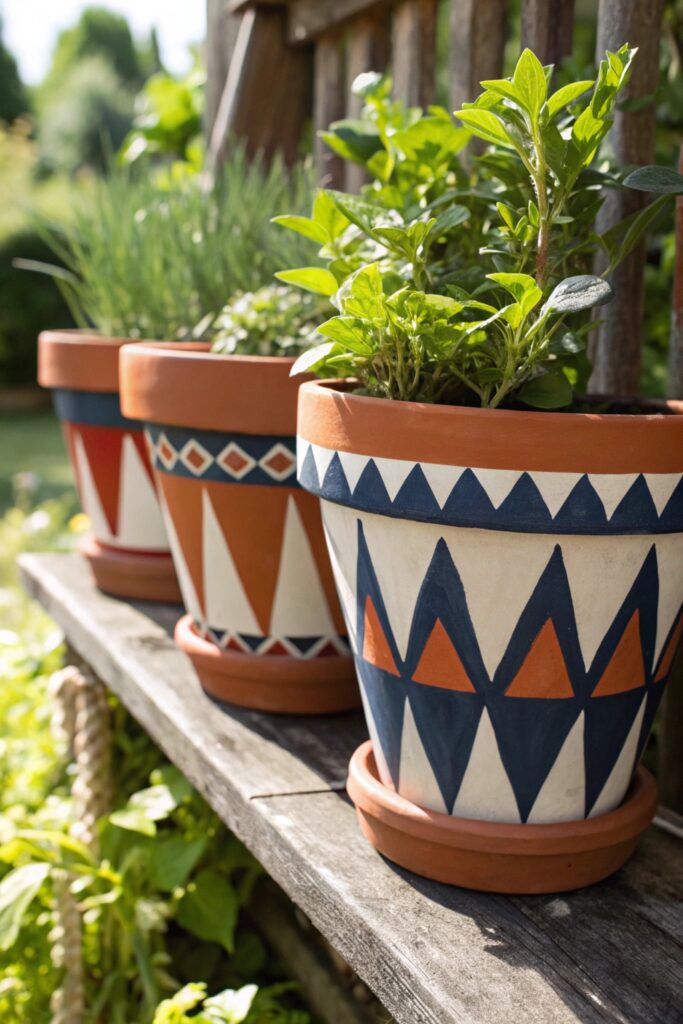
Painter’s tape helps create crisp, clean lines for this design, which is considerably harder to achieve freehand.
Choose high-contrast color pairings specifically for this style, since bold patterns rely on clear visual separation between colors to read well.
2. Ombre Gradient Pots
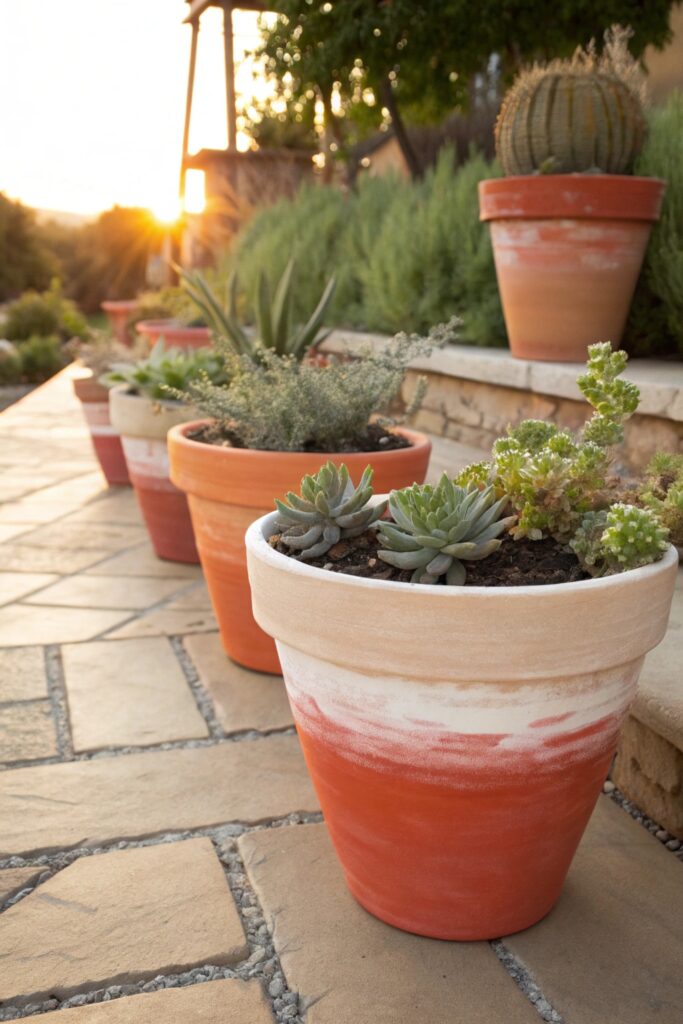
Blending wet paint while it’s still workable, rather than letting each layer dry first, creates a smoother gradient transition.
Choose complementary color pairs for the gradient, which blend more naturally than colors positioned opposite each other on the color wheel.
3. Terracotta Pots with Painted Faces
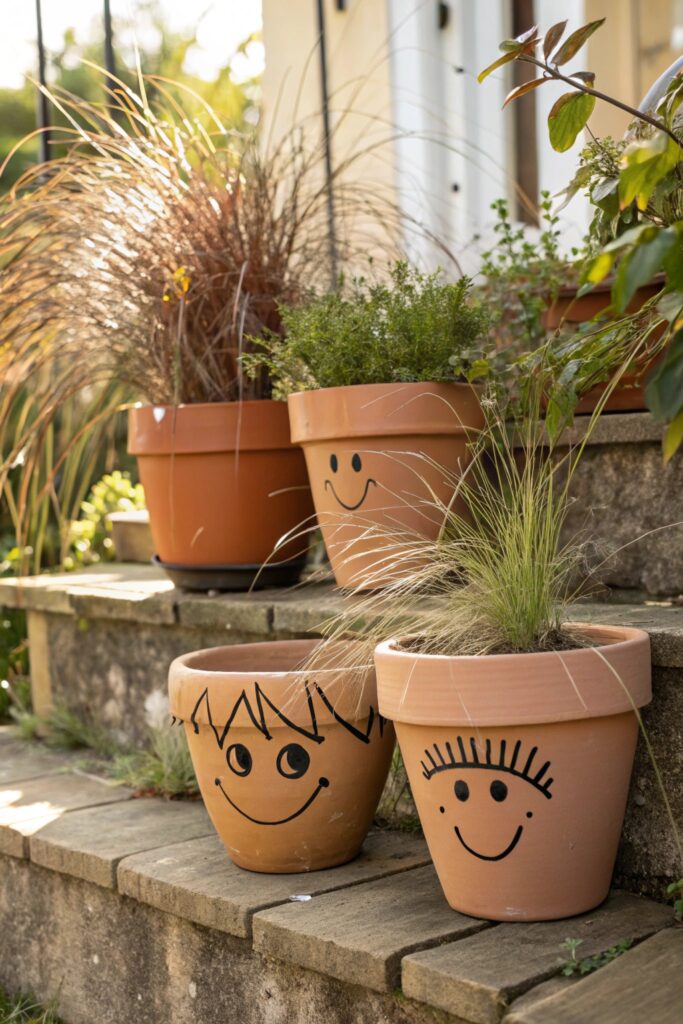
Simple, minimal facial features tend to look more charming than an overly detailed design on a small curved surface.
Choose food-safe or non-toxic paint if the pot might come into contact with edible plants, even though the paint itself stays on the exterior.
4. Minimalist Line Art Pots
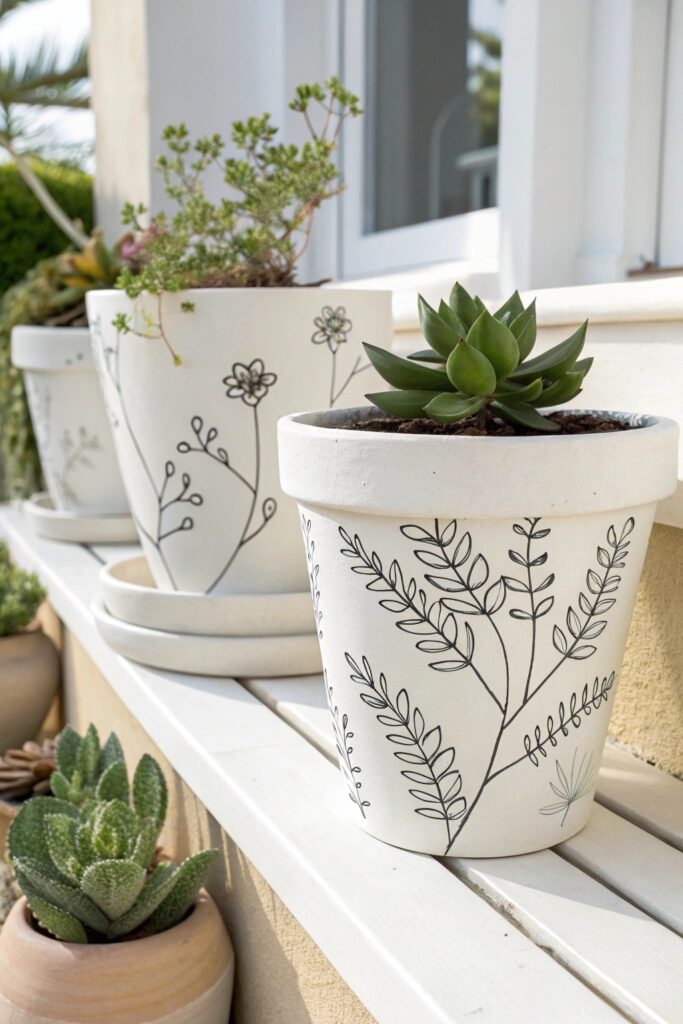
A thin paint pen or fine brush works better for this style than a standard craft brush, which can make lines look thicker than intended.
Choose acrylic paint pens specifically for this style, which offer more control than a standard brush for fine, consistent lines.
5. Colorful Striped Pots
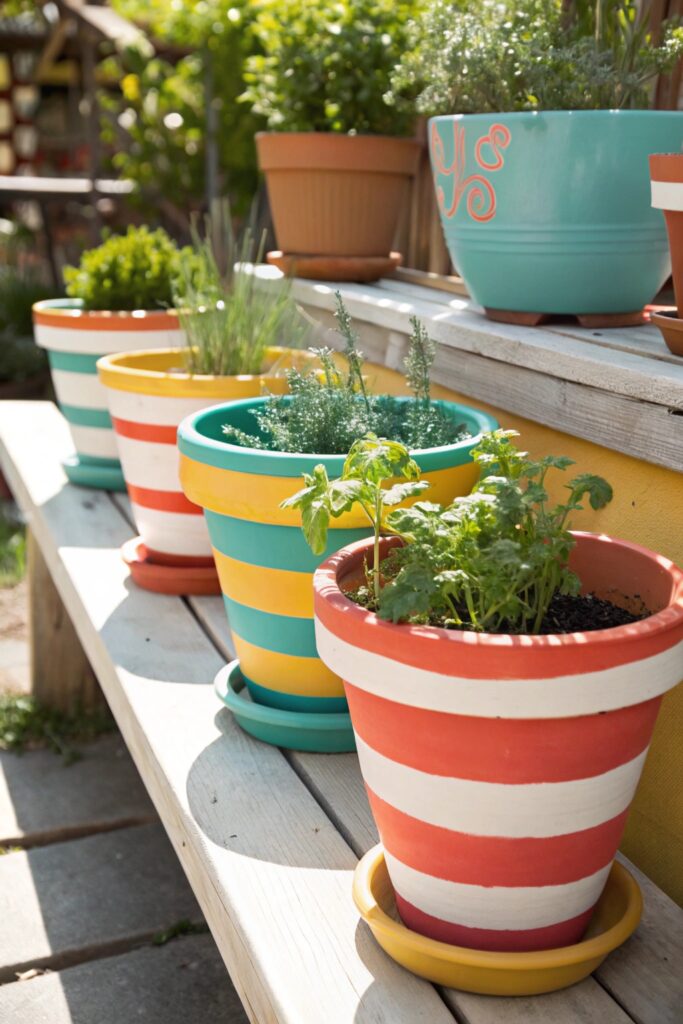
Consistent stripe width, measured and marked before painting, creates a cleaner look than eyeballing the spacing.
Choose painter’s tape rated for the surface texture of terracotta, since standard tape can sometimes pull away paint when removed from a porous material.
6. Galaxy and Cosmic Painted Pots
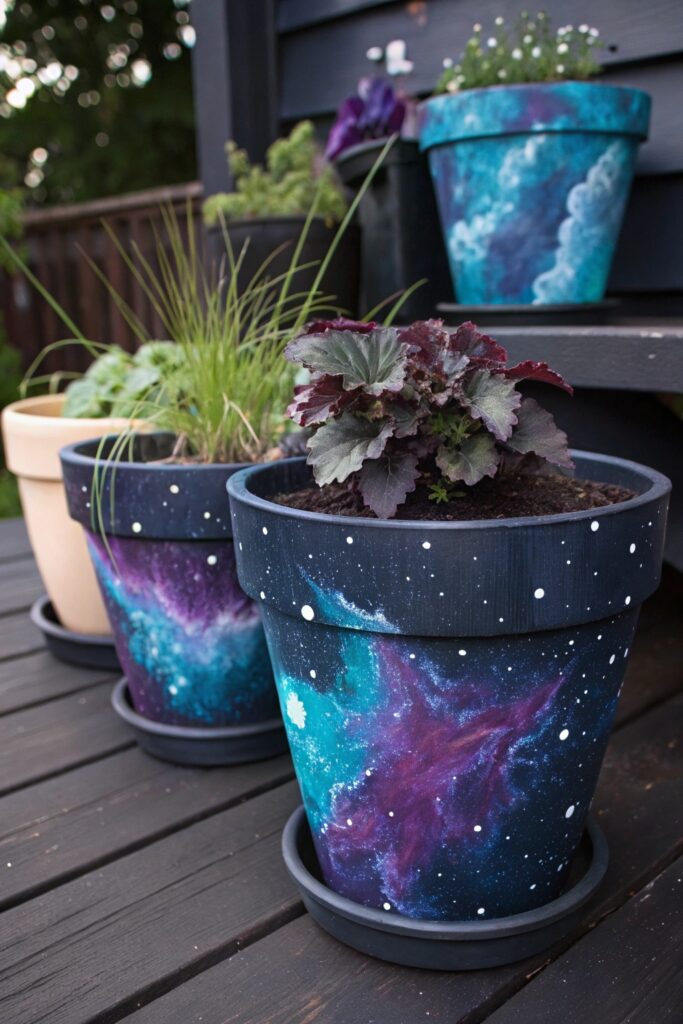
Layering dark blues and purples first, then adding lighter speckled highlights on top, builds the depth this style depends on.
Choose metallic or iridescent paint for star highlights specifically, which catches light more convincingly than flat white paint alone.
7. Monstera Leaf Painted Pots
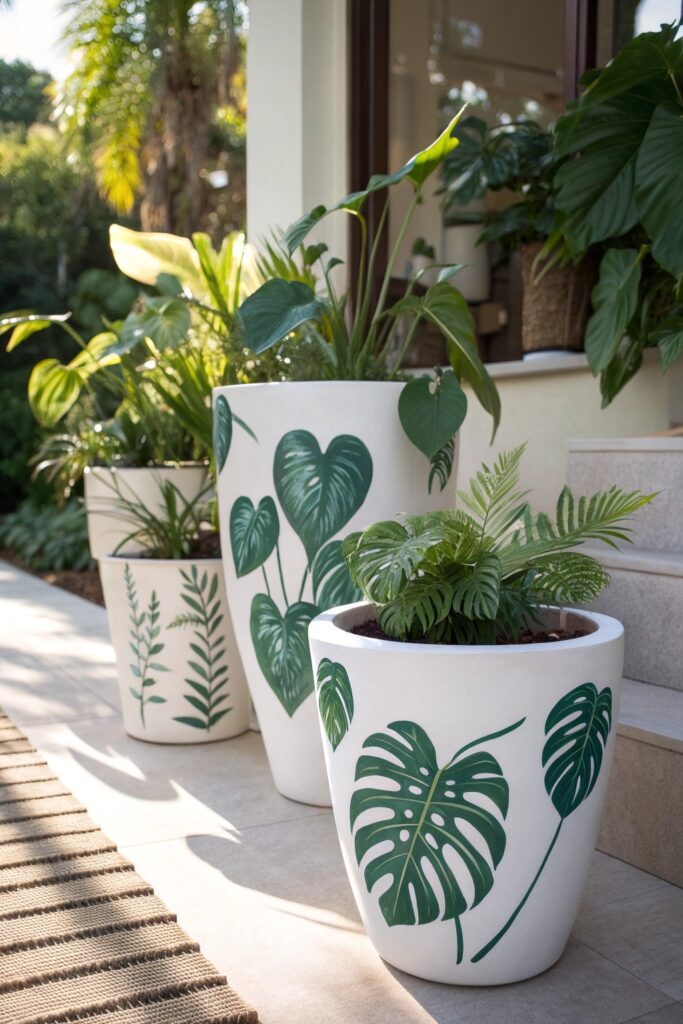
Sketching the leaf shape lightly in pencil first helps guide the paint and avoid an uneven or lopsided final design.
Choose varied green tones for the leaf design, since a single flat green can look less convincing than layered lighter and darker shades.
8. Chalkboard Paint Pots
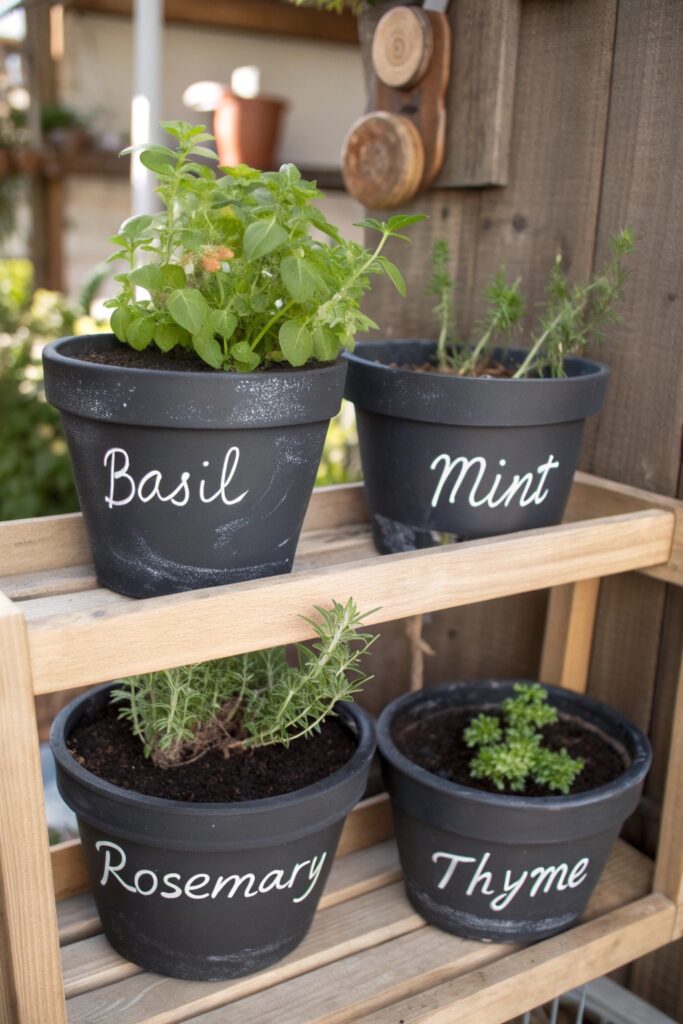
Chalkboard paint needs a proper curing period before use, so plan ahead if you want to write on the pot soon after painting.
Choose liquid chalk markers over traditional chalk for a cleaner writing experience, and both wipe away considerably easier for redesigns later.
9. Watercolor Effect Pots
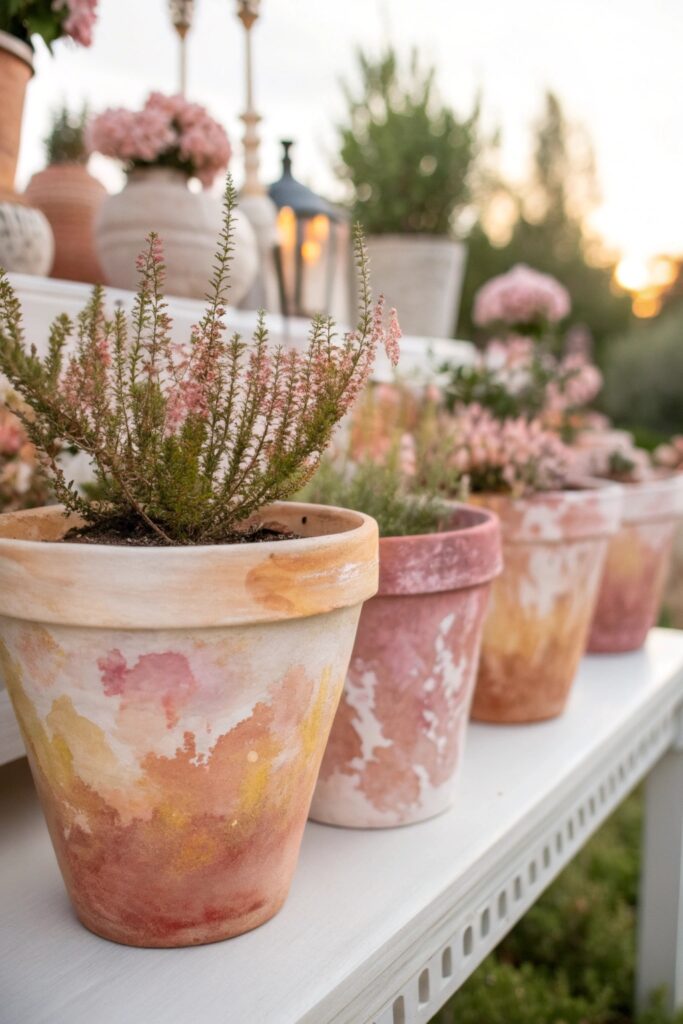
Diluting acrylic paint with water mimics a true watercolor look, working better on a porous surface like unglazed terracotta.
Choose good-quality watercolor-style acrylics specifically, since cheaper paints can look chalky rather than achieving a true translucent watercolor effect.
10. Aztec and Tribal Pattern Pots
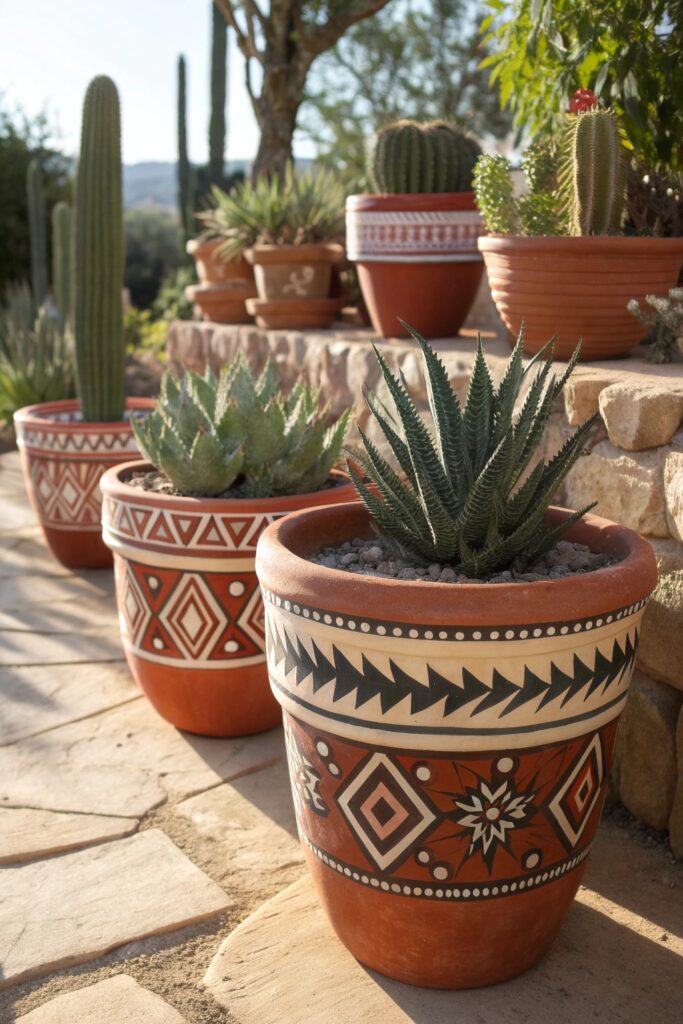
Researching authentic pattern references, rather than a generic approximation, results in a more respectful and visually interesting design.
Choose bold, contrasting colors for this pattern style, since Aztec and tribal designs traditionally rely on strong color contrast to read clearly.
11. Color-Blocked Pots
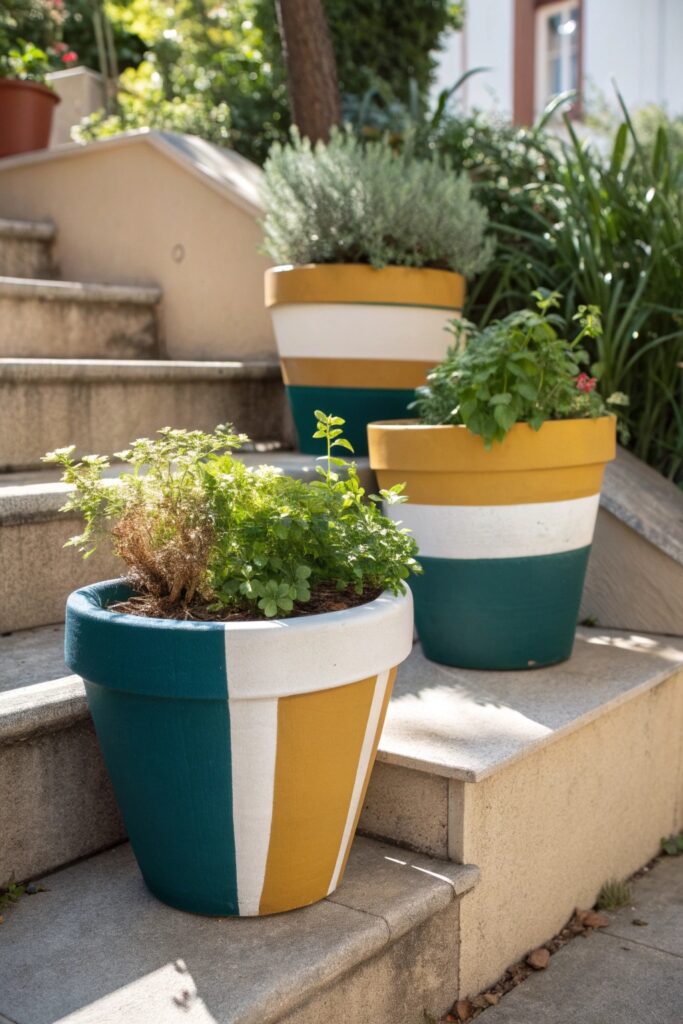
Taping off clean sections before painting each color block keeps the edges crisp rather than blending unintentionally.
Choose complementary rather than clashing color combinations for the blocks, which creates a more intentional look than random color pairing.
12. Nature-Inspired Leaf Print Pots
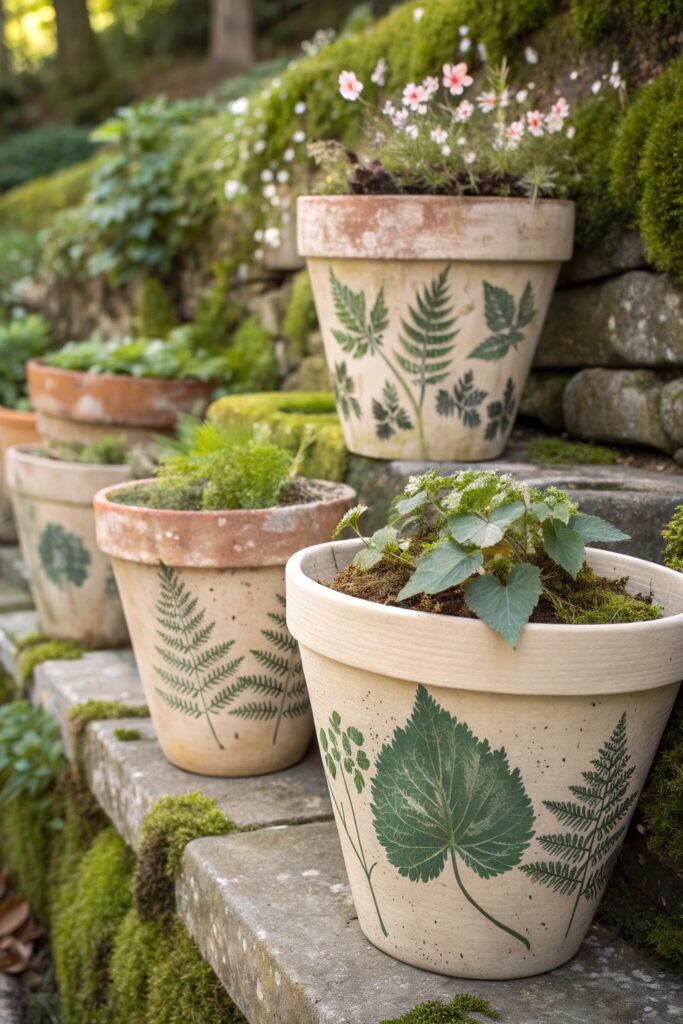
Pressing an actual leaf coated in paint onto the pot creates an authentic, detailed print that’s difficult to replicate by hand.
Choose thick, textured paint applied with a real leaf for the most authentic print, since thin paint can smudge and lose detail during the press.
13. Polka Dot Pots
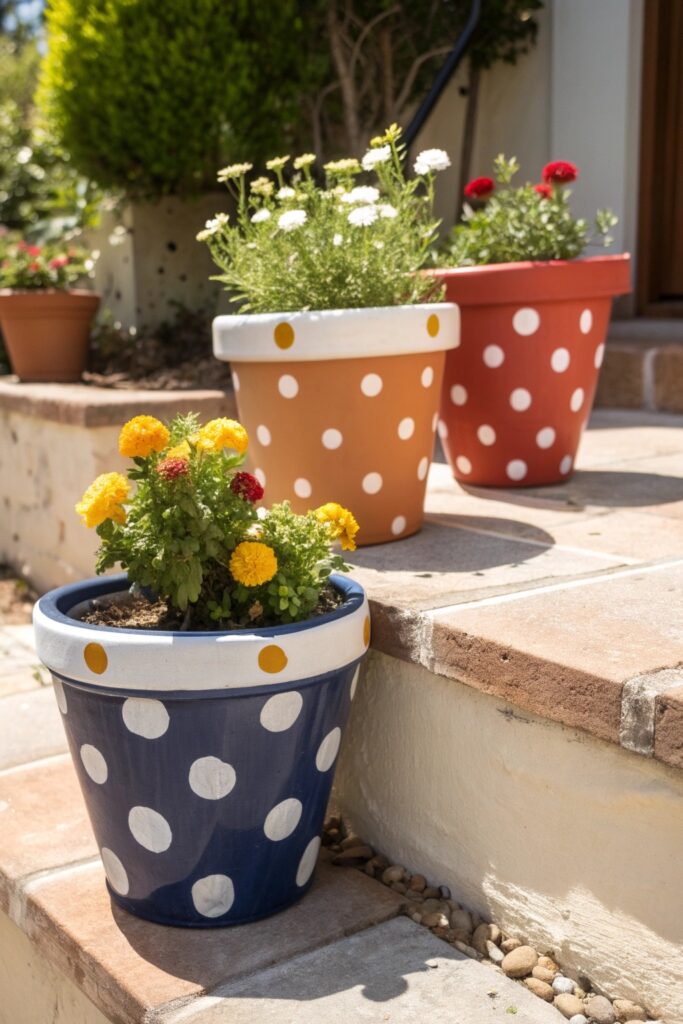
A simple pencil eraser or the end of a paintbrush works well as a stamp for creating consistent, evenly sized dots.
Choose contrasting dot colors against the base coat, which creates more visual pop than dots in a similar tone to the background.
14. Abstract Brush Stroke Pots
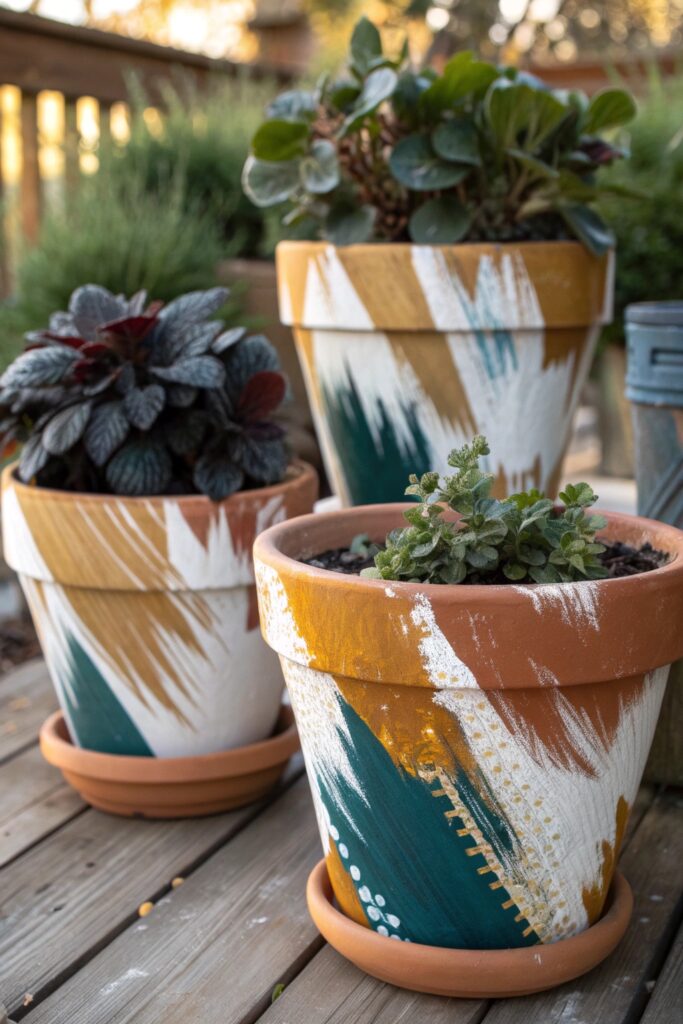
This loose, expressive style is forgiving of imperfection, making it a good option if you’re newer to painting pots.
15. Personalized Name or Quote Pots
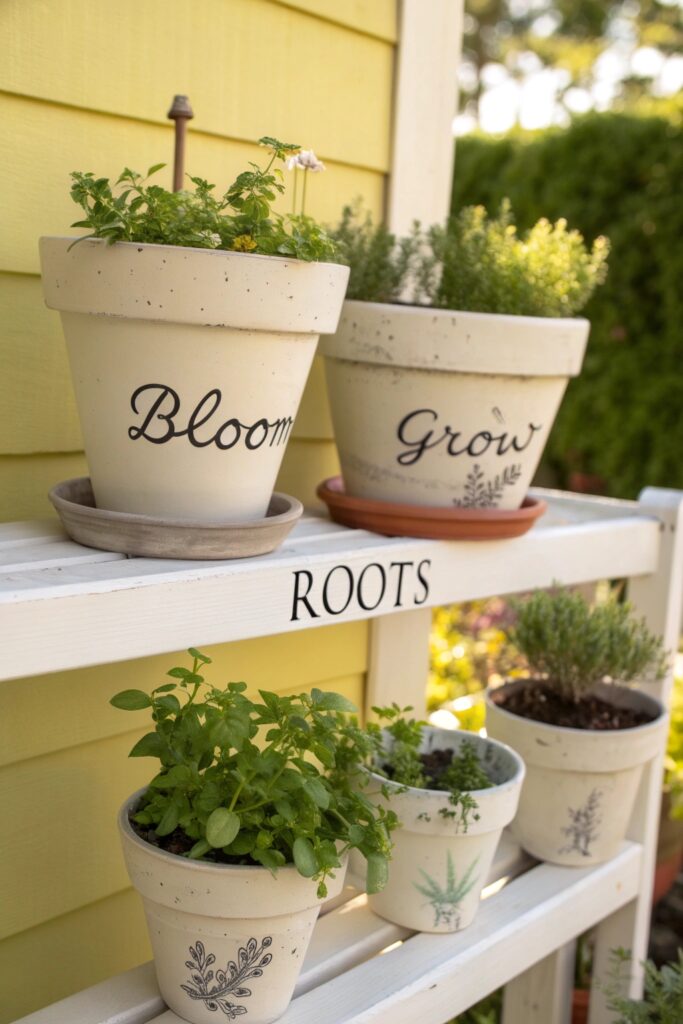
Practicing lettering on paper first, before committing to the actual pot, helps avoid mistakes on a surface that’s harder to correct.
Choosing the Right Paint and Prep
Cleaning and drying the pot fully before painting matters more than people expect, since dust or moisture trapped under the paint can cause it to peel prematurely.
A primer coat, especially on unglazed terracotta, helps paint adhere more evenly and prevents the porous surface from absorbing color unevenly.
Most of these projects cost under $15 in paint and supplies if you’re working with a pot you already own, making this an affordable weekend activity even for a batch of several pots at once.
This is a great activity to do with kids, since most of these designs are forgiving of imperfection and don’t require expensive or specialized equipment beyond basic paintbrushes.
Lay down old newspaper or a drop cloth before starting any of these projects, since paint splatters happen even with careful technique, and cleanup is considerably easier with a bit of preparation.
Whatever design you choose, let each layer dry fully before adding the next, since rushing the process leads to smudged lines and colors bleeding into each other in ways that are difficult to fix afterward.
A small collection of painted pots grouped together on a porch or windowsill makes a bigger visual statement than a single pot alone, so consider tackling a few of these designs at once for a more cohesive display.
Have fun experimenting with these techniques, since even an imperfect result usually still looks genuinely better than a plain, unpainted pot.
Conclusion
Sealing finished pots with a clear outdoor-rated sealant protects the design from fading and weather exposure if the pot will live outside. Most of these projects cost very little in materials, making painted pots a affordable way to personalize a garden or patio space.