
Soundproofing a shared townhouse wall ranges from simple, low-cost changes (rearranging furniture, adding curtains) to significant construction projects (decoupled walls, professional installation), and the right approach depends on how severe the noise issue actually is and how much disruption you’re willing to take on.
Below are 12 approaches, roughly ordered from least to most involved, with real costs and honest notes on how effective each one actually is.
1. Hang Heavy Curtains or Acoustic Blankets
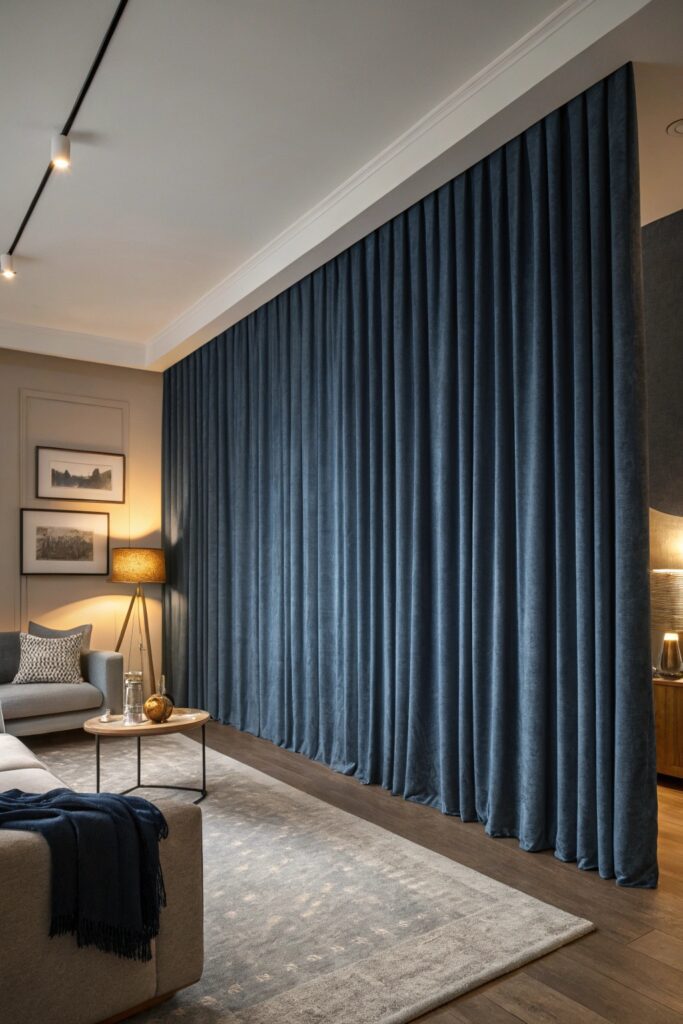
Dense, tightly woven curtains or purpose-made acoustic blankets ($40-100 depending on size and material) hung against a shared wall absorb sound energy before it fully transmits through, offering a genuinely noticeable reduction for airborne noise like voices or TV audio, though far less effective against low-frequency bass or impact noise.
Cover as much wall surface area as practically possible rather than a single decorative panel — soundproofing effectiveness scales closely with the amount of absorptive material actually in contact with or facing the wall.
2. Add a Bookshelf (Fully Loaded)
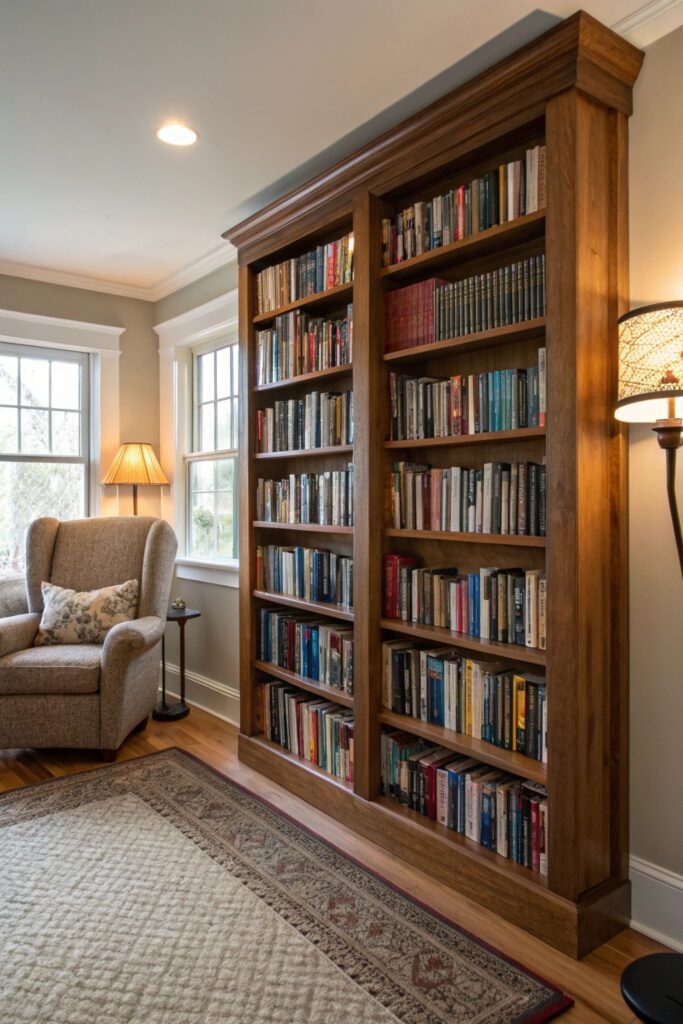
A tall bookshelf packed with books, positioned against a shared wall, adds significant mass and irregular surface texture that helps absorb and scatter sound waves — this is a genuinely effective and dual-purpose solution since it also provides storage.
Leave the shelf loosely packed with books of varying sizes rather than perfectly uniform ones, since the irregular surface actually helps break up sound reflection more than a flat, uniform arrangement.
3. Install Acoustic Panels
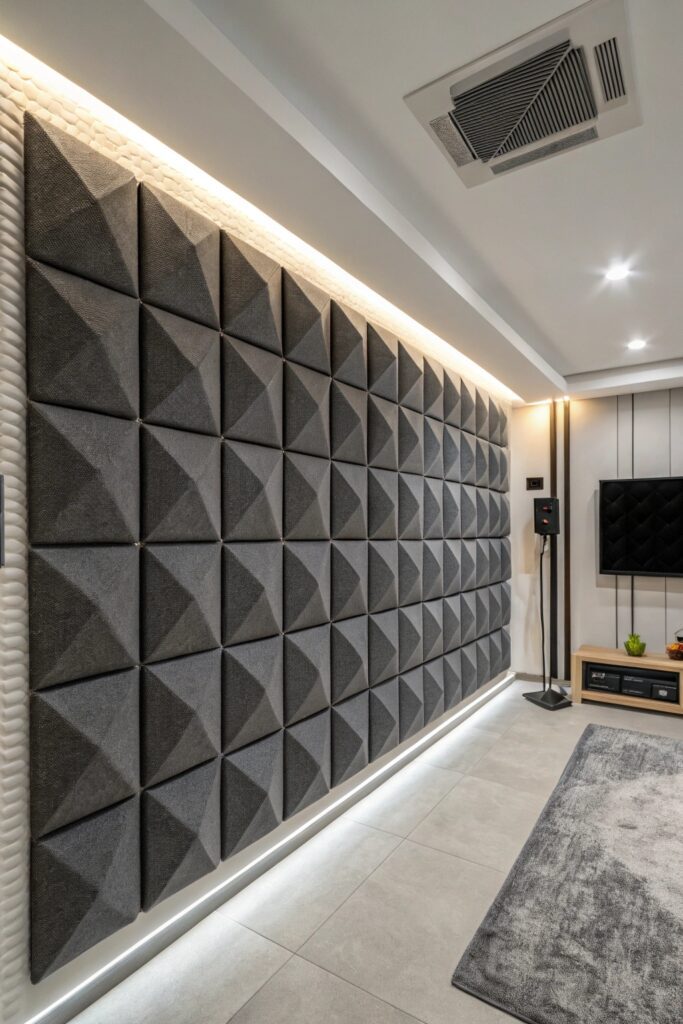
Foam or fabric-wrapped acoustic panels ($60-150 for a multi-panel set) are purpose-built to absorb sound and reduce echo, and covering even 20-30% of a shared wall’s surface area produces a measurable improvement in perceived noise transfer.
These panels are considerably more effective at absorbing sound within your own room (reducing echo and reverb) than at blocking sound transmission through the wall itself — manage expectations accordingly if the primary goal is stopping noise from a neighbor rather than improving your own room’s acoustics.
4. Use a Soundproofing Wallpaper or Mass Loaded Vinyl (MLV)
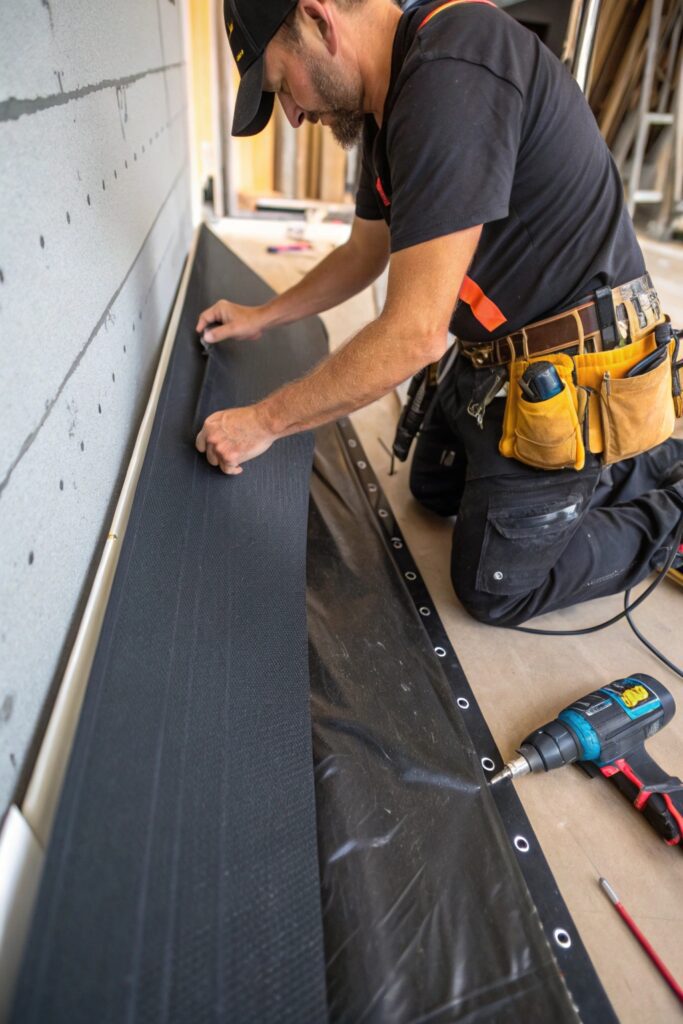
Mass loaded vinyl ($1.50-3 per square foot) is a dense, flexible barrier material that can be installed under wallpaper or behind a false wall layer, adding meaningful mass to a wall assembly without the bulk of a full structural addition.
MLV works by adding density rather than absorption, which makes it genuinely effective against airborne noise transmission specifically — pair it with an absorptive layer (like acoustic panels) for a more complete solution addressing both transmission and in-room echo.
5. Seal Every Gap and Crack
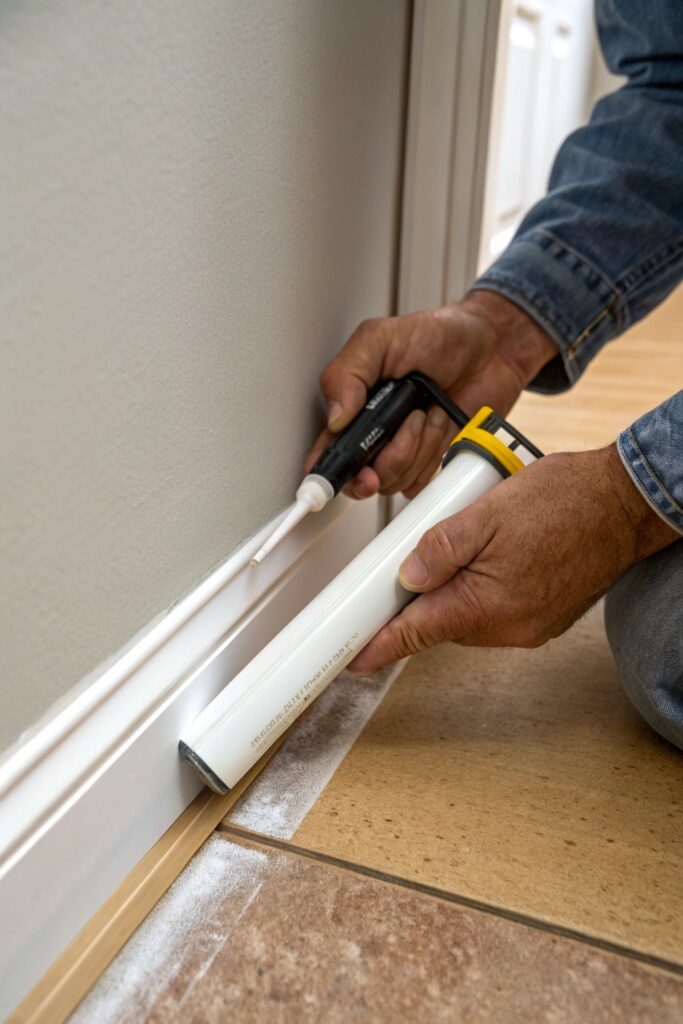
Even small gaps around outlets, baseboards, and where the wall meets the ceiling or floor let sound pass through disproportionately to their size, since sound travels easily through air gaps that might seem too small to matter.
Acoustic caulk ($8-15 per tube) specifically, rather than standard caulk, stays flexible over time and maintains its seal without cracking, which matters for a barrier that needs to remain effective for years.
6. Build a Second Wall (Decoupling)
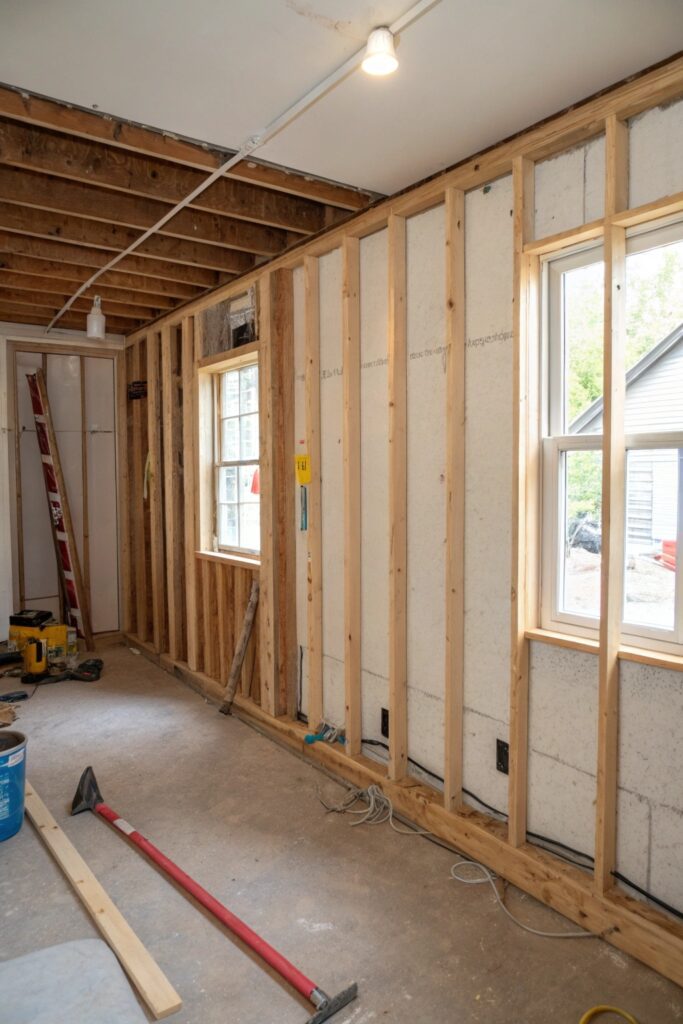
A fully decoupled second wall — built a few inches off the existing wall with its own separate stud frame, not touching the original structure — is one of the most effective soundproofing methods available, since it physically breaks the path sound vibration travels through connected framing.
This is a significant construction project (expect $15-30 per square foot professionally installed) that reduces room size and requires permits in many areas, making it worth reserving for genuinely severe, ongoing noise issues rather than moderate annoyance.
7. Add Insulation Inside the Wall Cavity
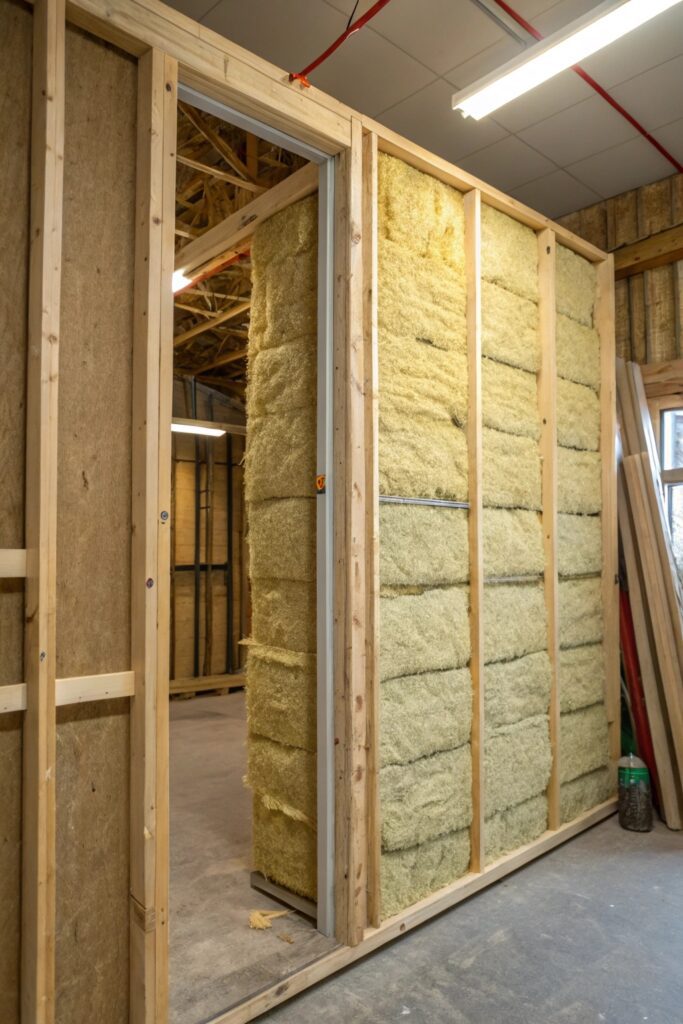
If a wall is already open during renovation, adding mineral wool or fiberglass batt insulation specifically rated for acoustic use (rather than standard thermal insulation) fills the cavity’s airspace and meaningfully reduces sound transmission through that gap.
This only makes sense as a standalone project if the wall is already open for other renovation work — opening a finished wall purely for this purpose is a substantial undertaking better paired with other wall-assembly improvements happening at the same time.
8. Use Green Glue Between Drywall Layers
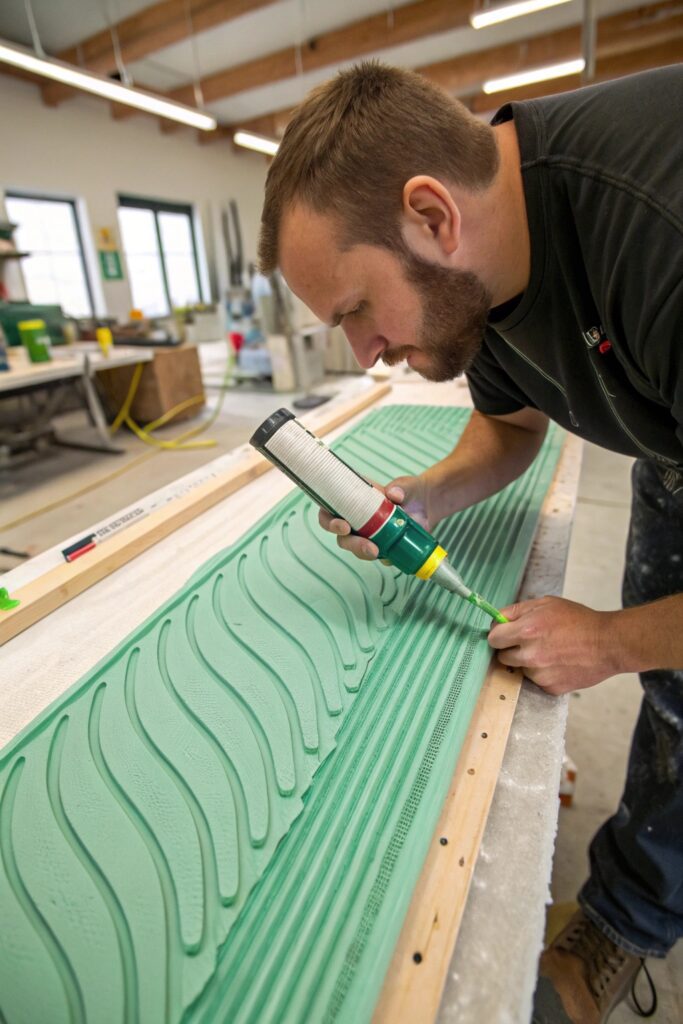
Green Glue is a viscoelastic damping compound applied between two layers of drywall that converts sound vibration into small amounts of heat as it passes through, meaningfully reducing transmission without adding as much bulk as a full decoupled wall.
This requires removing existing drywall or adding a new layer over it with the compound sandwiched between — a moderate renovation project, though considerably less involved and less expensive than building a fully separate second wall.
9. Rearrange Your Furniture Strategically
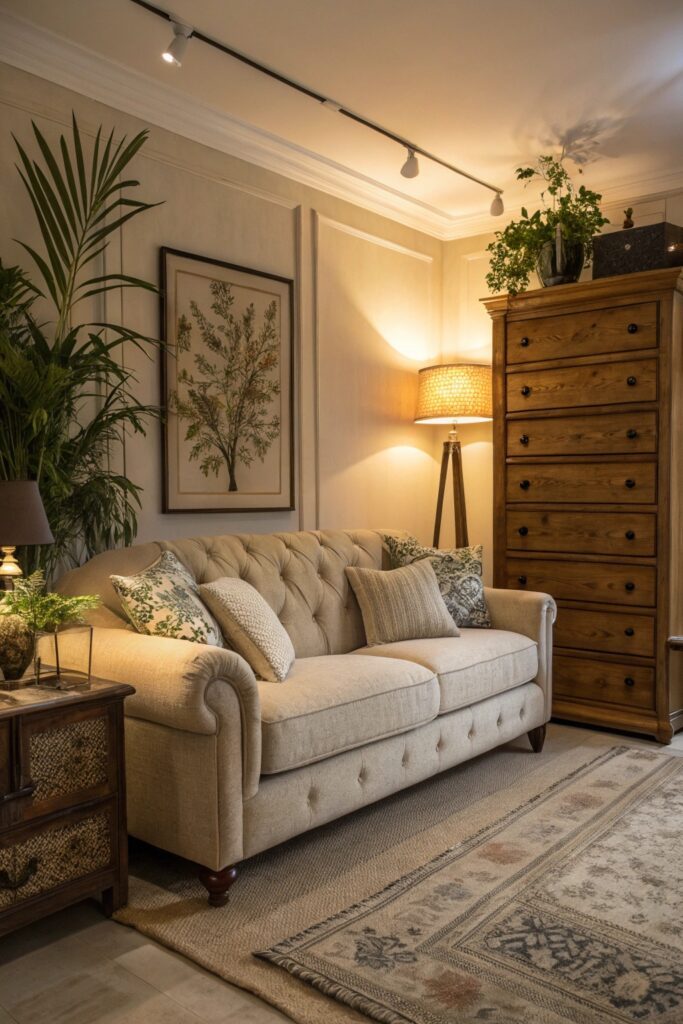
Placing larger, denser furniture (a wardrobe, a dresser, a fully loaded bookshelf) directly against a shared wall — rather than in the center of the room — uses furniture you likely already own to add mass and absorption at zero additional cost.
This is worth doing as a first step before any purchased soundproofing materials, since it costs nothing and can meaningfully reduce noise on its own, particularly for airborne sound like conversation or television audio.
10. Install a Double Layer of Drywall
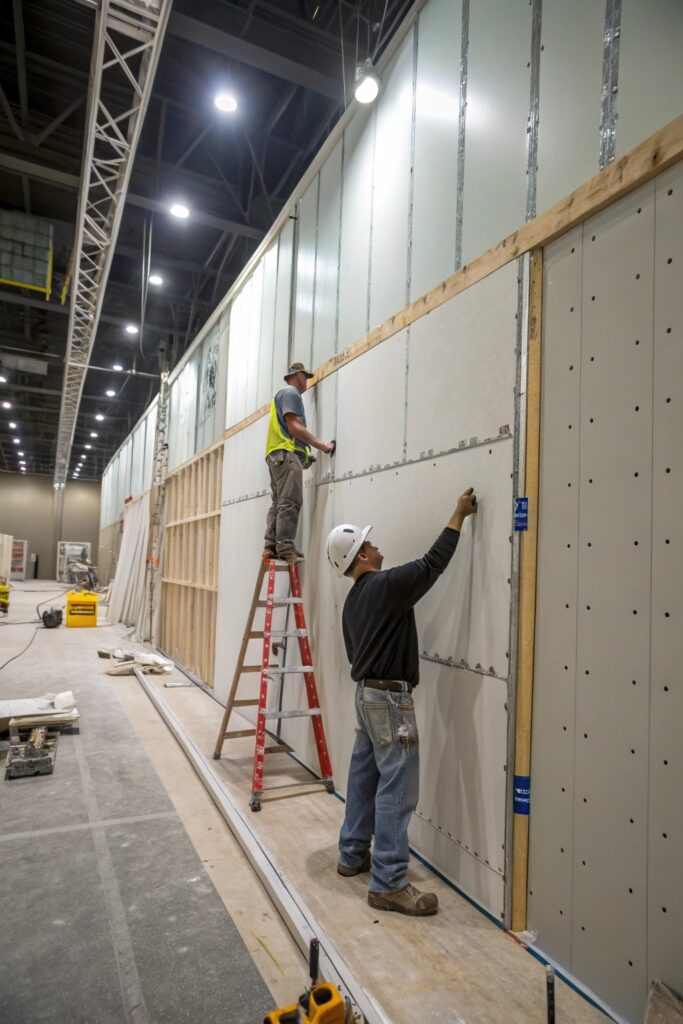
Adding a second layer of drywall directly over the existing wall (without the full decoupling of a separate stud frame) adds mass and reduces sound transmission, though less effectively than a fully decoupled wall or Green Glue application between layers.
This is a middle-ground option in both cost and effectiveness — more involved than furniture rearrangement or curtains, but considerably less disruptive and expensive than building a separate wall structure.
11. Use a White Noise Machine
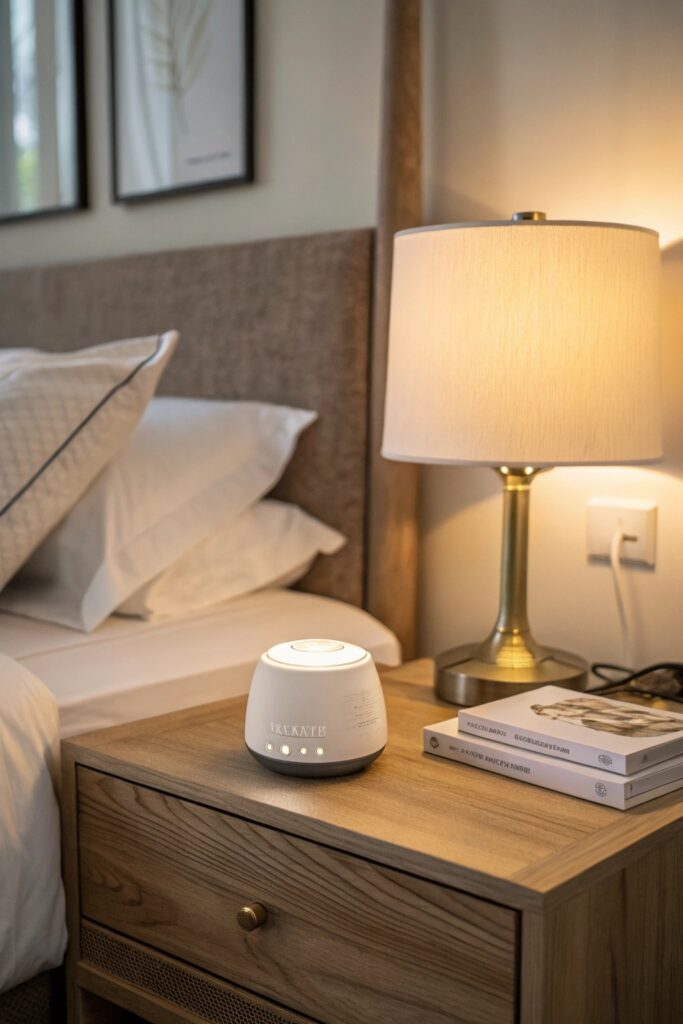
Rather than blocking noise at its source, a white noise machine ($20-40) masks intrusive sound by adding a consistent, unobtrusive background sound that makes intermittent neighbor noise less noticeable and less disruptive to sleep or concentration.
This is genuinely effective for sleep specifically, since consistent white noise helps prevent sudden noise spikes (a door closing, a dog barking) from being as jarring as they would be against silence.
12. Hire a Professional Acoustic Consultant
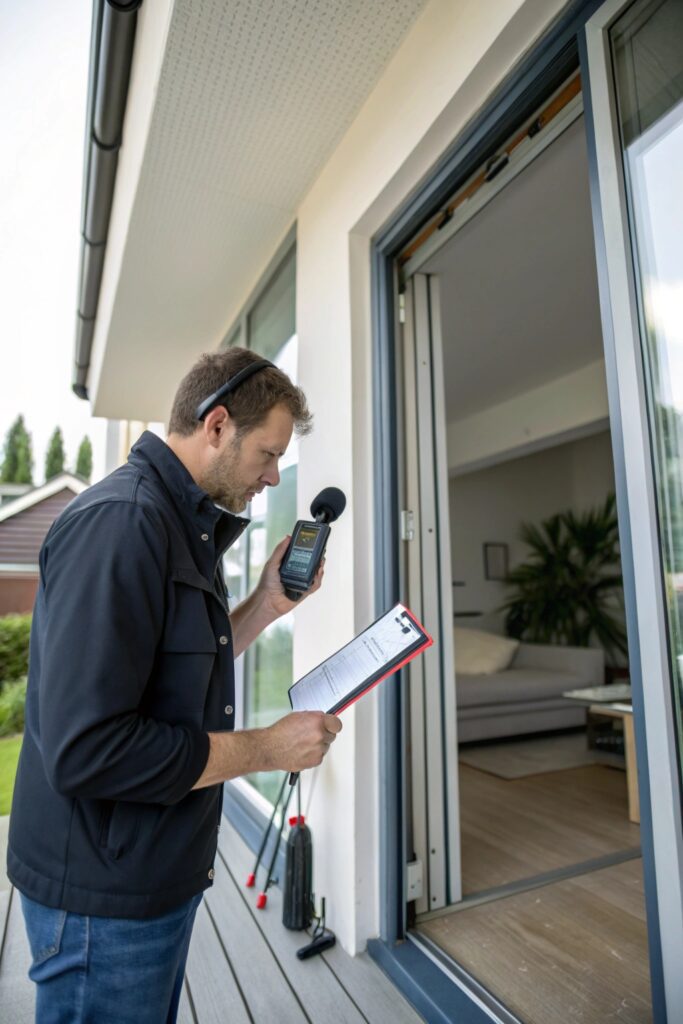
For persistent, significant noise issues, a professional acoustic assessment ($150-400 for a consultation) identifies the specific transmission paths actually causing the problem — which might not be the shared wall itself, but flanking paths through floors, ceilings, or shared ductwork.
This is worth the investment before committing to a major construction project like wall decoupling, since spending thousands on a solution that doesn’t address the actual transmission path is a common and costly mistake in DIY soundproofing attempts.
Final Thoughts
Furniture rearrangement and sealing gaps cost little to nothing and are worth doing first regardless of what else you pursue, since they address real transmission paths without any construction. If noise remains a significant problem after those low-cost steps, a professional acoustic assessment is worth the cost before committing to an expensive wall-decoupling project that might not target the actual source of the noise.