
German smear (also called German schmear) is a mortar-washing technique that softens stone or brick with a whitewashed, weathered look, without the cost or mess of full stone replacement or painting over the material entirely. The technique itself is simple, but coverage level, mortar consistency, and application method all change the final result significantly.
Below are 10 variations on the technique, with specific mortar ratios, application methods, and material notes for each.
1. Classic Whitewashed Stone
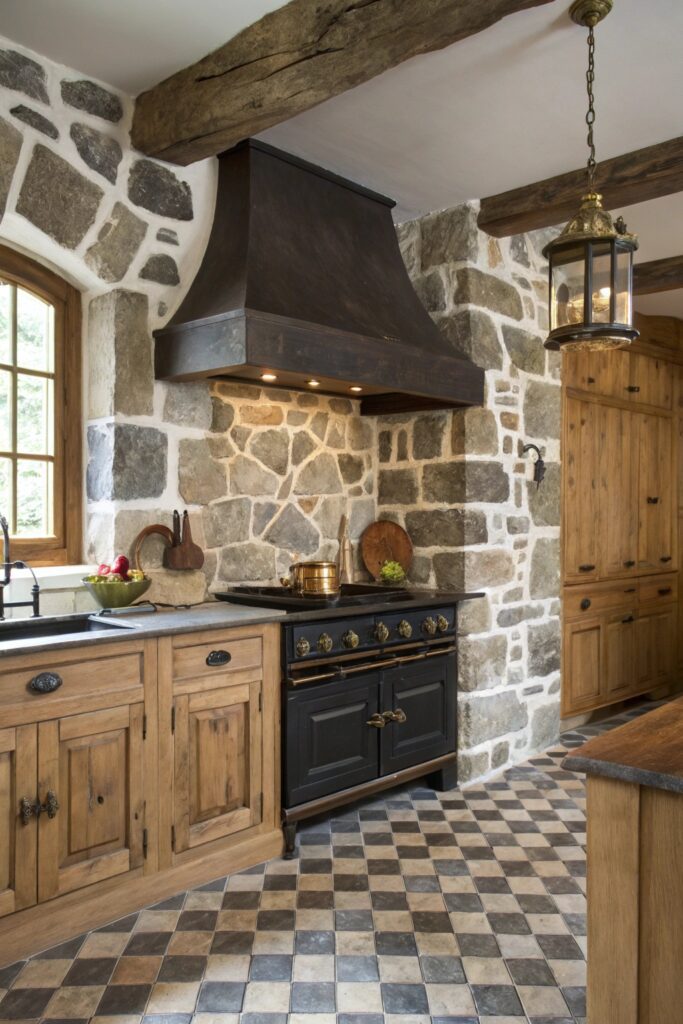
The traditional German smear technique uses a thinned mortar mix (roughly 1 part mortar to 1 part water, adjusted until it reaches a heavy-cream consistency) applied by hand or trowel and pushed into the stone’s crevices while leaving the highest points of each stone still visible. This classic version aims for about 60-70% stone coverage, letting the natural stone color show through the white in an irregular, weathered pattern.
Work in small sections (roughly 3×3 feet at a time) since the mortar mix sets faster than you might expect once applied — mixing a full batch for an entire wall before starting often means the last sections go on with mortar that’s already begun to stiffen, producing an inconsistent texture.
2. Full Coverage Smear
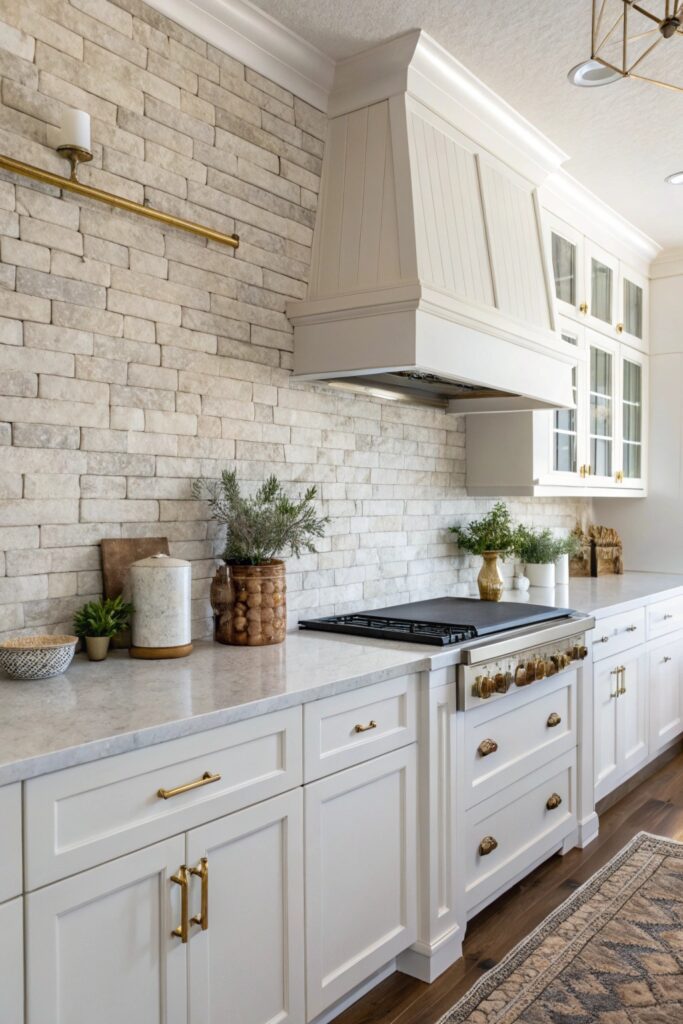
A heavier mortar application that covers 85-95% of the stone creates a more uniformly white wall with only subtle stone texture showing through, closer to a traditional plastered European exterior than the more rustic partial-coverage look. This version uses a slightly thicker mix (closer to pancake-batter consistency) and typically two coats rather than one.
This coverage level hides more of the original stone’s color variation, which is worth choosing specifically if your existing stone has inconsistent or unattractive coloring you’d rather minimize rather than showcase.
3. Grey-Toned Smear for Modern Farmhouse
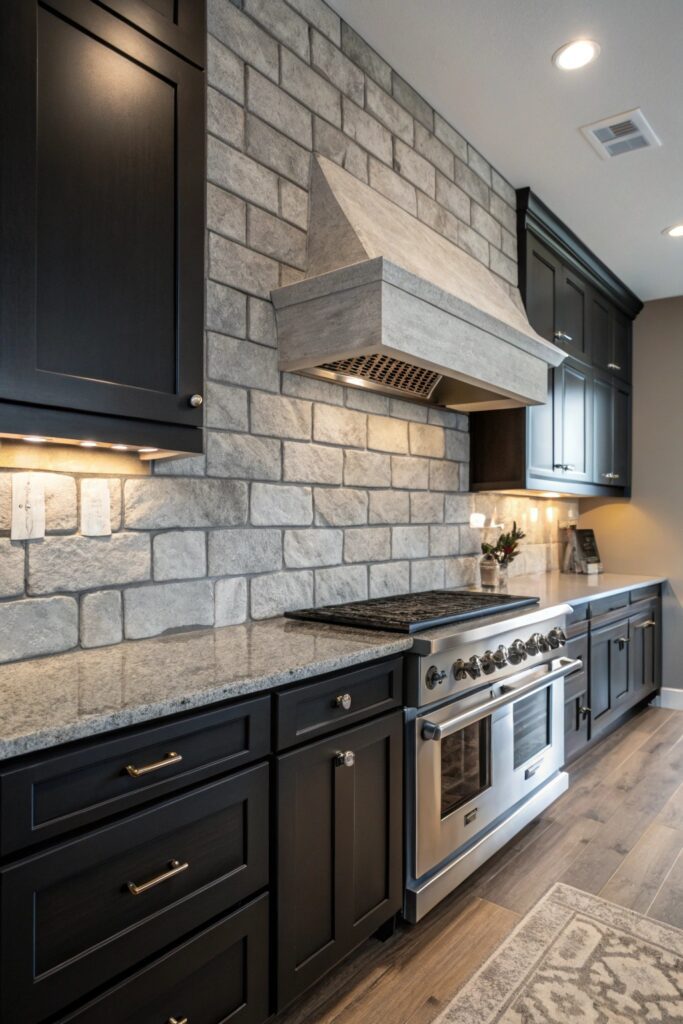
Tinting the mortar mix with a small amount of black or grey mortar dye (start with about 2-3% of the dry mix by weight and test on a sample area first) produces a soft grey-white tone that reads more contemporary than stark white, fitting a modern farmhouse aesthetic better than a pure whitewash. Premixed grey mortar (sold at some masonry suppliers) offers more consistent color than hand-mixing dye into white mortar batch by batch.
Grey-toned smear shows dirt and staining less obviously than pure white over time, which is worth considering for exterior applications specifically, where a stone wall faces more weather exposure than an interior fireplace surround.
4. Heavy Texture, Minimal Stone Showing
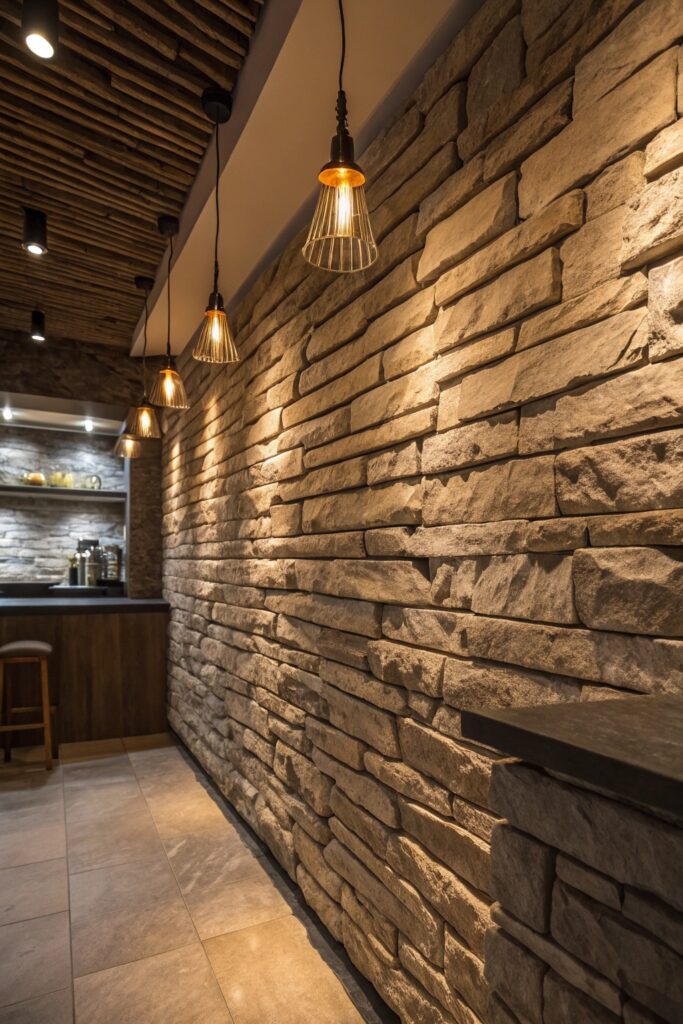
For a more heavily textured, almost stucco-like finish, apply mortar with a stiff brush or sponge in a dabbing motion rather than smoothing it with a trowel, building up texture in layers rather than one smooth pass. This technique covers 90%+ of the stone while leaving a rough, hand-applied texture rather than a flat white surface.
This approach is more forgiving for DIY beginners than the classic thin-smear technique, since heavier texture hides minor application inconsistencies that would be obvious on a thinner, more precisely controlled coat.
5. Whitewash Over Brick
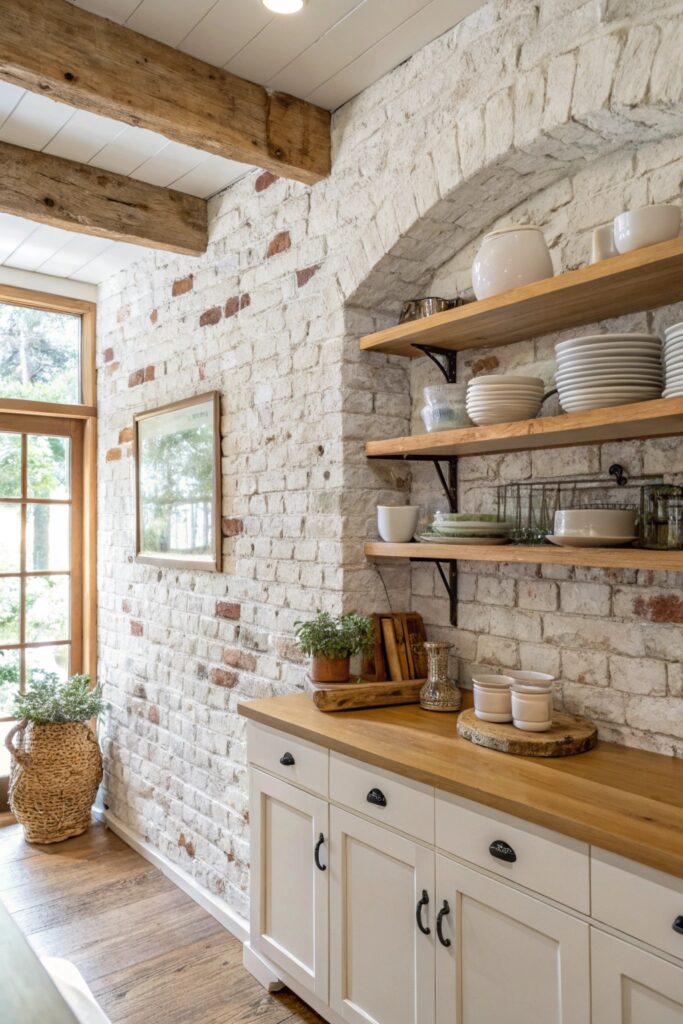
The same smear technique works on brick as on stone, though brick’s more uniform, regular shape produces a different visual result — rather than irregular stone crevices catching mortar naturally, you’re working with consistent mortar joints between bricks, which tends to read slightly more structured even with an irregular hand-applied finish. Test on a small, inconspicuous section first, since brick absorbs moisture differently than stone and may need a lighter mortar mix to avoid excessive dripping.
This is a popular alternative for homes with existing brick fireplaces or exterior walls where full stone isn’t present but the same whitewashed, European farmhouse look is desired.
6. Two-Tone Smear Technique
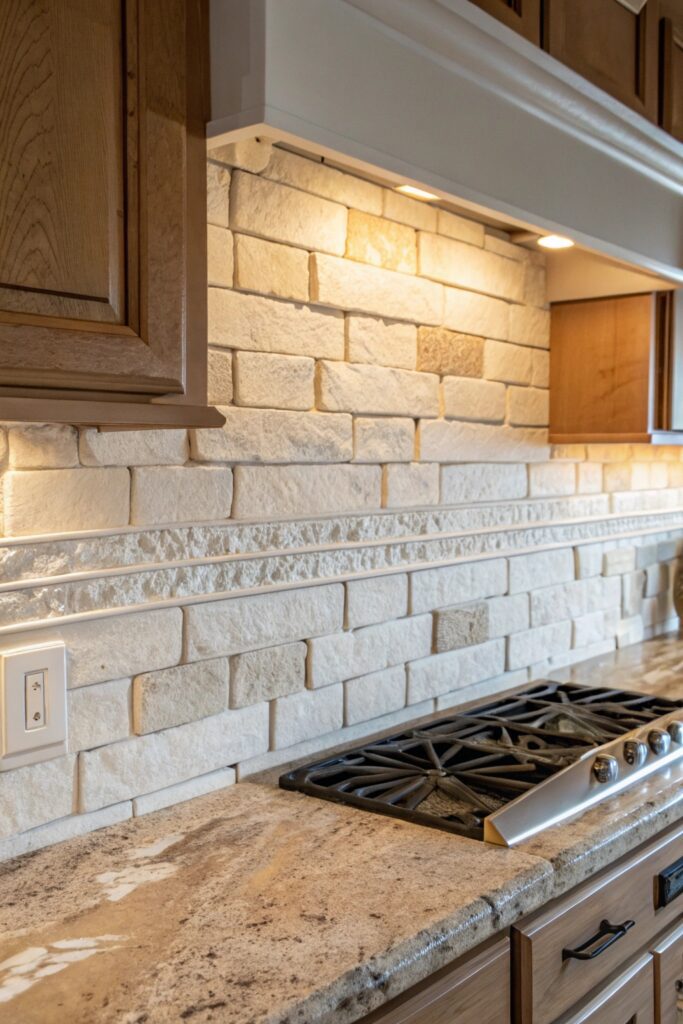
Applying a warm-toned mortar in the lower sections of a wall and a cooler white in the upper sections (or vice versa) creates subtle dimension that a single-tone smear doesn’t achieve, mimicking the natural weathering pattern real limewashed European walls develop over decades. Blend the transition zone while both mortars are still wet, feathering them together rather than creating a hard line between tones.
This technique requires more planning and mixing two separate batches, making it a more advanced project best attempted after you’ve practiced the basic single-tone smear technique on a smaller test area first.
7. Rustic Stacked Stone with Smear
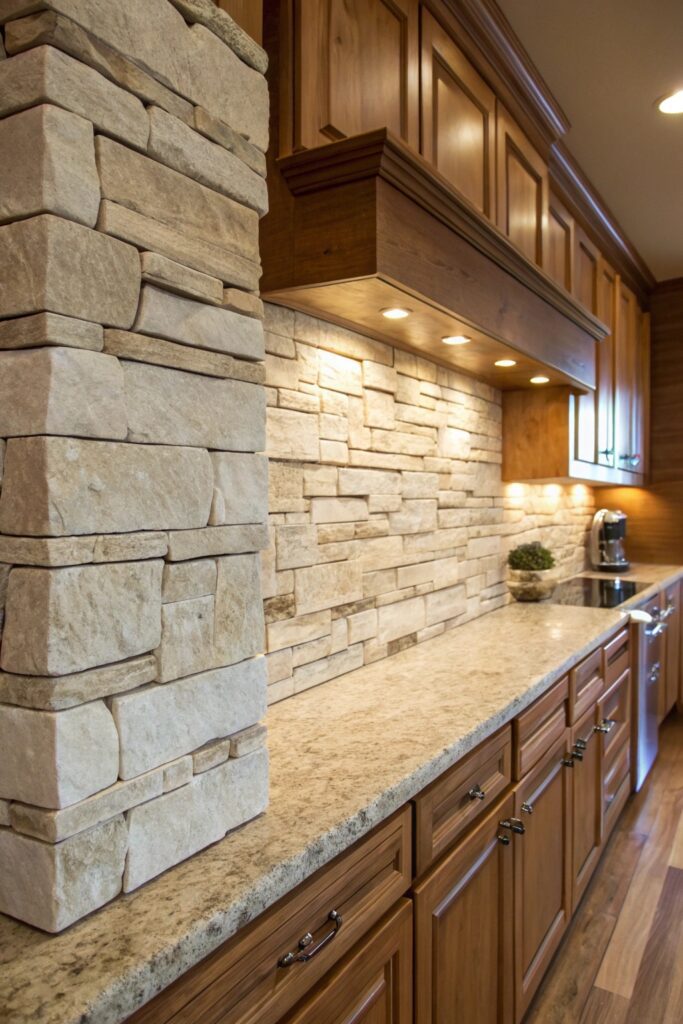
Dry-stacked or ledger stone (with minimal visible mortar joints to begin with) takes a smear technique differently than traditional mortared stone, since there’s less existing mortar for the smear to blend into — expect to apply slightly more product to achieve the same coverage level, since the technique is essentially creating mortar joints that didn’t originally exist.
This combination (stacked stone plus smear) has become particularly popular for interior fireplace accent walls specifically, since it combines two currently popular textures — natural stacked stone and whitewash — into one cohesive look.
8. Farmhouse Fireplace Extension
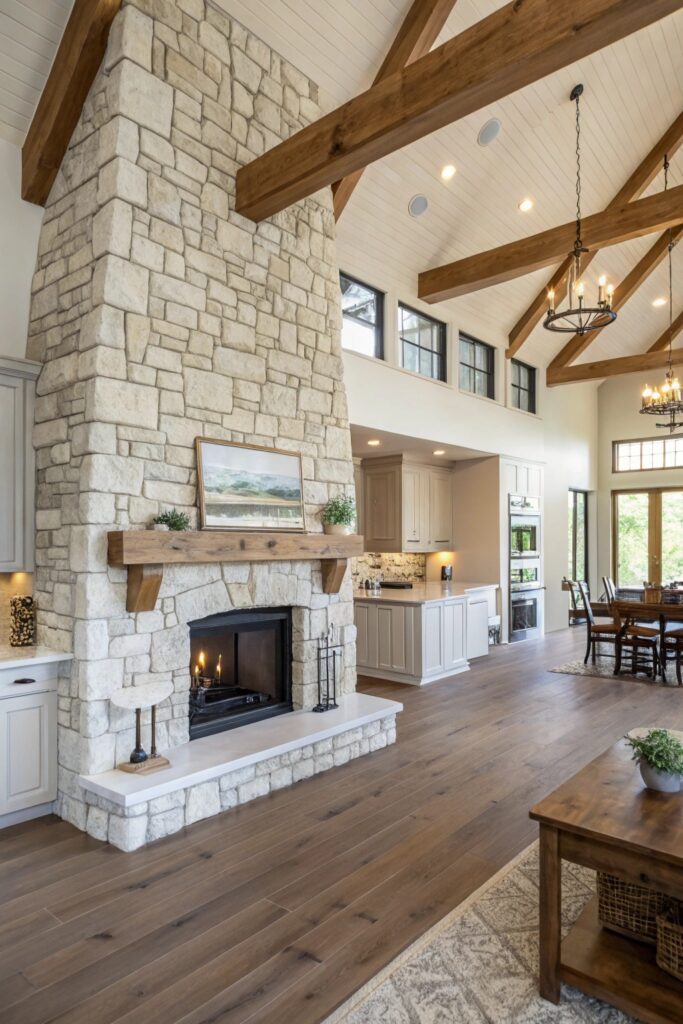
Extending a smeared stone or brick treatment beyond just the fireplace surround itself — up to the ceiling, or across an entire accent wall — creates a more dramatic, architectural statement than treating the fireplace as an isolated element. Budget for significantly more material when extending coverage this way; a full floor-to-ceiling treatment on an average 9-10 foot wall can use 2-3x the mortar mix of a standard surround-only application.
This full-wall approach works best when the fireplace is already a room’s clear focal point — extending the treatment reinforces that role rather than competing with other elements in the room.
9. Smear with Exposed Brick Accents
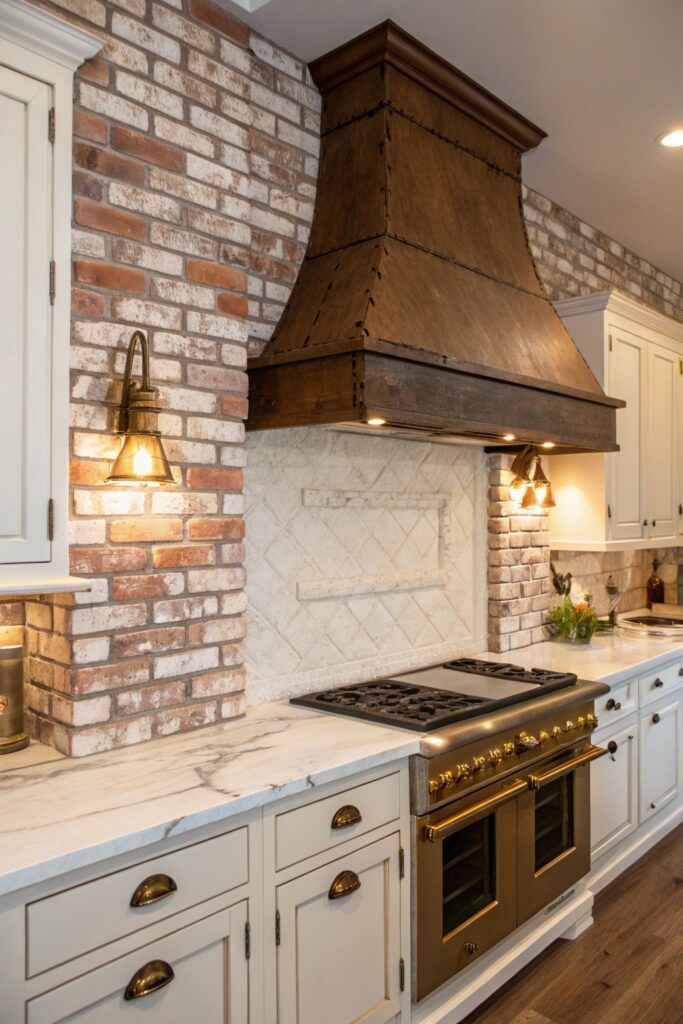
Deliberately leaving certain sections or individual bricks/stones unsmeared (rather than smearing the entire surface) creates a partial-reveal effect that shows more of the original material’s character in specific spots. This requires more planning than a uniform smear — decide which sections stay exposed before starting, using painter’s tape to mask those areas if precision matters.
This approach works well when the original stone or brick has genuinely attractive natural color and texture worth partially preserving, rather than material you’re trying to mostly cover up.
10. DIY-Friendly Small Batch Smear
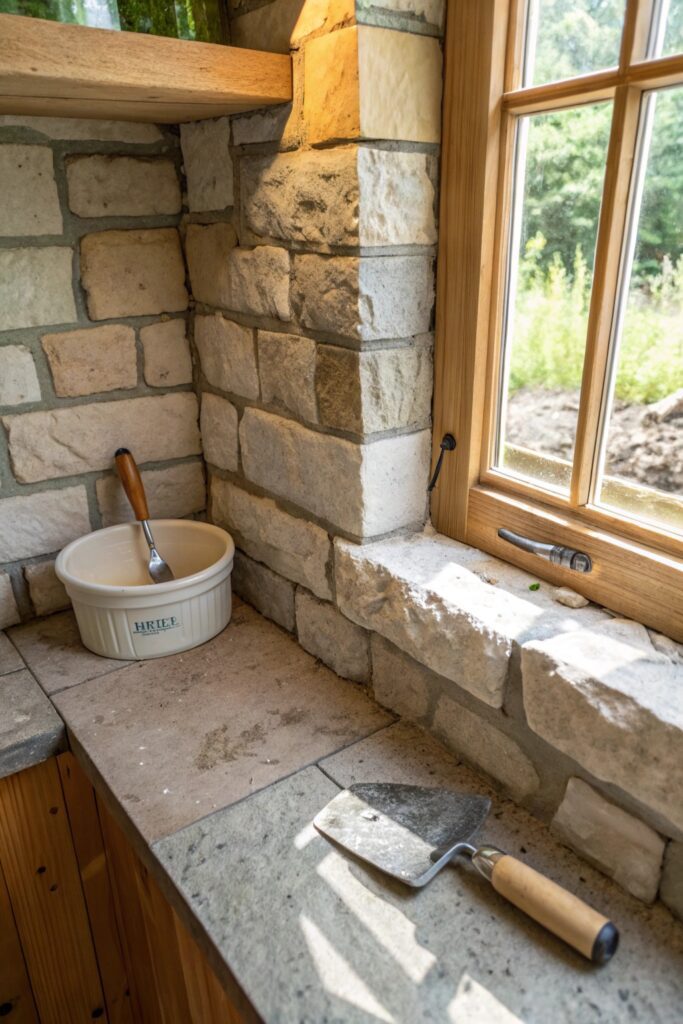
For a first attempt or a smaller accent area (a single fireplace surround rather than a full wall), mixing small batches — enough for about 30-45 minutes of working time before the mortar begins to stiffen — is more manageable than a full-wall batch and reduces material waste if you’re still learning the technique. A 5-gallon bucket of pre-mixed thin-set mortar ($15-25) is enough for most single-fireplace-surround projects.
Practice the technique on a hidden section first (behind furniture, or a small test board with leftover stone/brick if available) before starting on a visible wall — the amount of mortar and the motion needed to achieve your preferred coverage level takes a few attempts to calibrate.
Final Thoughts
Practice on a small, hidden section before committing to a full wall — mortar consistency and coverage level are easier to calibrate through a test patch than to correct after a large area has already dried. Start with a classic partial-coverage smear if you’re unsure which variation to choose; it’s the most forgiving for first attempts and can always be built up with additional coats if you want heavier coverage after seeing the initial result.