
A blinking clean light pattern signals a fault code, and the specific cause varies somewhat by model generation, but the underlying causes tend to cluster around water supply, sensor, or control board issues across most Whirlpool dishwasher lines.
Below are 10 things to check, starting with the simplest reset before moving toward more involved component-level troubleshooting.
1. Start With a Simple Reset
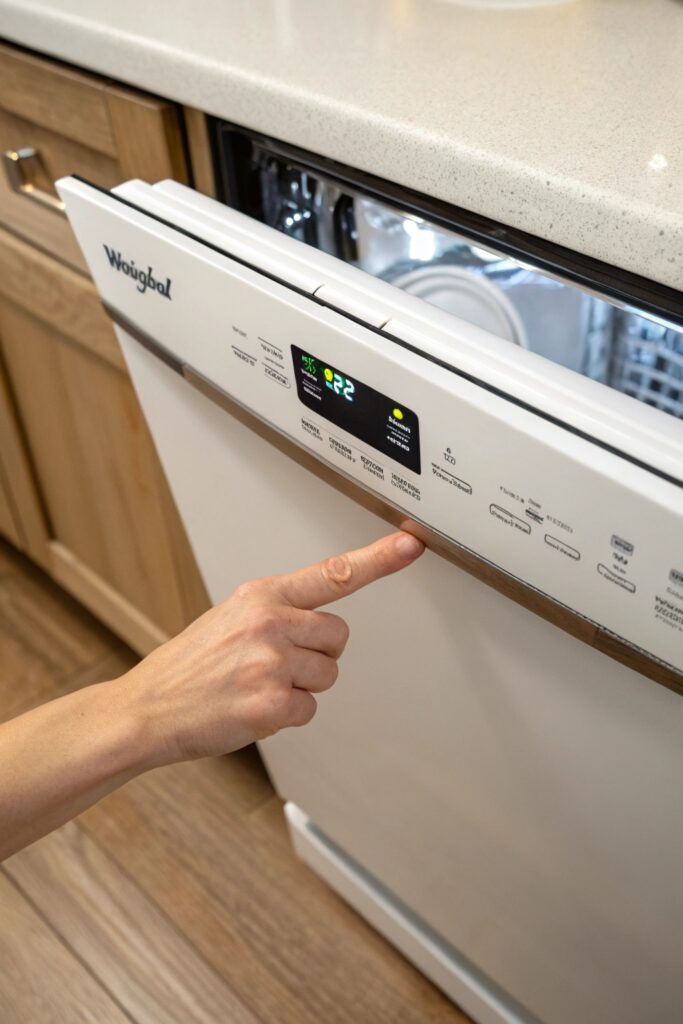
Before troubleshooting any specific component, unplug the dishwasher (or switch off its dedicated breaker) for a full 5-10 minutes, which clears many temporary control board glitches that can trigger a blinking error light without an actual hardware fault.
After restoring power, run a normal cycle and watch whether the blinking pattern returns — a significant share of blink-code issues resolve with this simple reset alone, making it worth trying before more involved diagnosis.
2. Check for a Water Supply Problem
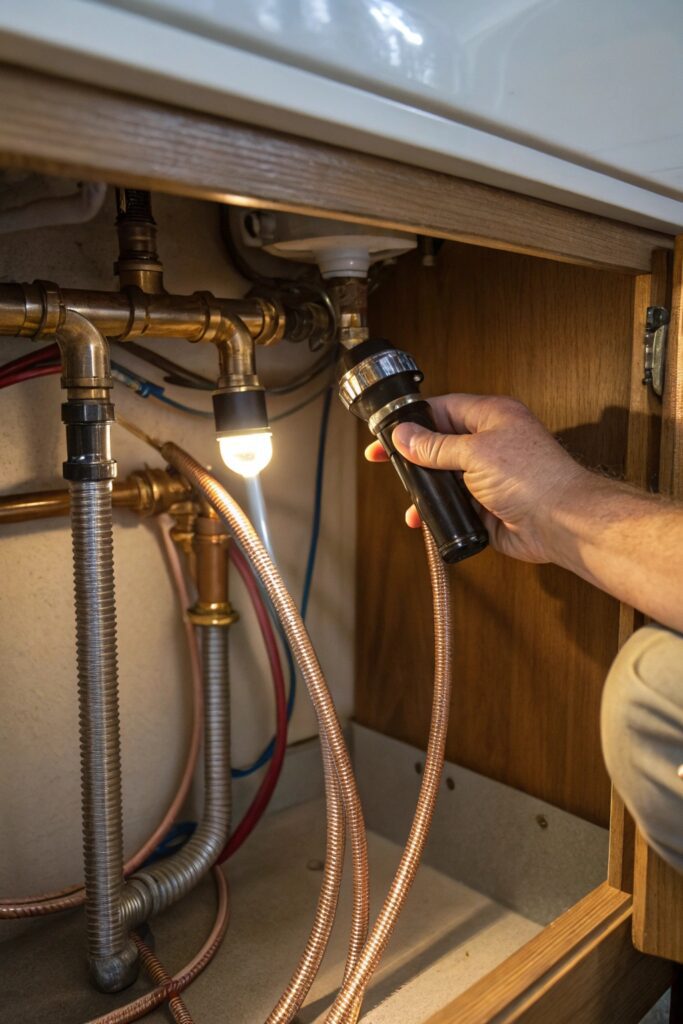
Blink codes tied to water-related faults often trace back to inadequate water supply — check that the shut-off valve under the sink feeding the dishwasher is fully open, since a partially closed valve can restrict flow enough to trigger a fault code.
Also confirm your home’s water heater is set to at least 120°F, since dishwashers depend on adequately hot incoming water and can flag a fault if the water arrives too cool for the cycle to proceed normally.
3. Inspect the Water Inlet Valve
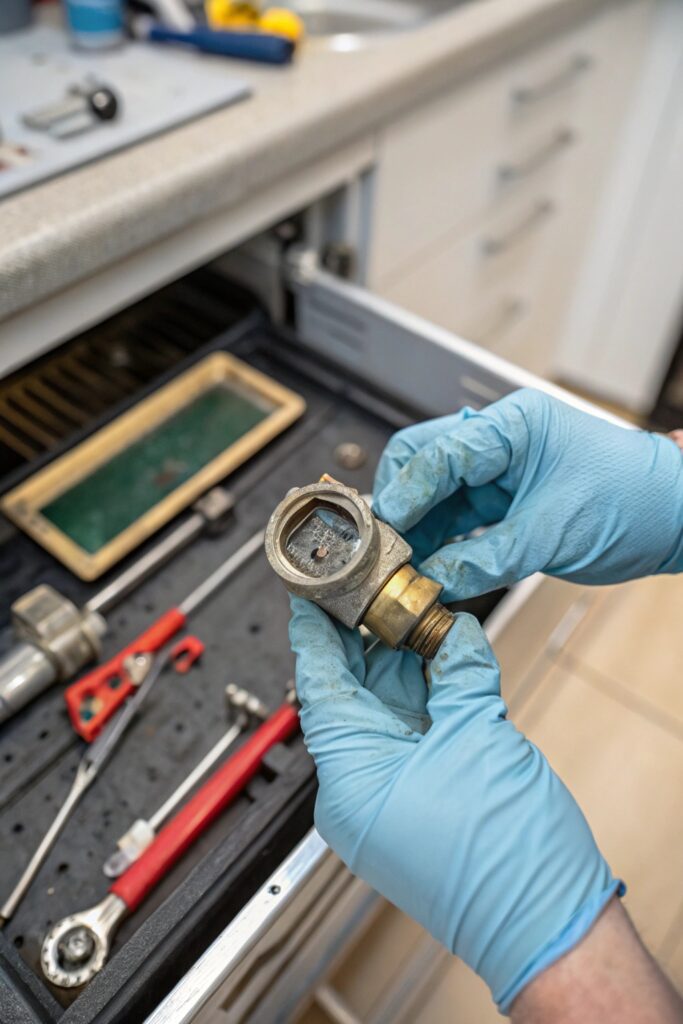
A malfunctioning inlet valve that doesn’t open fully, or that’s partially blocked by mineral sediment, can prevent adequate water flow into the tub, which many models detect and flag through a blinking indicator light.
Accessing the inlet valve typically requires removing the lower front access panel — check your specific model’s service manual for the exact location and inspect for visible mineral buildup or a valve that doesn’t move freely when tested.
4. Look at the Float Switch
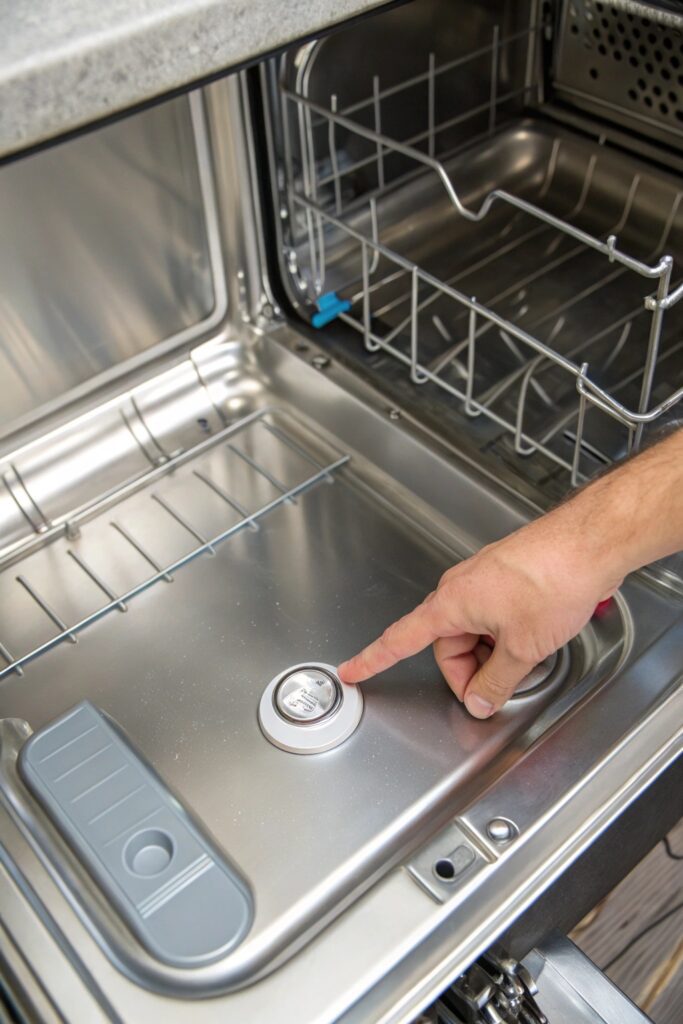
The float switch (a small component that rises with water level to signal the control board when the tub is adequately filled) can stick in either position if debris gets lodged underneath it, causing the machine to misread the actual water level.
Locate the float assembly (usually a small dome near the front of the tub floor) and check that it moves freely up and down without obstruction — clearing any trapped debris underneath often resolves float-related fault codes.
5. Check the Drain Hose for Blockages
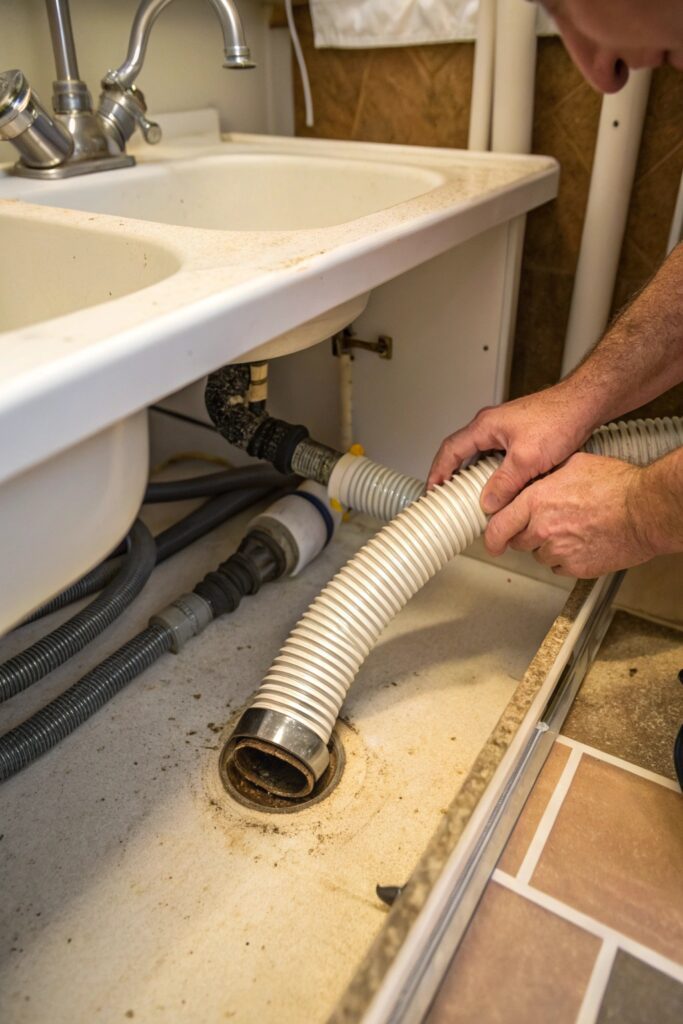
A partially clogged drain hose can prevent the machine from completing its normal fill-and-drain cycle correctly, which some models interpret as a fault condition and signal through the blinking clean light.
Disconnect the hose (with the machine unplugged) and check for kinks or debris blockage, running water through it to confirm clear flow before reconnecting.
6. Test the Water Temperature Sensor
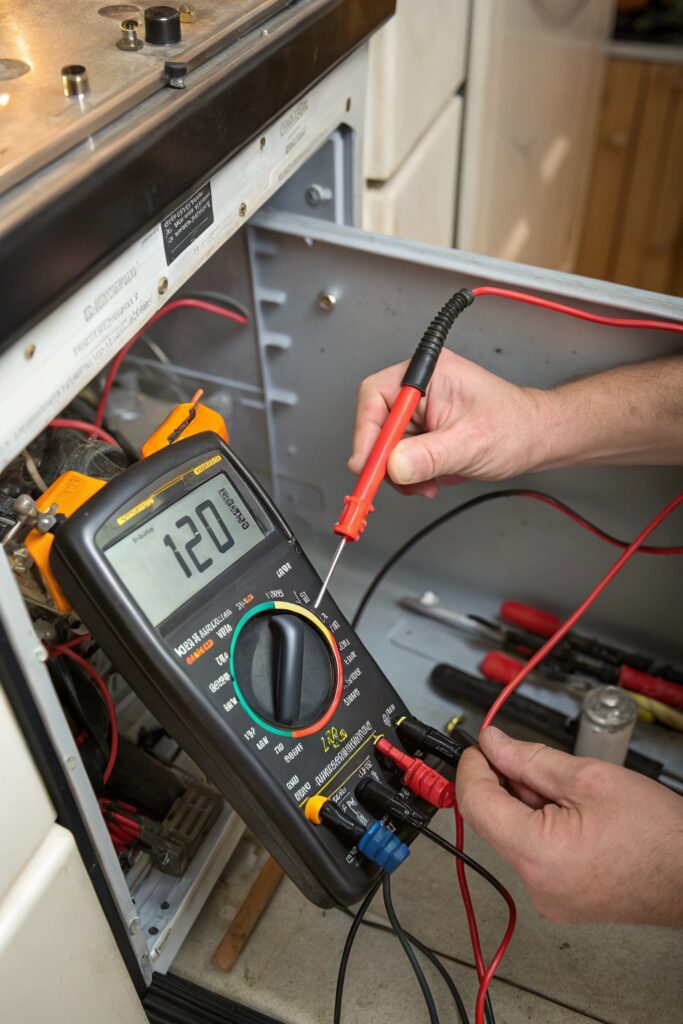
A failed or inaccurate temperature sensor can report incorrect readings to the control board, which may trigger a fault code even when the actual water temperature is within normal range.
This component typically requires a multimeter to properly test resistance against manufacturer specifications, making it a reasonable point to involve a technician if you’re not comfortable with this level of electrical testing.
7. Examine the Control Board Itself
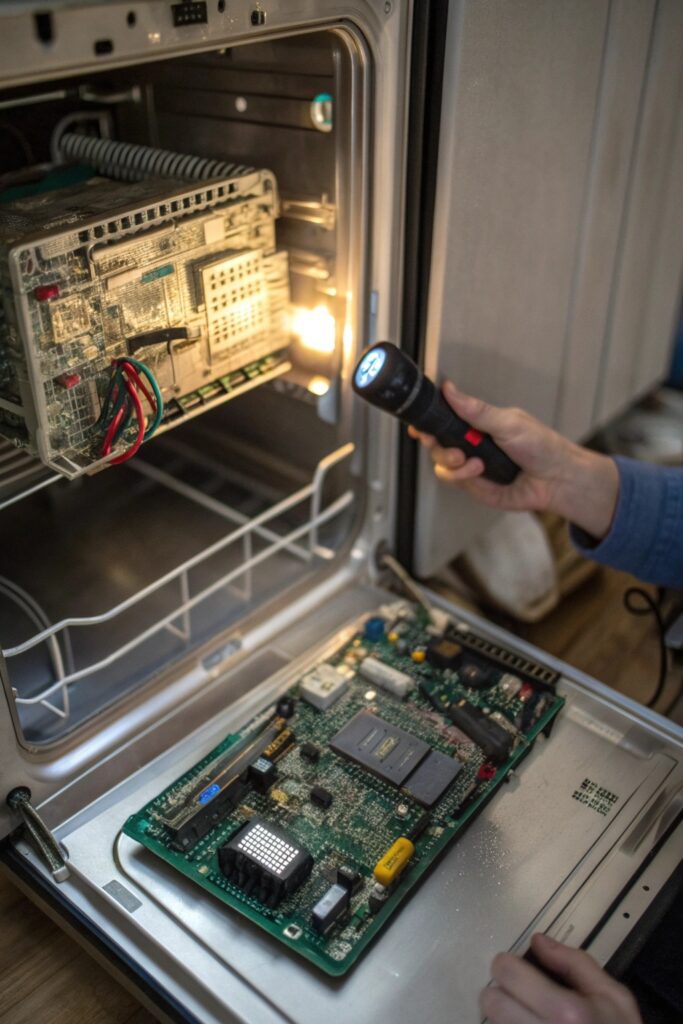
If simpler causes have been ruled out, the control board itself may have a genuine fault — inspect it (with the machine unplugged) for visible signs of damage like burn marks, corrosion, or bulging capacitors, which indicate a board that needs replacement.
Control board replacement is a moderately involved repair, and given the board’s cost ($80-150 for many models), it’s worth confirming this is genuinely the issue through process of elimination before ordering a replacement part.
8. Rule Out a Door Latch Issue
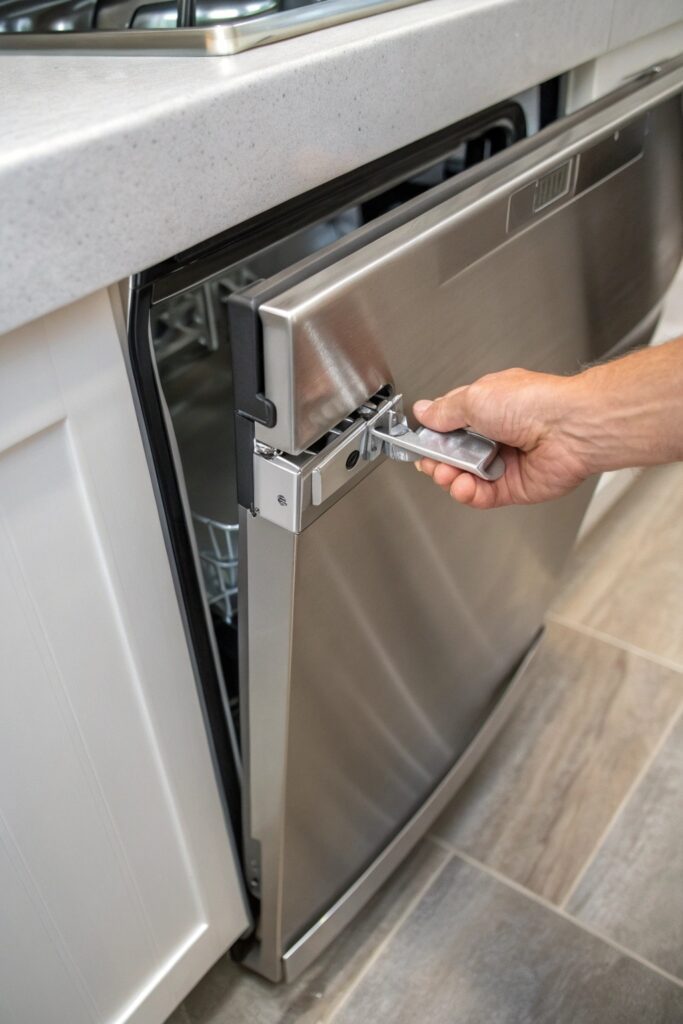
A door or latch that isn’t sensing as fully closed, even when it appears closed, can prevent a cycle from completing properly and may trigger a fault indication through the same clean light rather than a distinct door-specific signal on some models.
Check that the latch mechanism engages fully and audibly, and inspect the door seal for any obstruction preventing a complete, secure close.
9. Check for a Software or Firmware Glitch
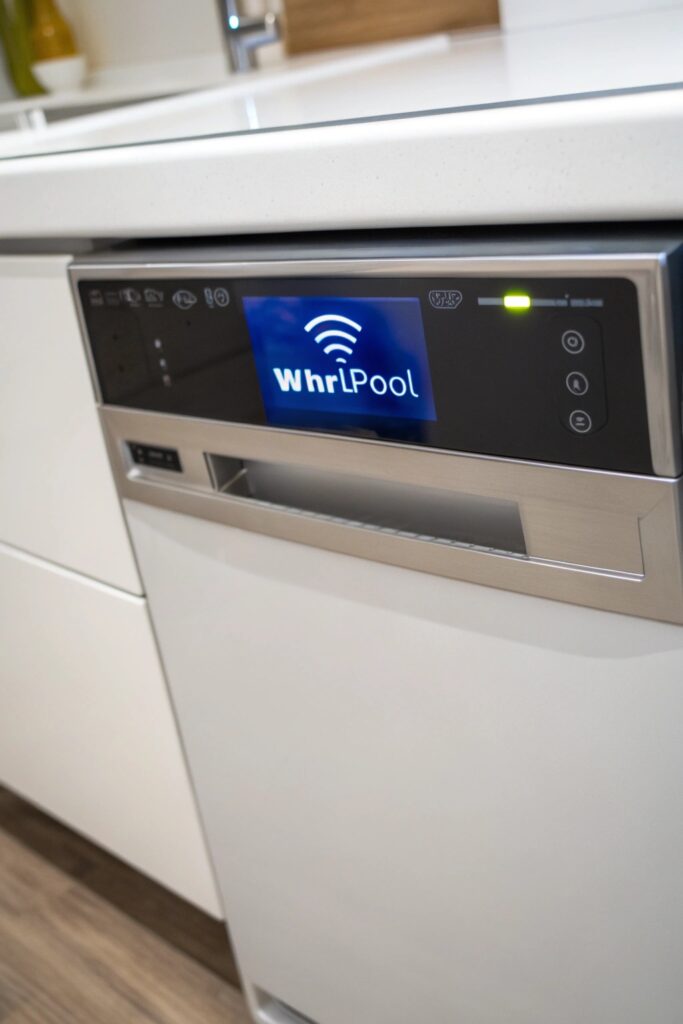
Modern dishwashers with electronic control systems can occasionally experience software-level glitches unrelated to any physical component failure, which the extended power-off reset covered in the first step is specifically designed to clear.
If the issue is intermittent (appearing occasionally rather than consistently) after a proper reset, this points more toward a software glitch than a persistent hardware fault, and continued monitoring rather than part replacement may be the more appropriate next step.
10. Call a Certified Technician
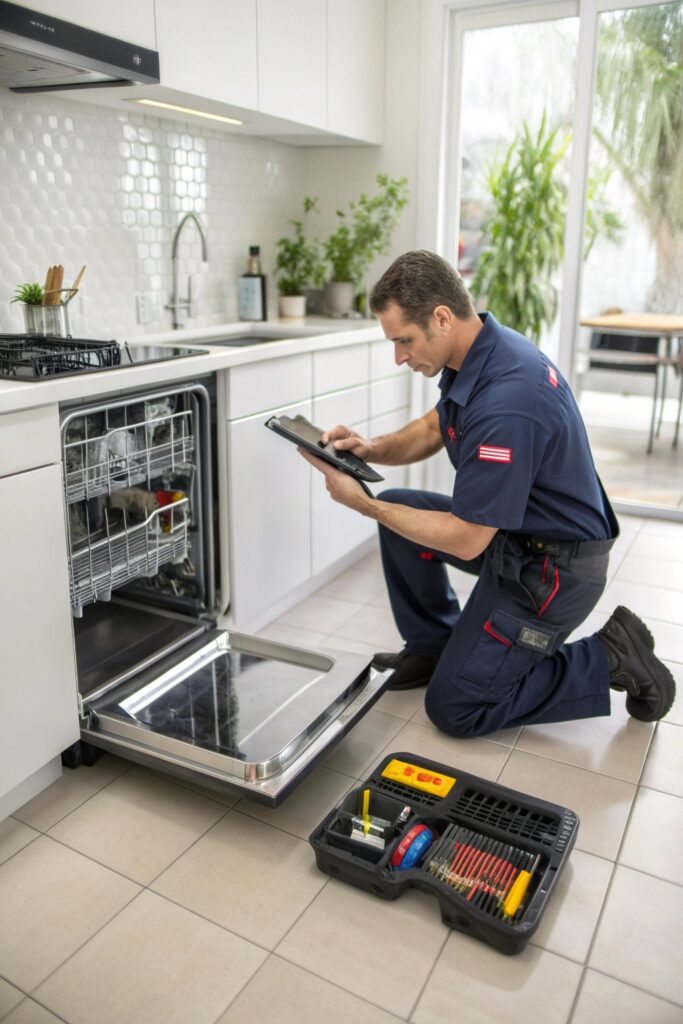
If the steps above don’t resolve the blinking pattern, or if you’re not comfortable testing electrical components like the temperature sensor or control board yourself, a certified appliance technician can run diagnostic tests specific to your exact model that go beyond what’s practical for a home troubleshooting guide.
Have your model and serial number ready when calling, since specific blink patterns can have slightly different meanings across different Whirlpool dishwasher generations and product lines.
Documenting the Pattern Before You Call for Service
If you do end up needing professional service, note exactly how many times the light blinks, whether it pauses and repeats the pattern, and whether any other lights blink in combination — this specific detail helps a technician (or Whirlpool’s own phone support) narrow down the likely fault area before they even arrive, potentially saving a diagnostic visit.
A short video recorded on your phone of the blinking sequence is genuinely useful to have on hand, since blink patterns can be easy to miscount or describe inaccurately from memory alone once you’re on a support call.
Wrapping It Up
A full power reset resolves a meaningful share of blink-code issues on its own, since many are temporary control board glitches rather than genuine hardware failures. If the pattern persists after a reset, working through water supply and inlet valve checks next covers the most common underlying causes before you need to consider a technician visit or control board replacement.