
A small home theater benefits from prioritizing light control and seating comfort before worrying about higher-end equipment, since these fundamentals affect the viewing experience more than any single upgrade.
Below are 15 ways to build out this space, with practical notes for each.
1. The Tiered Seating Platform
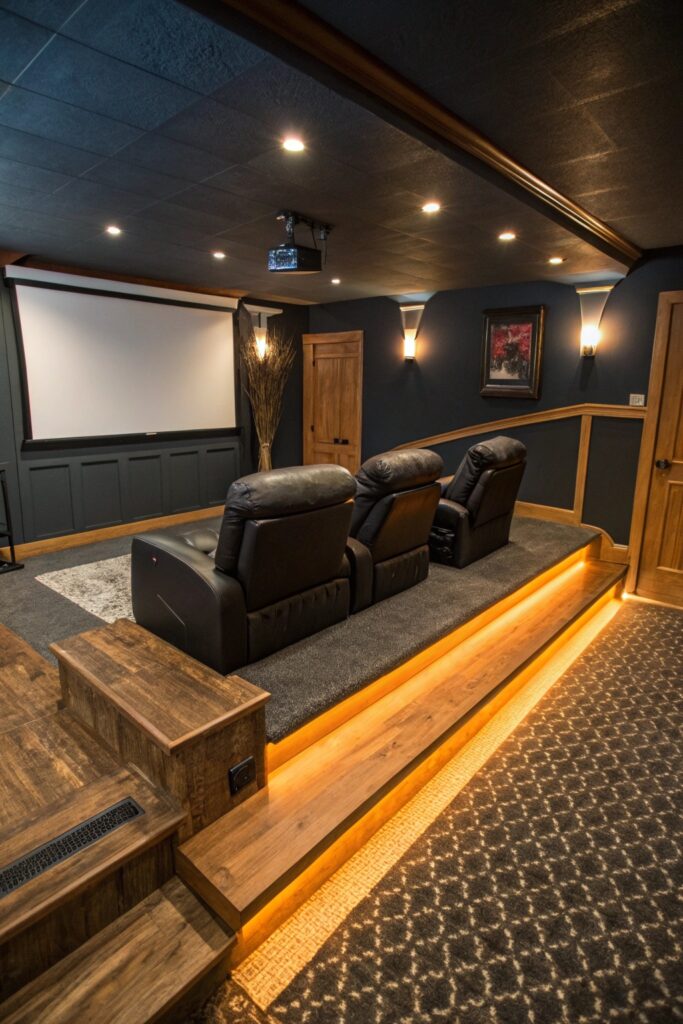
A raised back row ensures clear sightlines for everyone, which matters more in a small room where furniture placement has less flexibility to work around obstructions.
Choose a comfortable riser height for the back row, typically 8 to 10 inches, which improves sightlines without making the platform feel too steep in a smaller room.
2. Acoustic Panel Wall Art
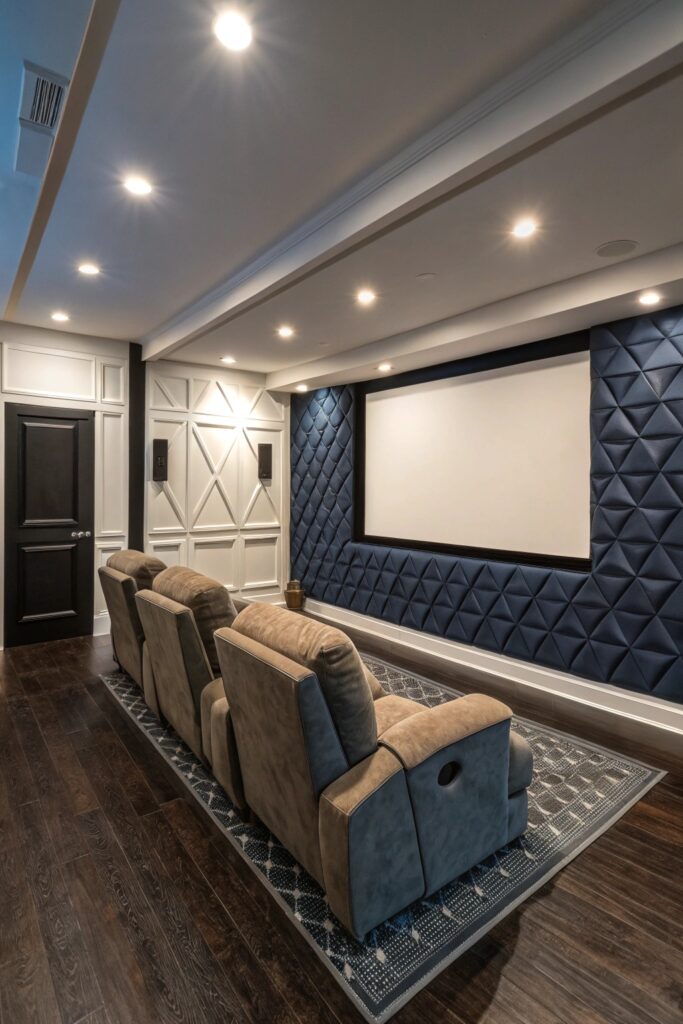
Functional acoustic panels styled as wall art serve double duty, improving sound quality while still contributing to the room’s overall look.
Choose panels in a coordinating color or pattern, which lets them blend into the room’s overall design rather than looking purely functional.
3. Blackout Curtains and Light Control
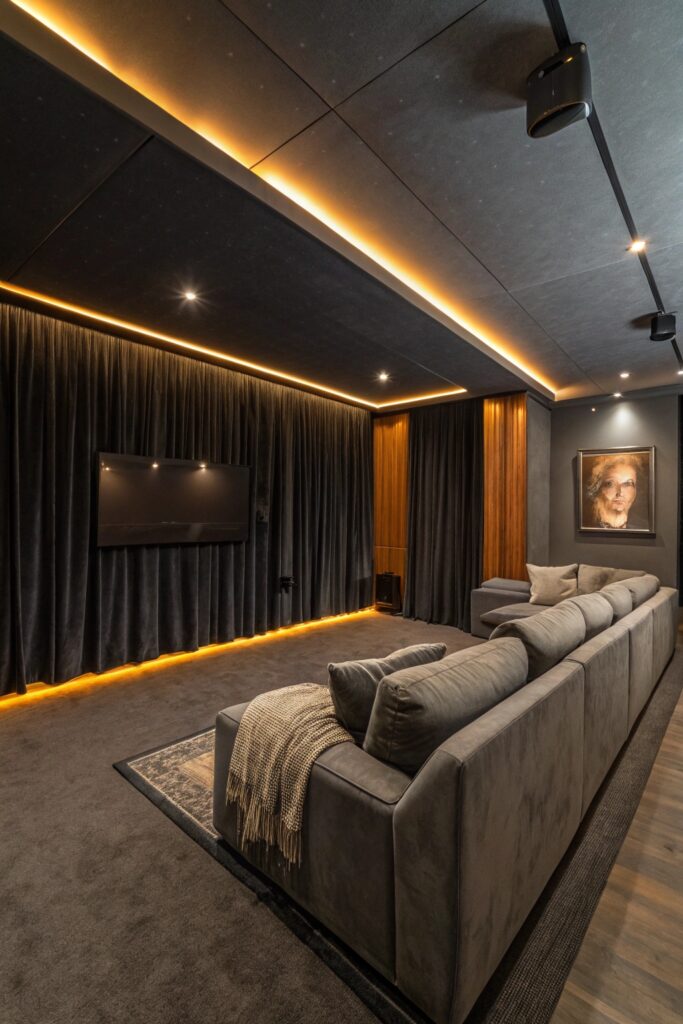
Full light control matters more here than in almost any other room, since even small amounts of ambient light affect projector image quality.
Choose curtains rated for genuine full blackout specifically, since some products marketed as blackout still let in noticeable light around the edges.
4. Projector and Motorized Screen Setup
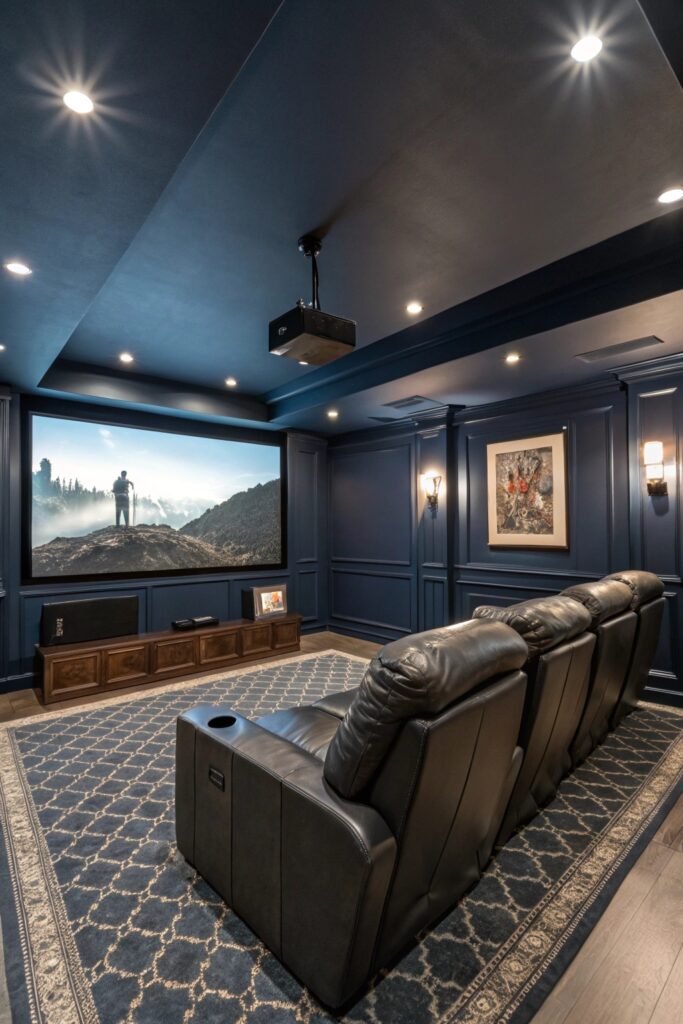
A motorized screen that retracts when not in use keeps the room flexible for other purposes, which matters in a smaller multi-use space.
Confirm your throw distance and screen size are compatible before purchasing a projector, since this varies by model and room dimensions.
5. Recliner Chairs with Cup Holders
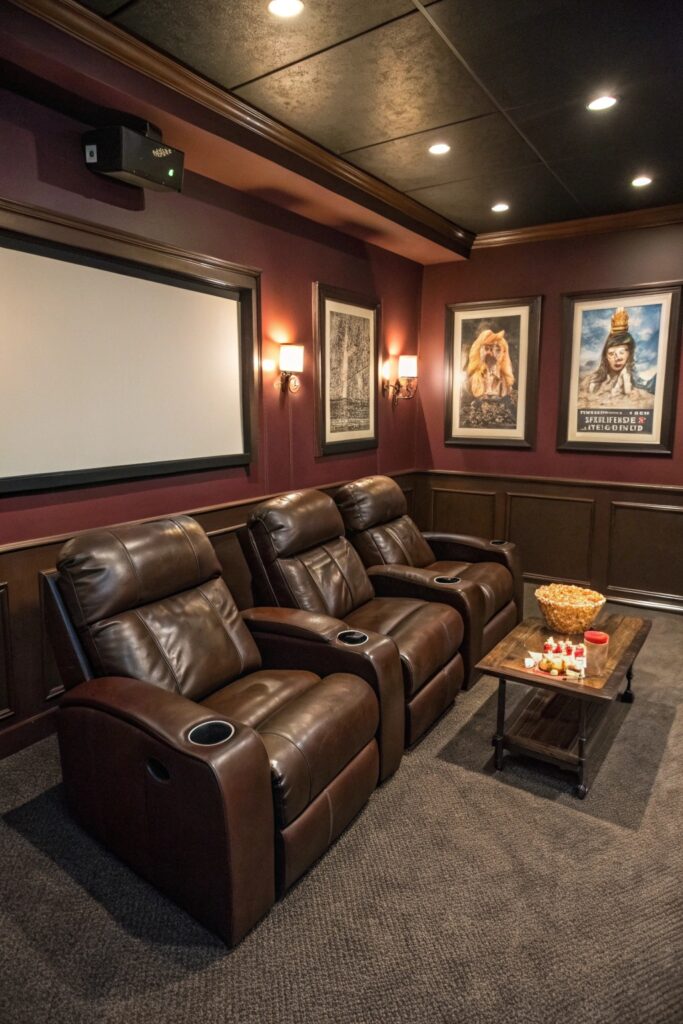
Measuring your specific room before ordering matters here, since reclined seating needs more floor space than upright chairs of the same width.
Test seating in person when possible, since comfort varies more between recliner models than measurements alone can convey.
6. Starlight Ceiling with Fiber Optic Lights
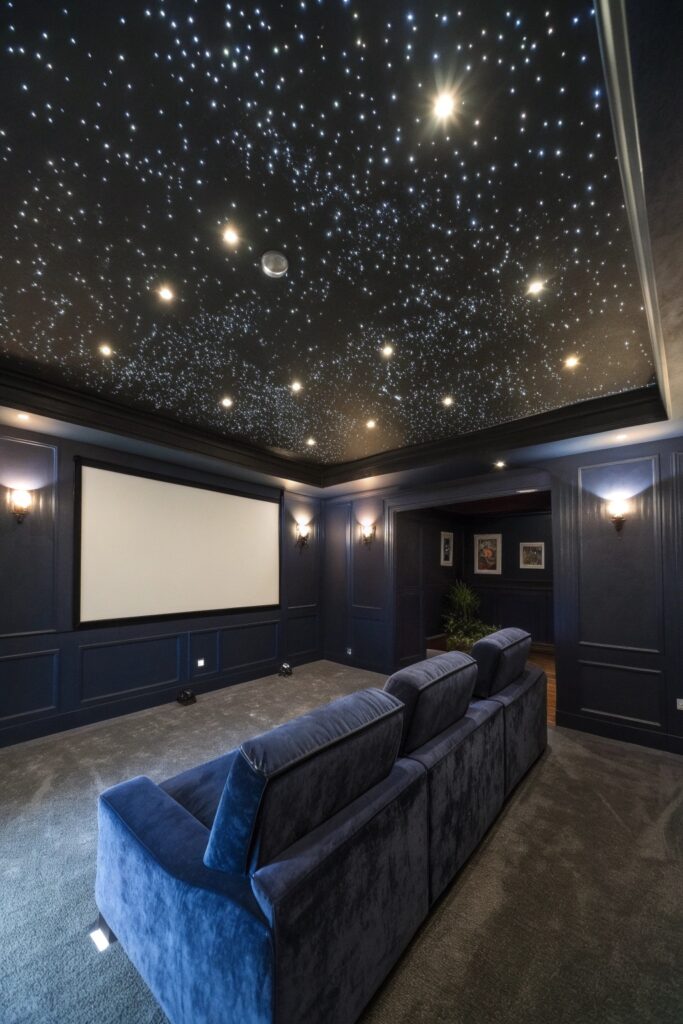
This decorative touch works best on a darker ceiling, where the fiber optic points show up with more contrast than against a lighter surface.
Choose warm-toned fiber optic lights specifically, which suits a cozy theater atmosphere better than a cooler, more clinical light.
7. Built-In Media Wall with Hidden Storage
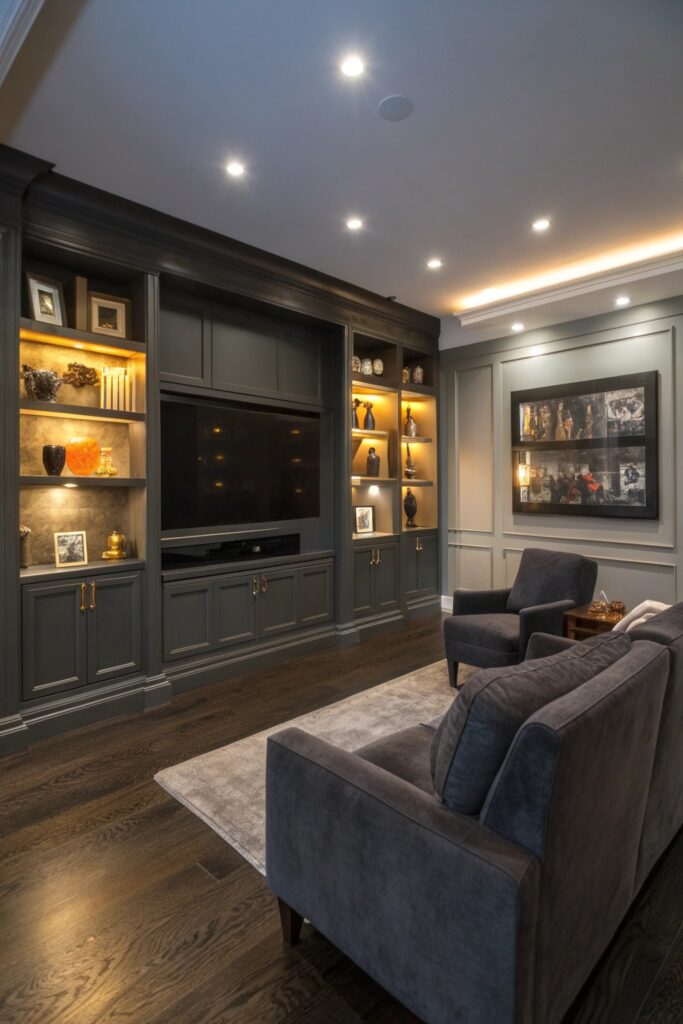
Concealed storage and cable management is what separates a clean, finished media wall from one with visible clutter and cords.
Plan cable routing before installation begins, since retrofitting hidden channels after the wall is finished is considerably more difficult.
8. Soundproofing the Walls and Door
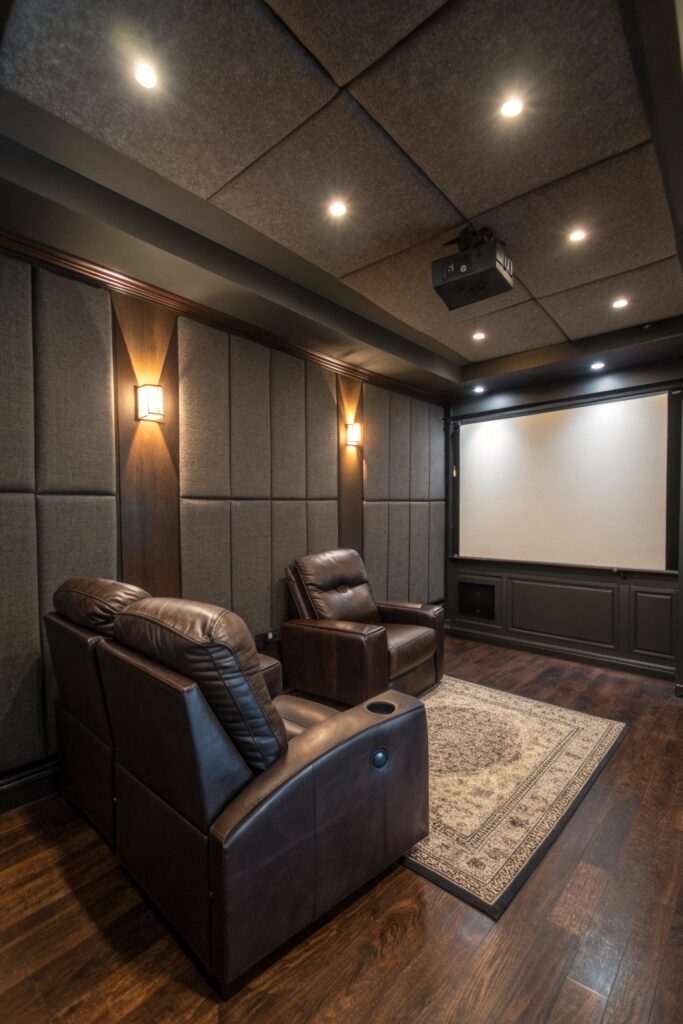
Addressing the door first often makes the biggest difference, since gaps around a standard door let more sound through than most people expect.
Address obvious sound leaks first, like gaps under doors, before investing in more expensive wall treatments.
9. Themed Décor and Cinema Signage
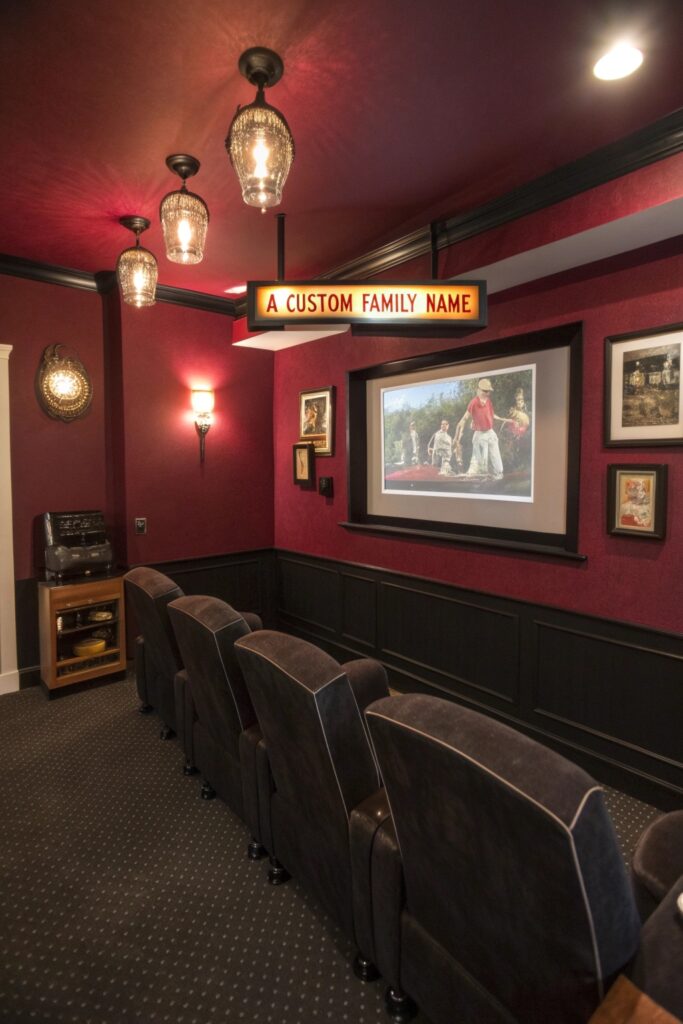
Subtle nods to a classic cinema aesthetic — marquee-style lettering, a simple sign — tend to age better than an overly literal theme.
Choose signage and decor in a limited color palette, which keeps the theme from feeling like a cluttered novelty shop.
10. Surround Sound Soundbar Setup
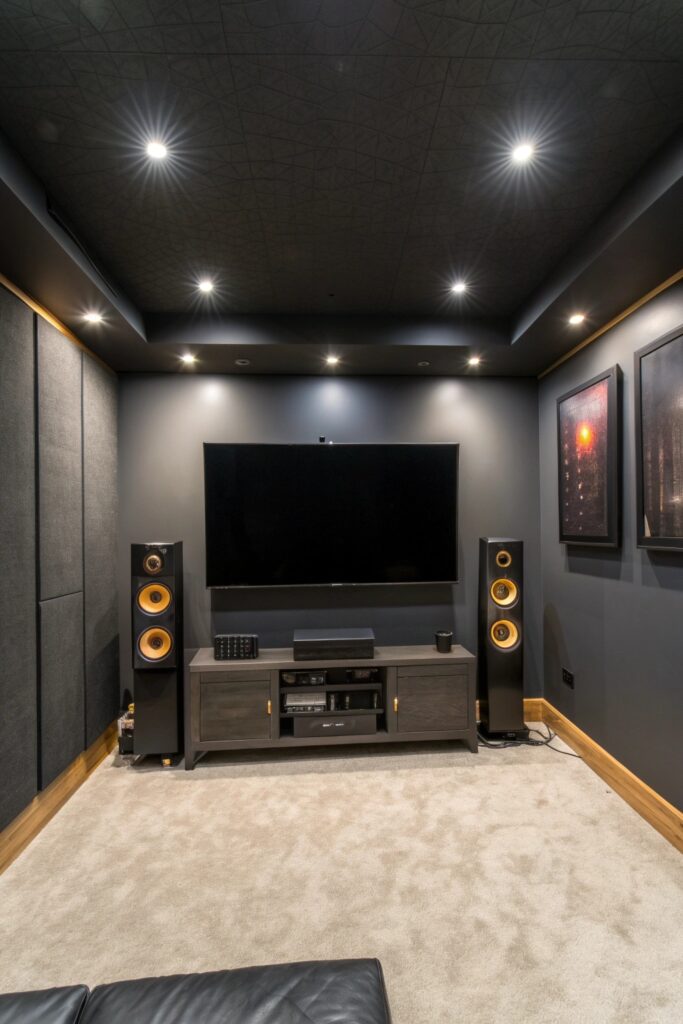
Speaker placement matters as much as the equipment itself, since even quality speakers underperform if positioned without consideration for the room’s actual layout.
Position speakers at appropriate heights and angles for your specific seating layout, which matters more than the total number of speakers used.
11. Under-Seat LED Lighting
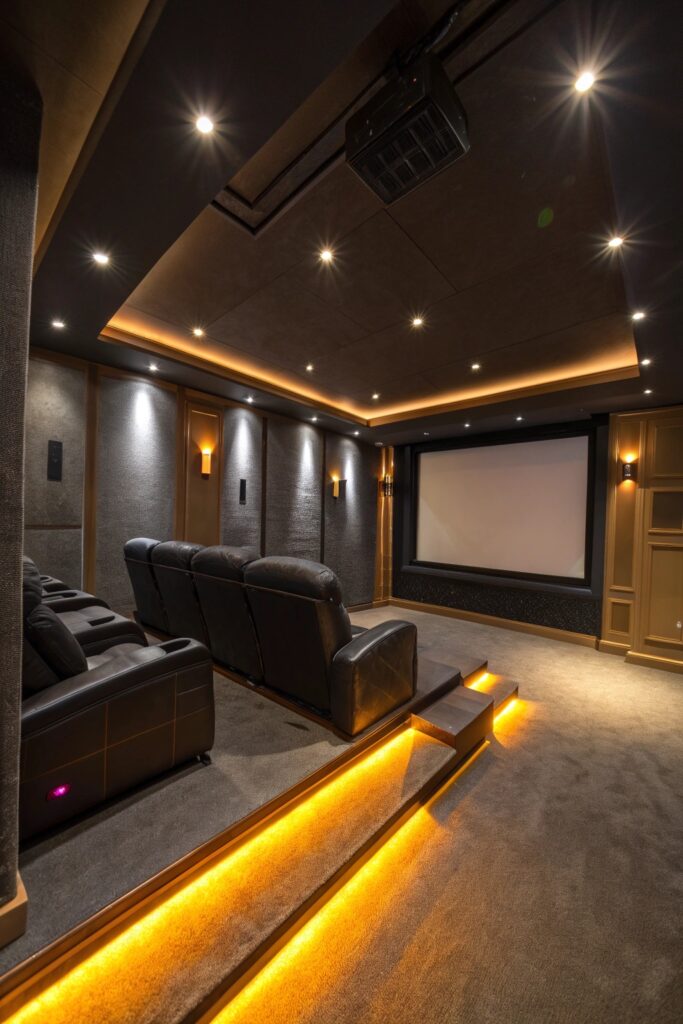
Dim, indirect lighting like this helps with visibility during a film without washing out the screen’s contrast the way overhead lighting would.
Choose genuinely dimmable LED strips specifically, which lets you adjust brightness based on the specific film or lighting needs of the moment.
12. Dedicated Snack and Drink Station
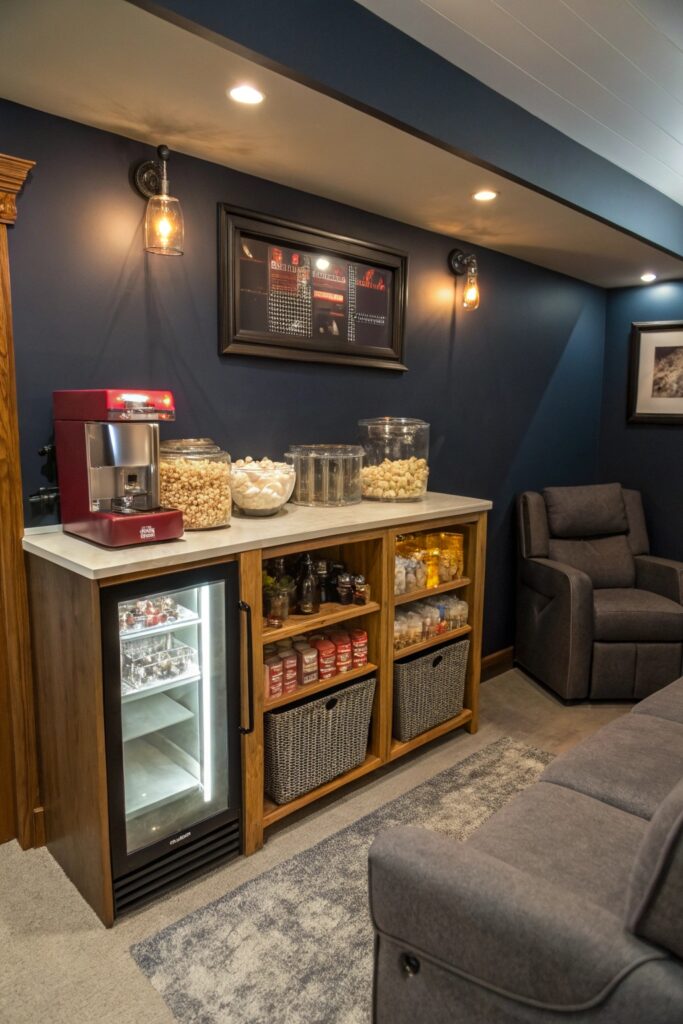
A small dedicated area keeps snacks and drinks contained to one spot, reducing spills and mess near seating and equipment.
Choose spill-resistant surfaces for this station, since this area sees more regular contact with drinks and snacks than anywhere else in the room.
13. Dark Paint and Velvet Curtain Walls
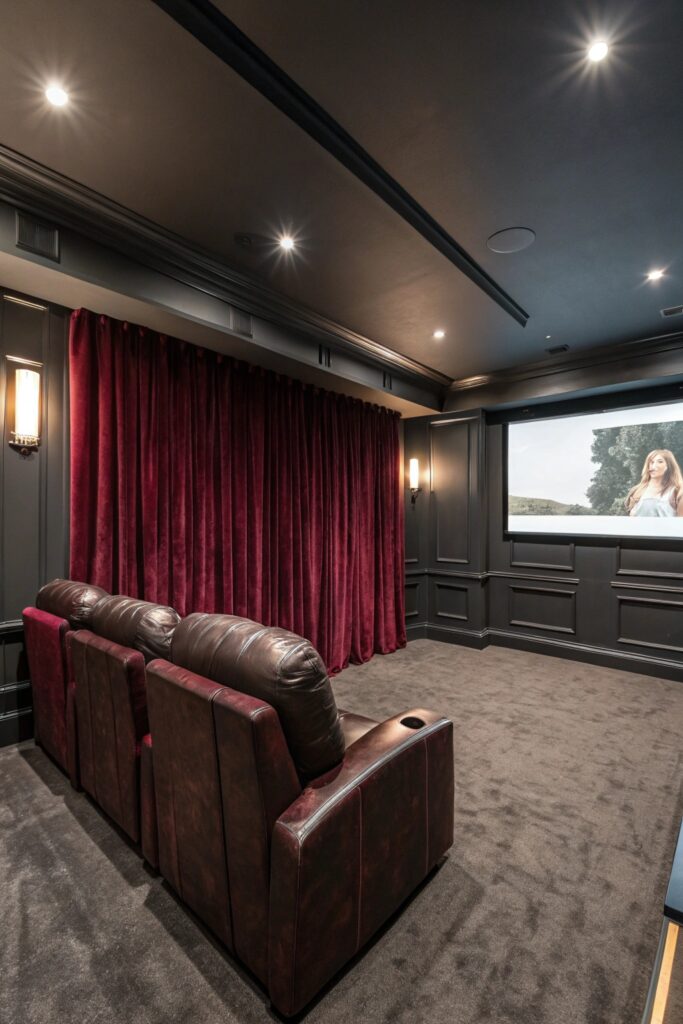
Dark, matte surfaces absorb more ambient light than lighter or glossy finishes, which improves projected image contrast throughout the room.
Choose matte finishes over glossy ones throughout, since a glossy surface can create distracting reflections during projection.
14. Gaming and Streaming Integration
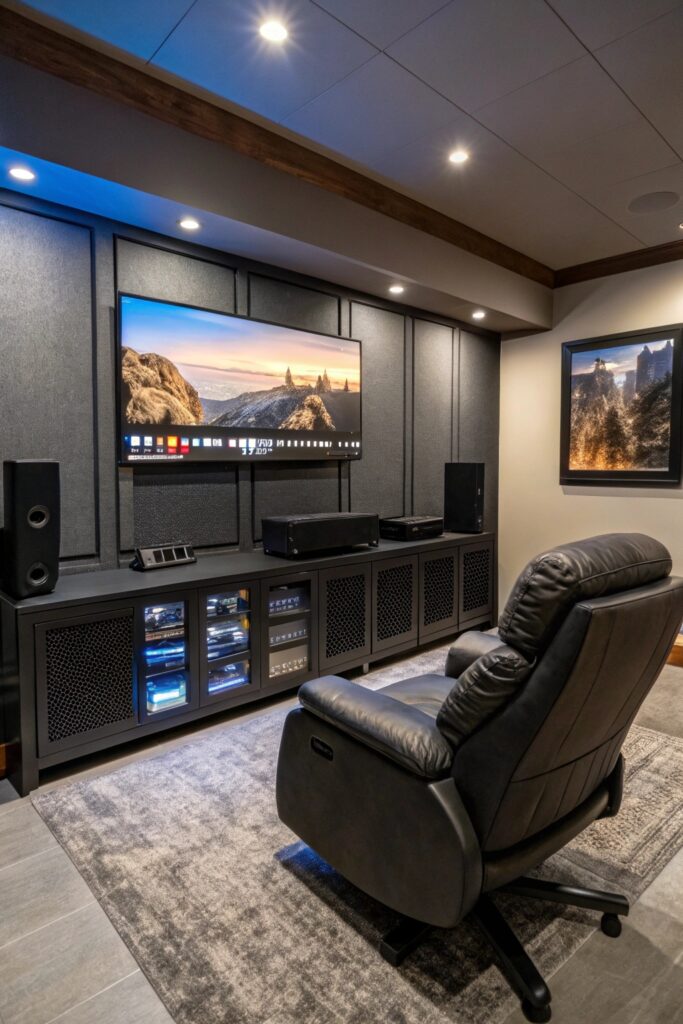
Confirming your equipment supports low-latency input matters if gaming is a priority, since some home theater setups introduce noticeable lag.
15. Cozy Layered Textiles and Bean Bags
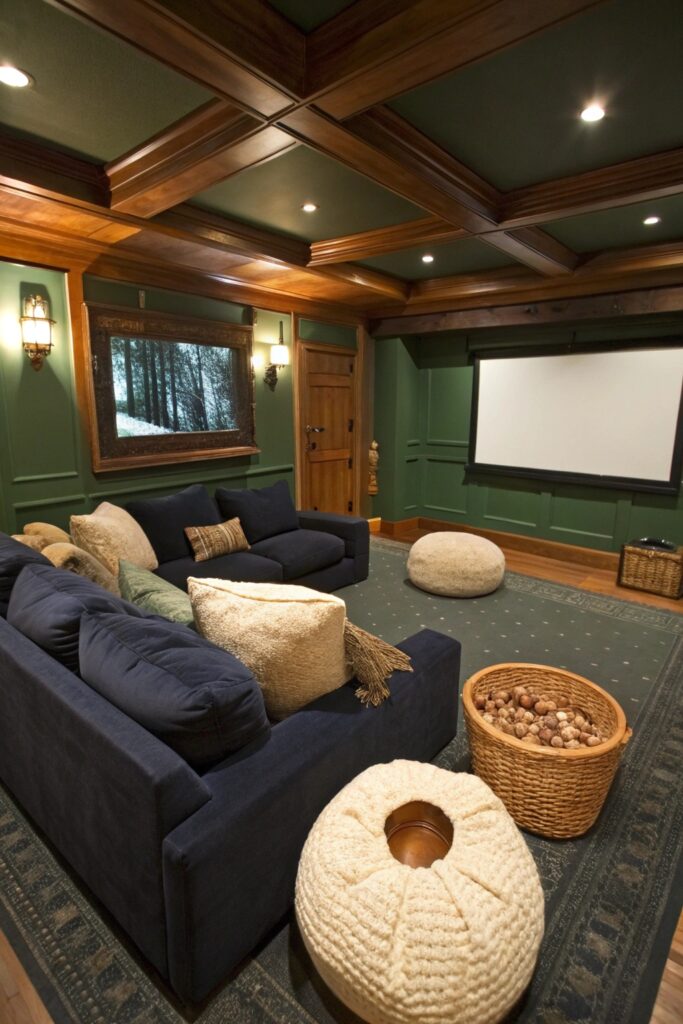
Soft, varied textures — throws, floor cushions, bean bags — add casual comfort options beyond the room’s primary seating.
What This Room Costs
A basic setup with a projector, screen, and comfortable seating typically costs $1,000 to $3,000 depending on equipment quality.
A fuller build with soundproofing, tiered seating, and a built-in media wall runs considerably higher, often $5,000 to $15,000 or more depending on the scope of construction involved.
Get quotes from at least two contractors before committing to any structural soundproofing or built-in work, since labor costs for this kind of construction vary considerably based on your home’s existing wall setup.
Measure your specific room’s dimensions carefully before ordering any furniture or equipment, since a small home theater has less margin for error than a larger living room when it comes to fitting seating, screen size, and walkways comfortably.
Start with the fundamentals — light control and comfortable seating — before adding higher-end audio or decorative extras, since a genuinely well-controlled room with basic equipment often outperforms a poorly lit space with expensive gear.
A well-planned small home theater rewards careful setup, since the space you build now becomes the room you and your household actually use for movie nights and gatherings for years to come.
Final Thoughts
Light control and comfortable seating do more to improve a small home theater than expensive equipment alone, so it’s worth prioritizing these fundamentals first. Cable management and hidden storage are worth planning early in the process, since retrofitting a clean setup after installation is considerably more difficult than building it in from the start.