
A backsplash sees more direct exposure to grease, moisture, and heat than almost any other kitchen surface, so material durability and maintenance requirements matter as much as the visual style. The details below cover the real trade-offs — sealing schedules, heat tolerance, porosity — worth knowing before committing to each option.
Below are 13 backsplash styles worth considering, with the practical specifics for each.
1. Classic White Subway Tiles with Dark Grout
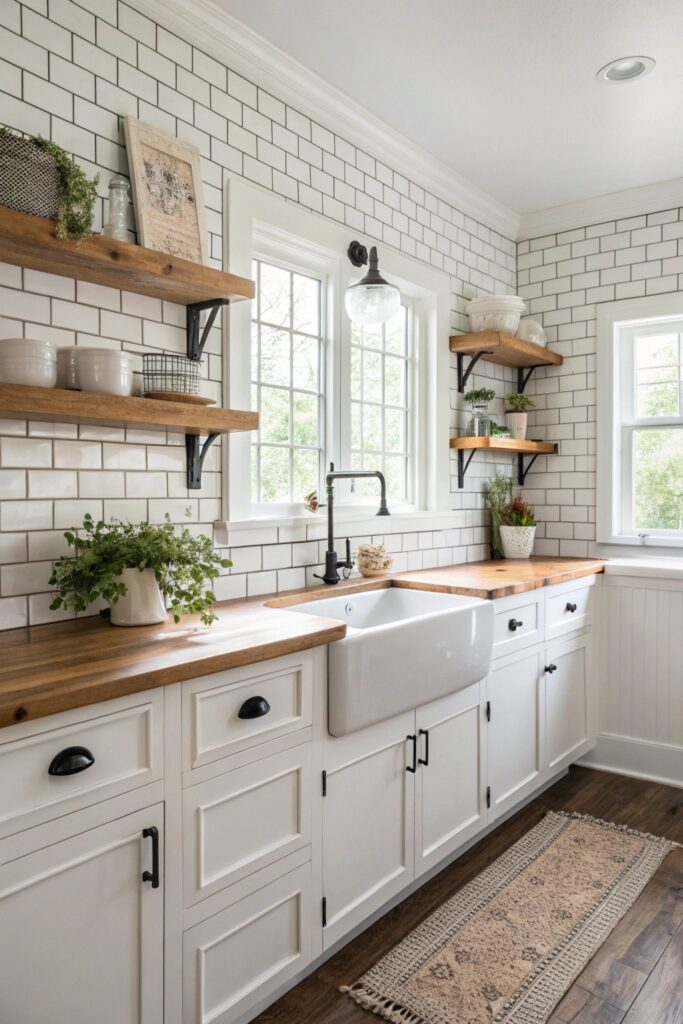
Dark grout hides staining and discoloration considerably better over time than white grout, which tends to yellow from grease and cooking splatter within a couple of years even with regular cleaning. The classic subway tile size is 3 by 6 inches, though larger formats have become common for a more streamlined look with fewer grout lines to maintain.
Sealing grout annually, or every other year for a lower-traffic kitchen, keeps it resistant to staining and considerably easier to wipe clean.
2. Exposed Brick Backsplash for Raw Charm
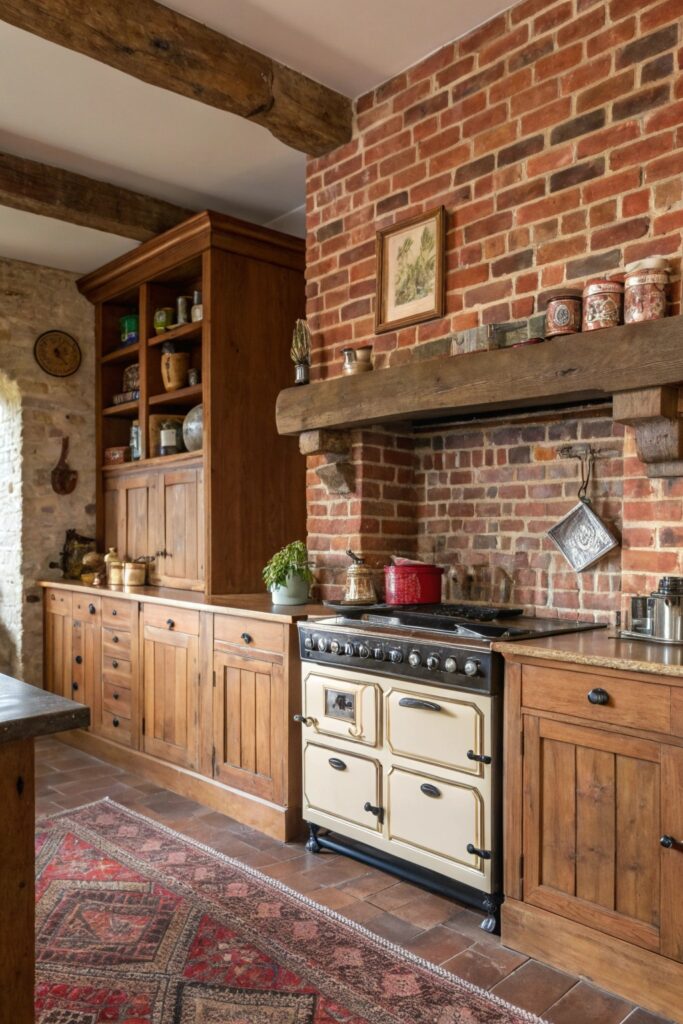
Thin brick veneer, typically around half an inch thick, installs like tile and avoids the structural considerations that full masonry brick requires. Unsealed brick is porous and will absorb grease and stains near a cooktop, so a masonry sealer is worth applying regardless of whether you’re using veneer or full brick.
3. Beadboard Panels for Cottage Style
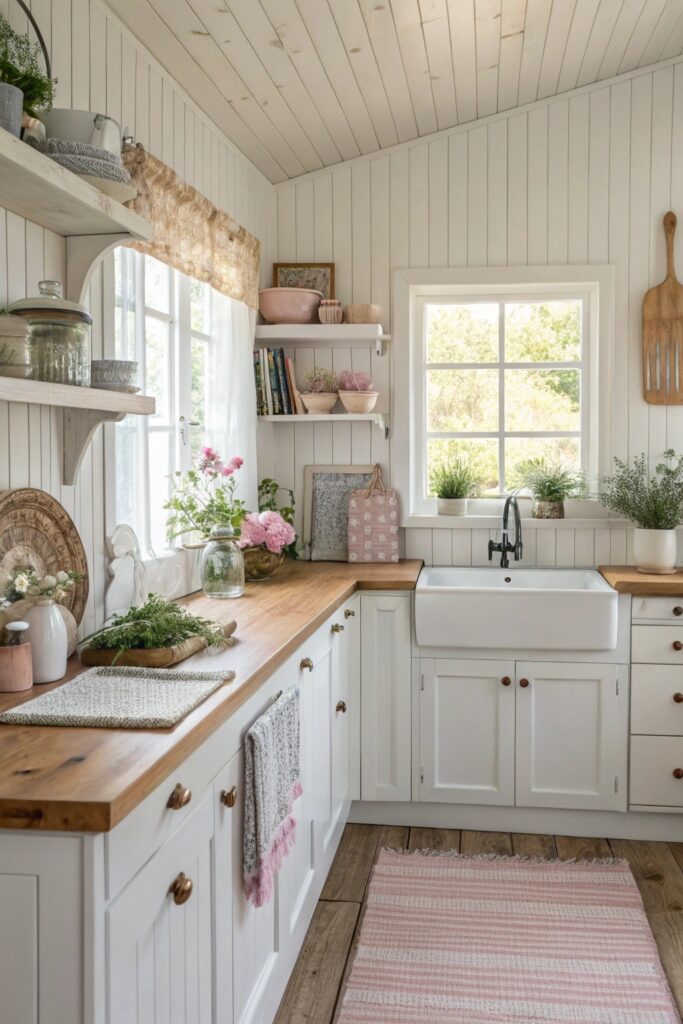
Real wood beadboard needs a proper seal or paint finish to resist kitchen moisture, while MDF versions can swell at the edges if they aren’t fully sealed during installation, particularly around the sink area. Beadboard directly behind a range needs a heat-resistant treatment or should be kept a reasonable distance from the actual cooking surface.
4. Patterned Ceramic Tiles for Personality
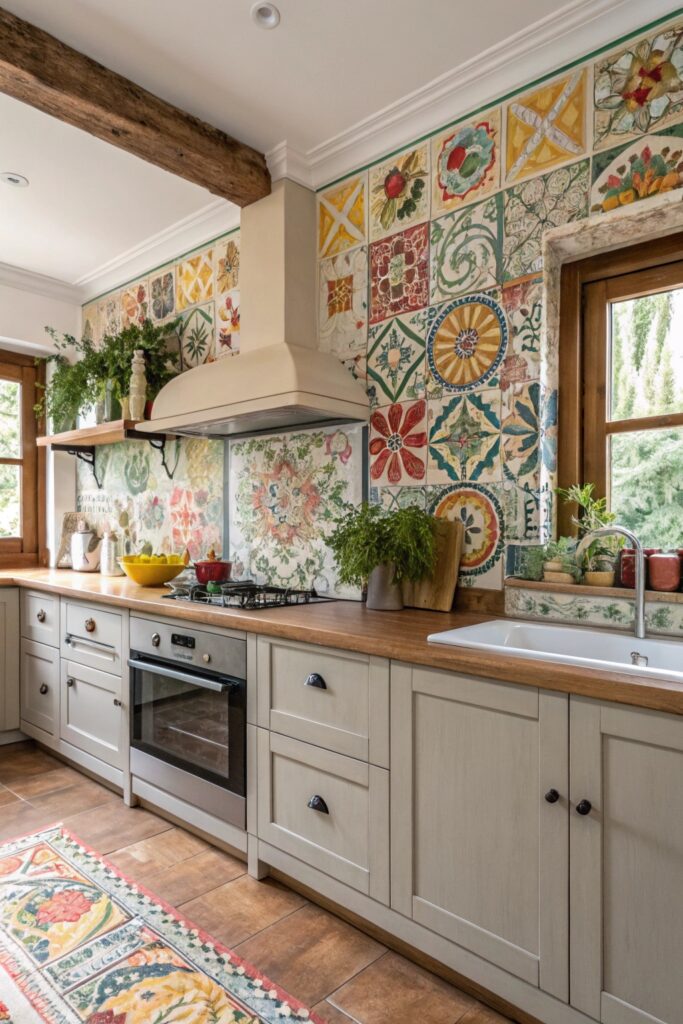
Cement tiles, which create much of the popular Moroccan-pattern look, are notably more porous than glazed ceramic and need sealing before and periodically after installation, unlike a standard glazed ceramic tile that doesn’t require this step.
5. Natural Stone Backsplash for Earthy Appeal
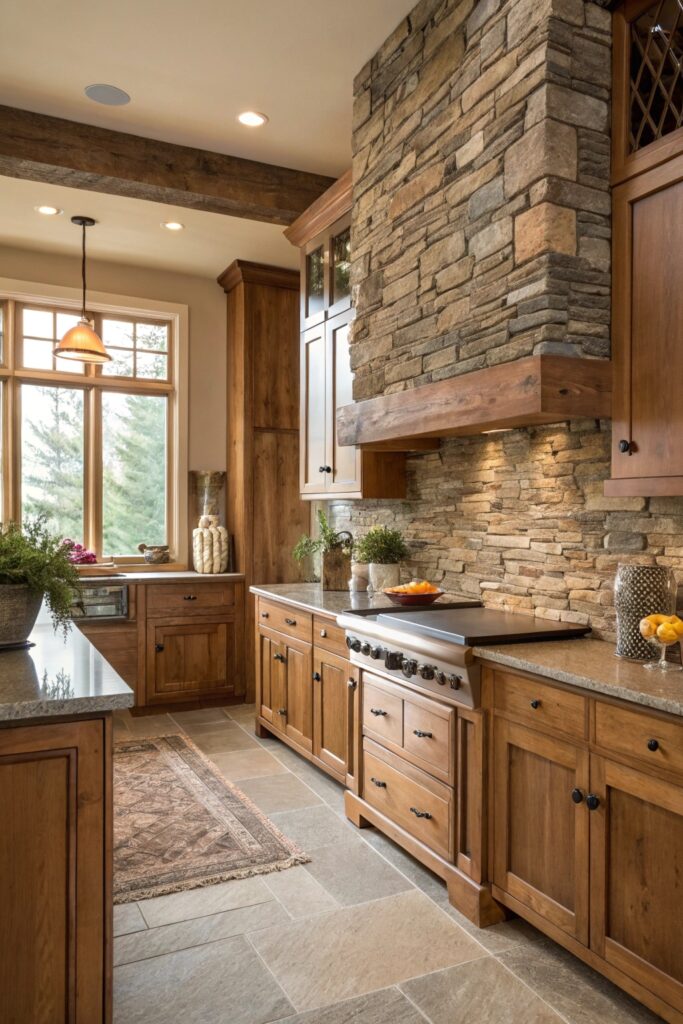
Travertine and slate both need sealing to resist grease and staining, typically reapplied every one to two years depending on how much the backsplash is exposed to cooking splatter. This ongoing maintenance is worth factoring in against the lower upkeep of porcelain or glazed ceramic alternatives.
6. Shiplap Walls for Farmhouse Vibes
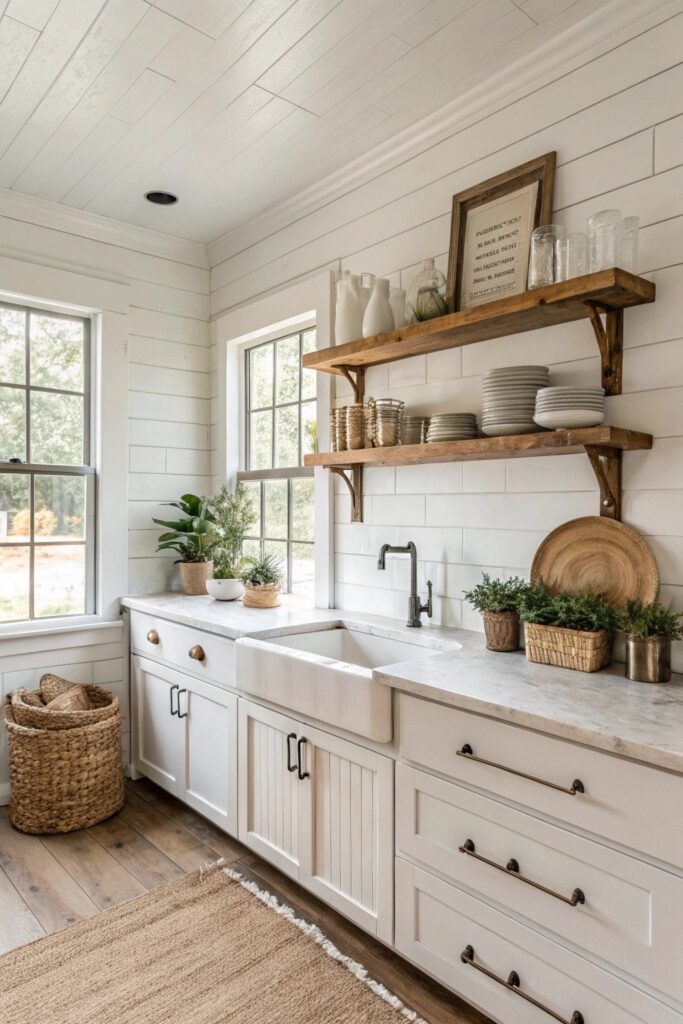
Shiplap used as a backsplash sits closer to actual cooking heat and grease than shiplap used elsewhere in a kitchen, so a durable sealed finish matters more here — a decorative accent wall a few feet from the stove can get away with lighter protection than the section directly behind the cooktop.
7. Tin Tile Backsplash for Vintage Charm
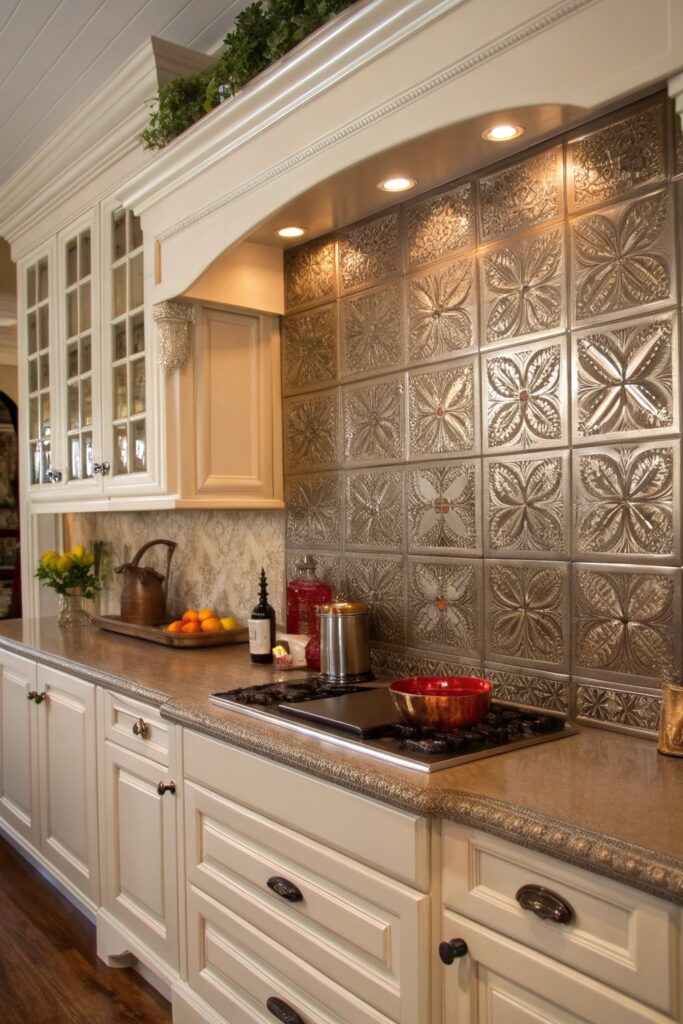
Real pressed tin needs to be sealed or painted to prevent rust developing in a kitchen’s humid, splash-prone environment, while PVC tin-look panels avoid rust entirely but don’t replicate the same dimensional texture and slight imperfections of authentic pressed metal.
8. Wooden Backsplash for Warmth
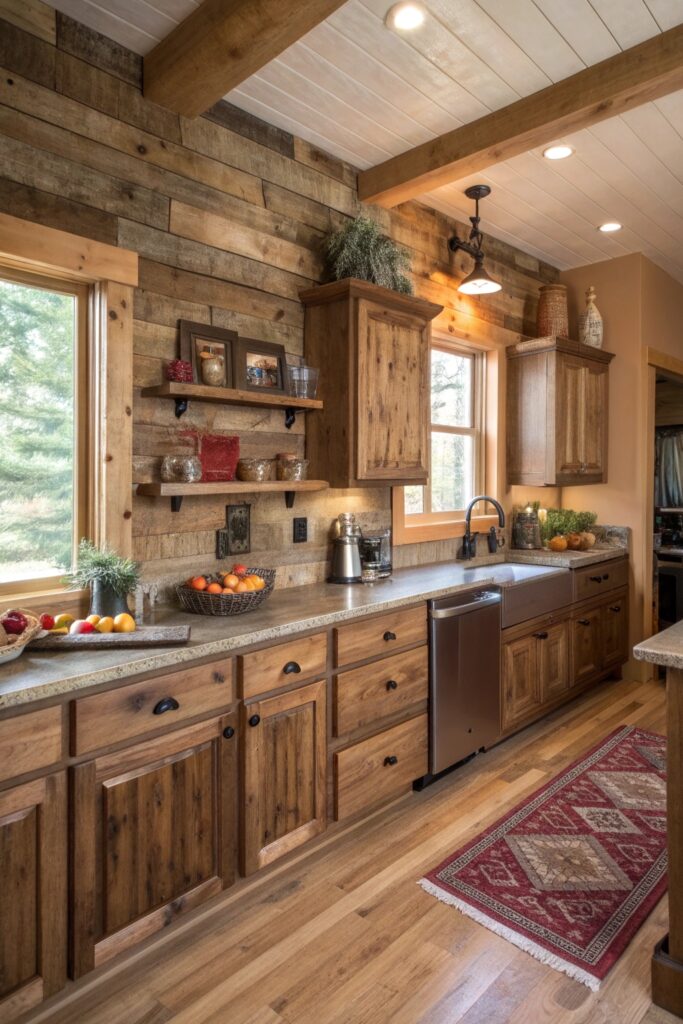
Teak carries natural water resistance that most other wood species lack, making it a more forgiving choice for this application, though any wood backsplash still needs multiple coats of polyurethane for real protection against grease and moisture. Keep wood a reasonable distance from direct stovetop heat, or add a metal heat shield behind the range specifically if the wood extends into that zone.
9. Mosaic Tiles for Subtle Detail
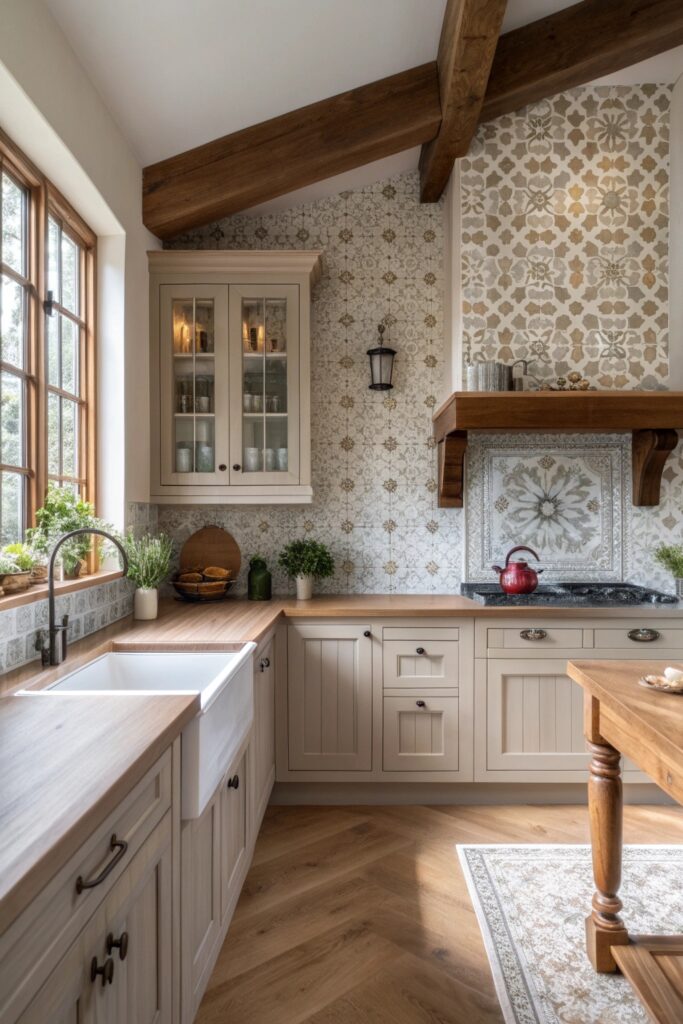
Smaller mosaic pieces mean considerably more grout lines than a standard tile size, which translates to more surface area where staining or mold can develop if the grout isn’t sealed and maintained regularly.
10. Chalkboard Backsplash for Fun and Function
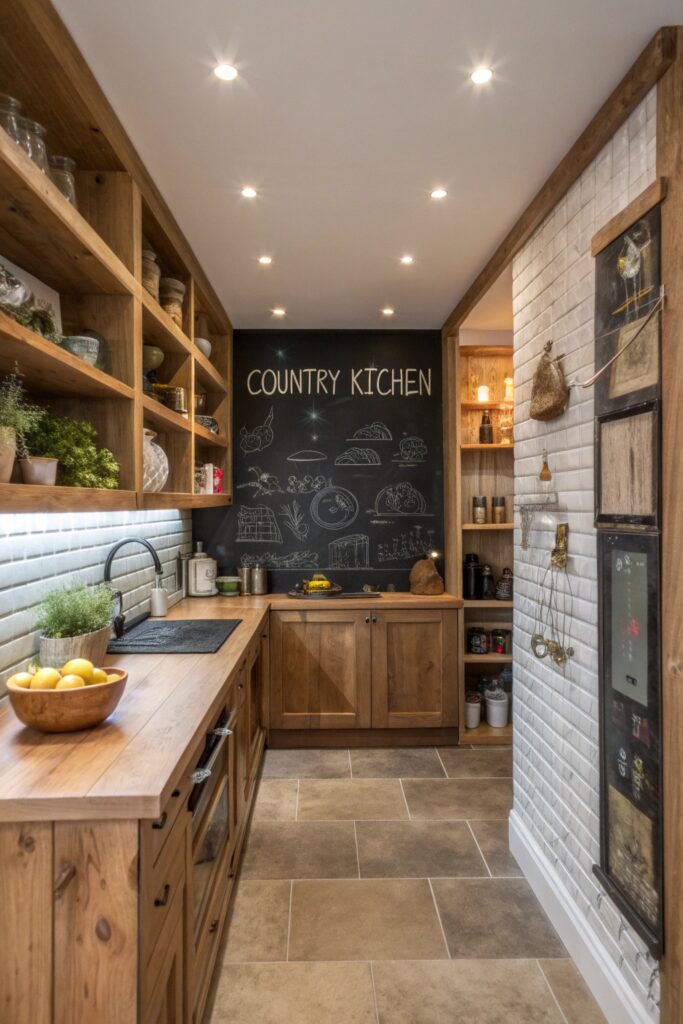
Chalkboard paint’s surface can degrade faster near a cooktop than in a lower-grease zone, so this treatment tends to work best confined to a specific area like a coffee station or a section away from direct cooking splatter, with occasional reapplication of the paint itself as it wears.
11. Marble Tiles for Rustic Elegance
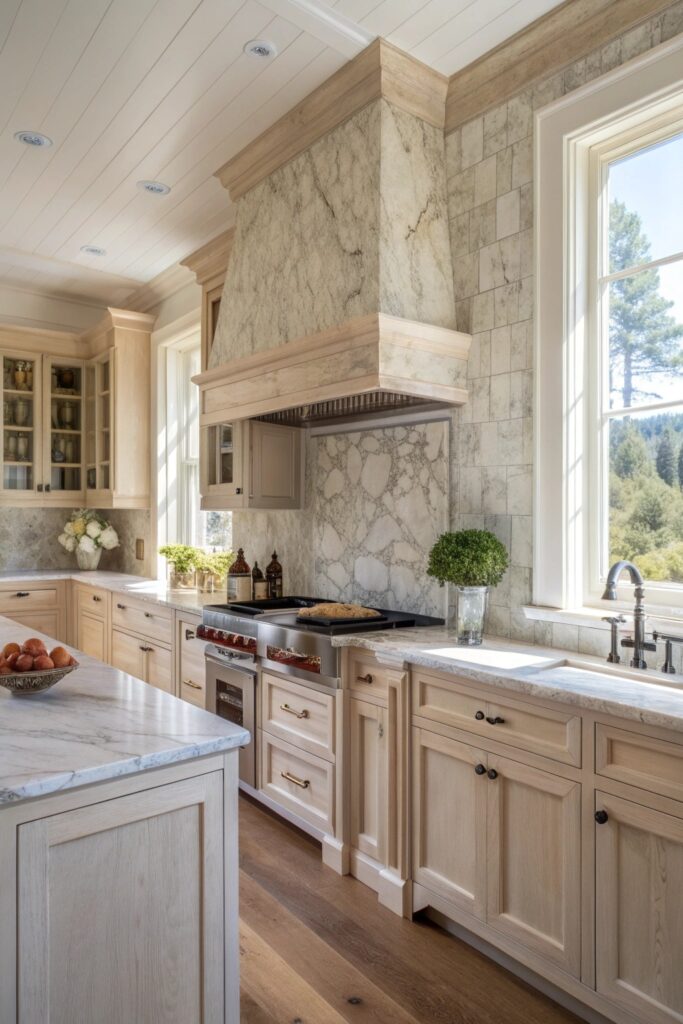
Marble is notably soft and porous compared to quartz or porcelain, and it etches — meaning it develops a dull, permanently marked spot — from contact with acidic substances like lemon juice or vinegar. Regular sealing, typically every six to twelve months, and sticking to pH-neutral cleaners specifically, both matter more with marble than with almost any other backsplash material on this list.
12. Mixed Material Backsplash for Depth
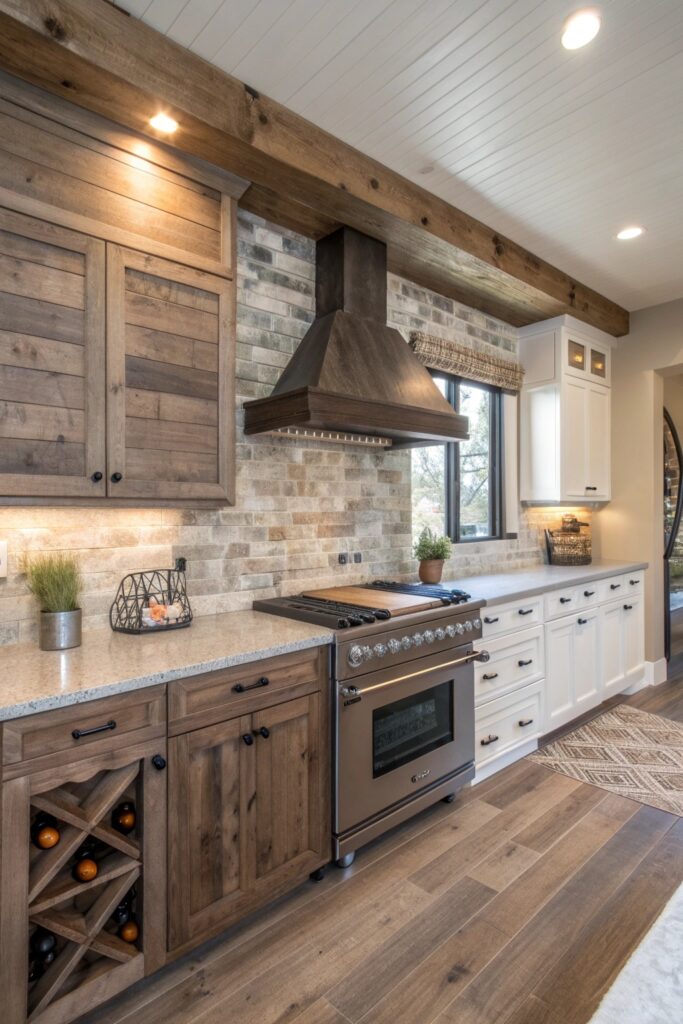
Where two different materials meet, a trim or transition strip creates a cleaner edge than butting them directly together, which can look unfinished as materials expand and contract at different rates over time. Confirm the adhesive you’re using is rated for both materials, since a heavier stone section paired with lighter tile sometimes needs a different mounting approach than either material would require alone.
13. Hand-Painted Tiles for an Artisan Touch
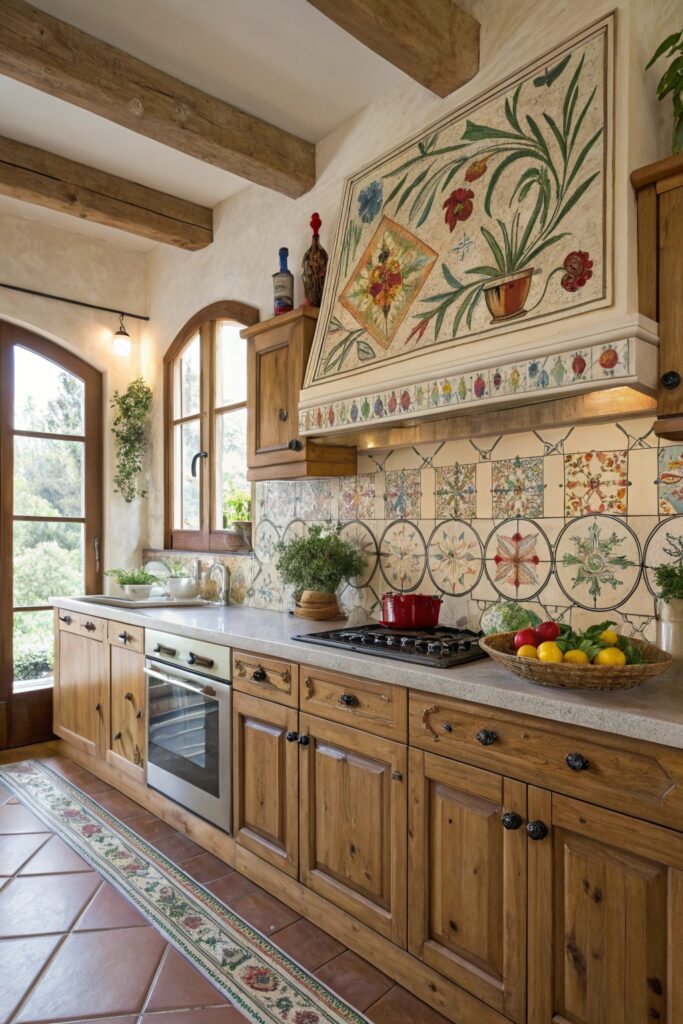
Hand-painted and hand-glazed tiles carry a real cost premium over mass-produced options and often involve longer lead times if custom-ordered, which is worth planning for well ahead of an installation timeline. Some porosity variation between individual tiles is normal with this process and part of the handmade character, though it does mean sealing recommendations can vary slightly piece to piece.
Installation Considerations Worth Knowing
Most standard tile backsplashes are within reach of an experienced DIYer, but materials like natural stone, brick veneer, or anything requiring precise pattern alignment often benefit from professional installation, since mistakes are more costly to fix on these materials than on standard ceramic tile.
Confirm your wall surface is properly prepared before installation begins — a backsplash installed over an uneven or improperly primed wall is more likely to develop issues like tiles loosening or grout cracking within the first year or two, regardless of how well the material itself is suited to a kitchen environment.
What a Backsplash Project Costs
A basic ceramic tile backsplash typically costs $10 to $25 per square foot installed, including materials and labor.
Higher-end materials like natural stone, hand-painted tile, or real brick veneer run considerably higher, often $30 to $75 or more per square foot depending on the specific material and any custom work involved.
Weigh Maintenance Alongside Style
Some of these materials — natural stone, marble, real wood — require real ongoing maintenance to hold up well, while others, like glazed ceramic or porcelain, need very little upkeep beyond routine cleaning. Neither category is objectively better, but it’s worth being honest about how much maintenance you’re actually willing to keep up with before choosing a higher-upkeep material purely for its look.
Confirm any material’s heat tolerance specifically for the section directly behind your range, since this zone experiences more direct heat exposure than the rest of the backsplash and not every attractive material is rated to handle it without additional protection.