
Spackle and skim coating solve different problems despite both being wall-repair compounds — using the wrong one for your specific situation either wastes material on a job it’s not suited for, or takes considerably longer than necessary for a small repair.
Below are 10 differences that matter when deciding which one your wall repair actually needs.
1. What Spackle Actually Is
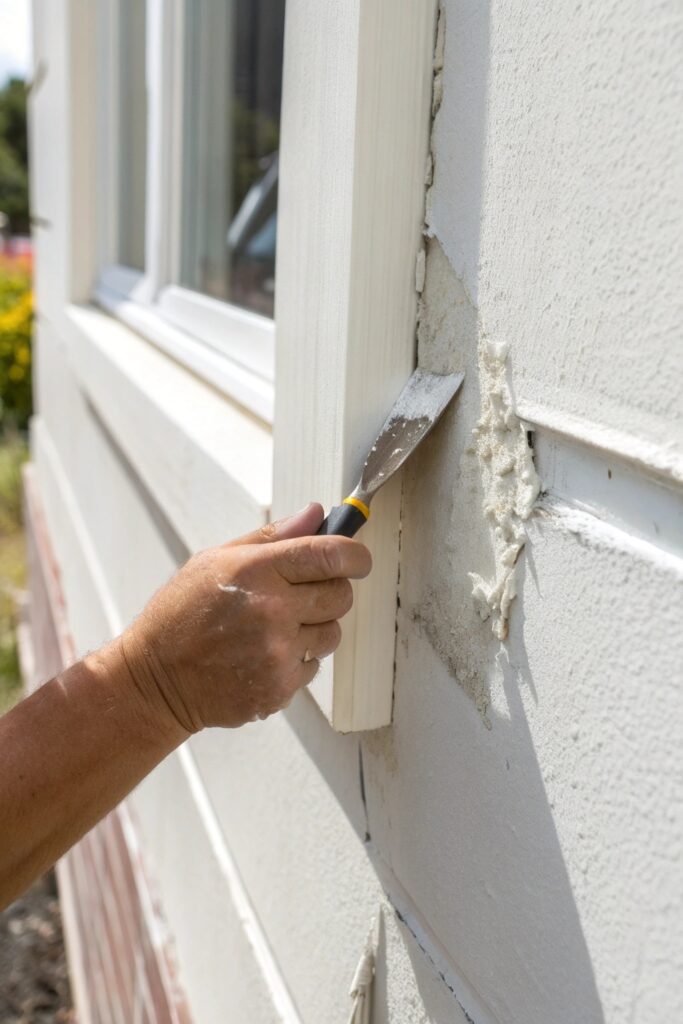
Spackle is a thick, gypsum or vinyl-based compound formulated specifically for filling small holes, dents, and localized damage — it’s designed to shrink minimally and dry hard enough to sand into a precise, small-area patch.
Lightweight spackle (the pink or blue-tinted formulas that change color as they dry) is the most common type for small nail holes and minor dents, while heavier-bodied spackle handles slightly larger holes up to a couple inches across.
2. What Skim Coat Actually Is
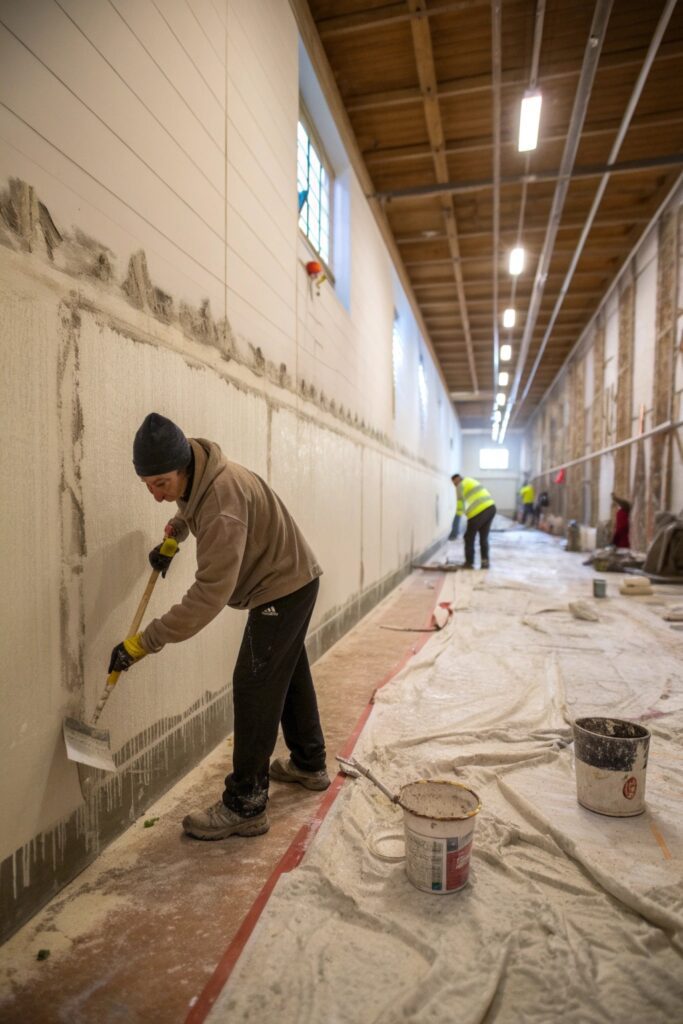
A skim coat uses joint compound (the same material used in drywall taping) applied in thin, broad layers across a large surface area, designed to create a smooth, uniform finish over an entire wall or ceiling rather than filling isolated small damage.
Joint compound is formulated to stay workable longer than spackle and spread more easily over large areas, but it dries softer and shrinks more than spackle, which is part of why it’s suited to broad thin coats rather than filling deep, isolated holes.
3. Best Use Cases for Each
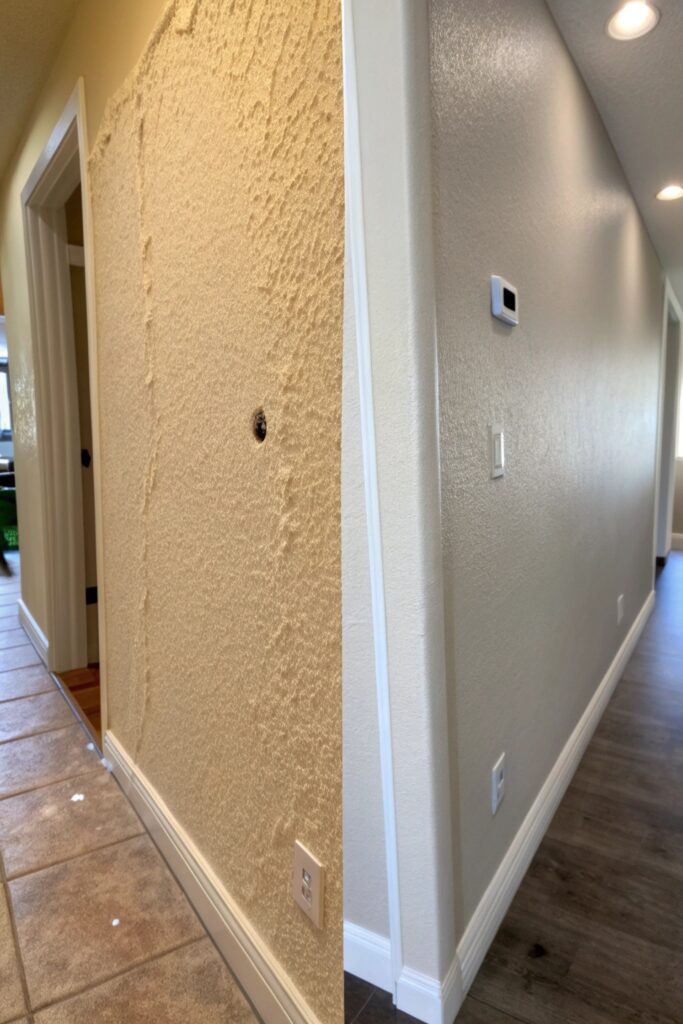
Spackle is the right choice for nail holes, small dents, minor gouges, and any damage under a couple inches across — its quick-drying, minimal-shrink formulation is specifically suited to these small, isolated repairs.
Skim coating is the right choice when you’re addressing texture across an entire wall, blending multiple old patches into an invisible seamless surface, or converting a heavily textured wall to smooth — situations where the goal is broad surface consistency rather than isolated repair.
4. Drying Time Differences
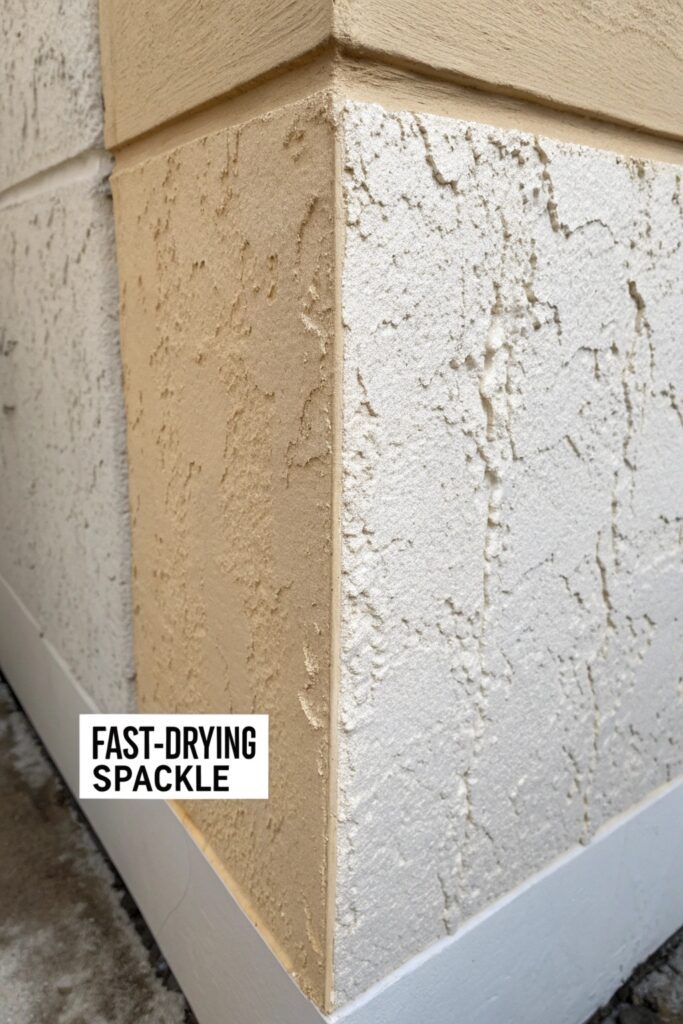
Lightweight spackle typically dries in 1-2 hours for small applications, making it possible to sand and paint the same day for minor repairs — this quick turnaround is part of its core design for small, isolated jobs.
Skim coat layers need considerably longer, often 24 hours between coats for a multi-coat application, since the compound is applied more thickly across a larger area and needs to cure fully to avoid cracking during sanding.
5. Application Technique
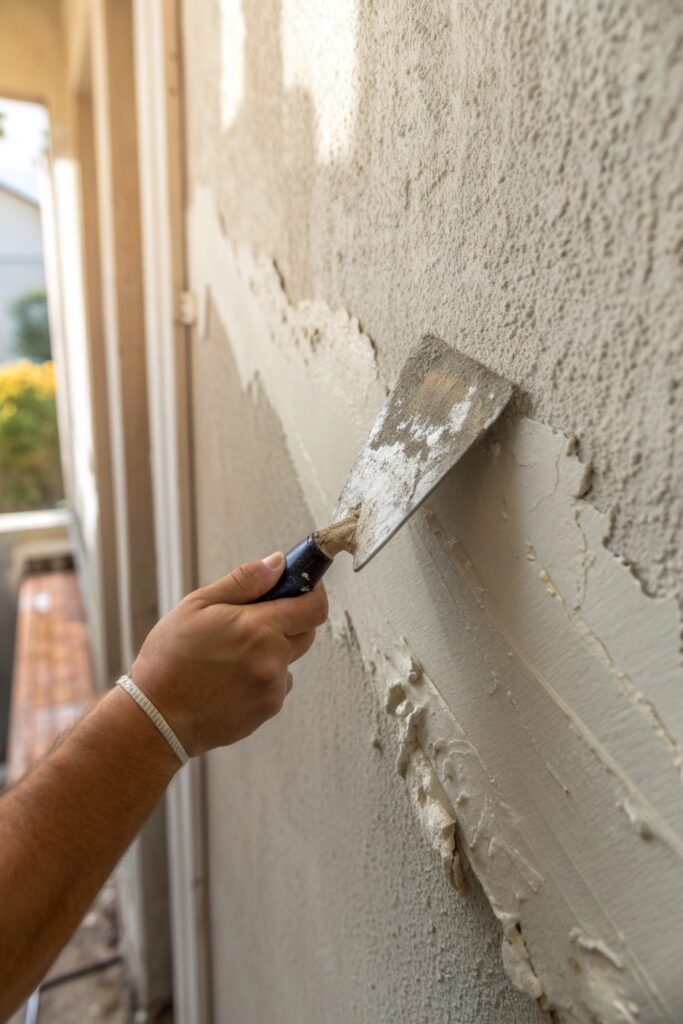
Spackle application is straightforward — a small putty knife presses compound into the hole, then scrapes the excess flush with the surrounding wall in one or two passes, requiring minimal technique to execute well.
Skim coating requires genuine technique to achieve a smooth, even result across a large surface — a wider trowel (10-14 inches), consistent pressure, and overlapping strokes in a specific pattern take practice to execute without visible ridges or trowel marks.
6. Shrinkage and Cracking Risk
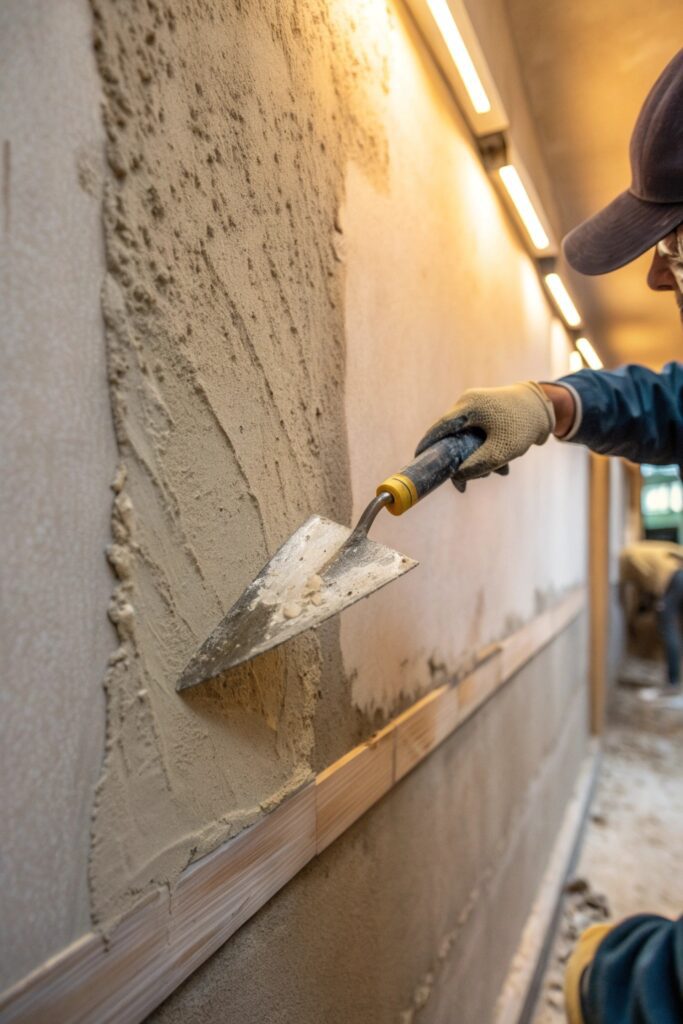
Quality spackle is formulated to shrink minimally, which is why it holds its shape well in a small, isolated hole without needing multiple applications in most cases.
Joint compound used for skim coating shrinks more as it dries and can crack if applied too thickly in a single pass — this is why skim coating relies on multiple thin coats rather than one thick application, even though it takes longer overall.
7. Sanding Requirements
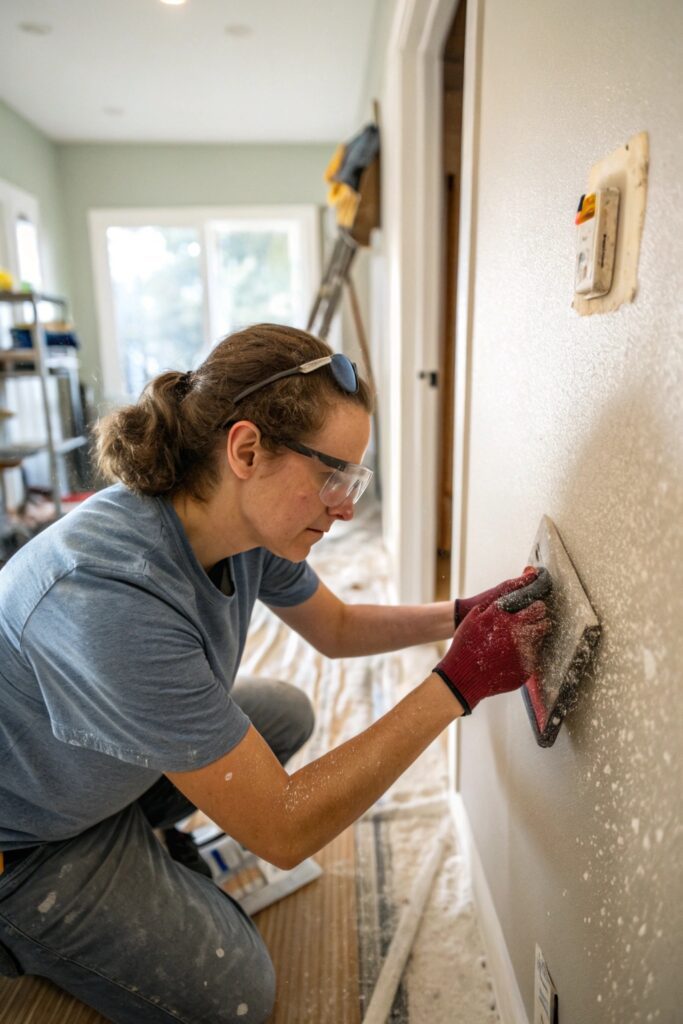
A well-applied spackle patch needs minimal sanding — often just a light pass to smooth the edges where it meets the surrounding wall, since the small area limits how much excess material there is to remove.
Skim coating requires considerably more sanding across a much larger surface area, and dust control becomes a genuine consideration — plastic sheeting and a shop vacuum with a fine dust filter are worth using for any skim coat project beyond a small test patch.
8. Cost Comparison
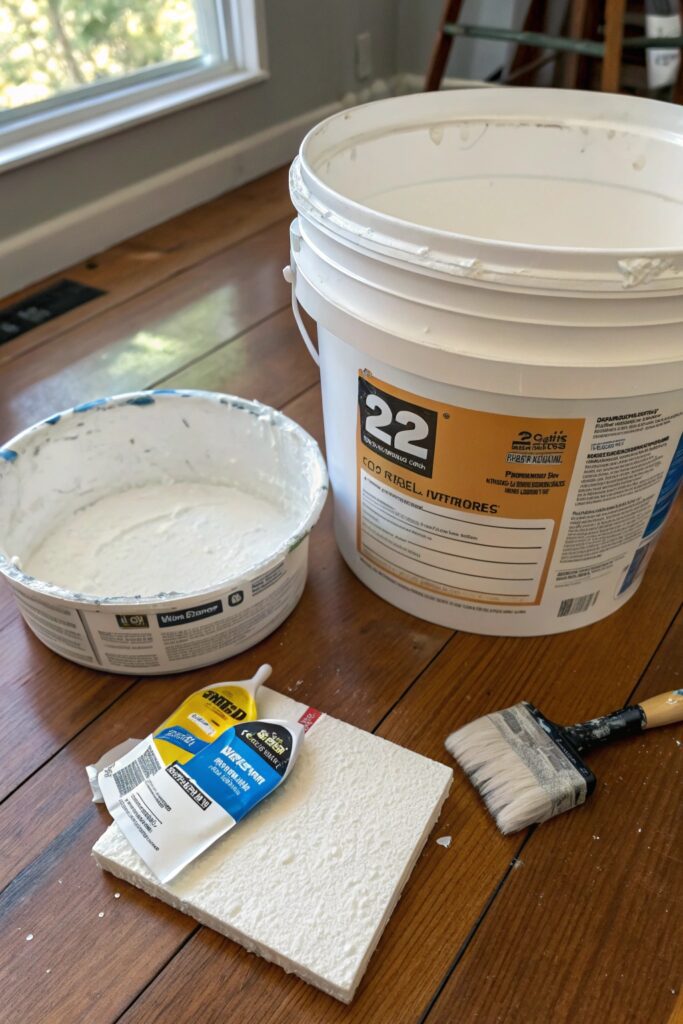
A tub of spackle ($5-10) covers dozens of small repairs, making it one of the cheapest wall repair materials available for isolated damage.
Skim coating materials (joint compound, primer, sanding supplies) for a full room typically run $50-100 in materials for DIY work, or $1-3 per square foot if hiring a professional, reflecting the larger area and additional technique involved.
9. Tools You’ll Actually Need
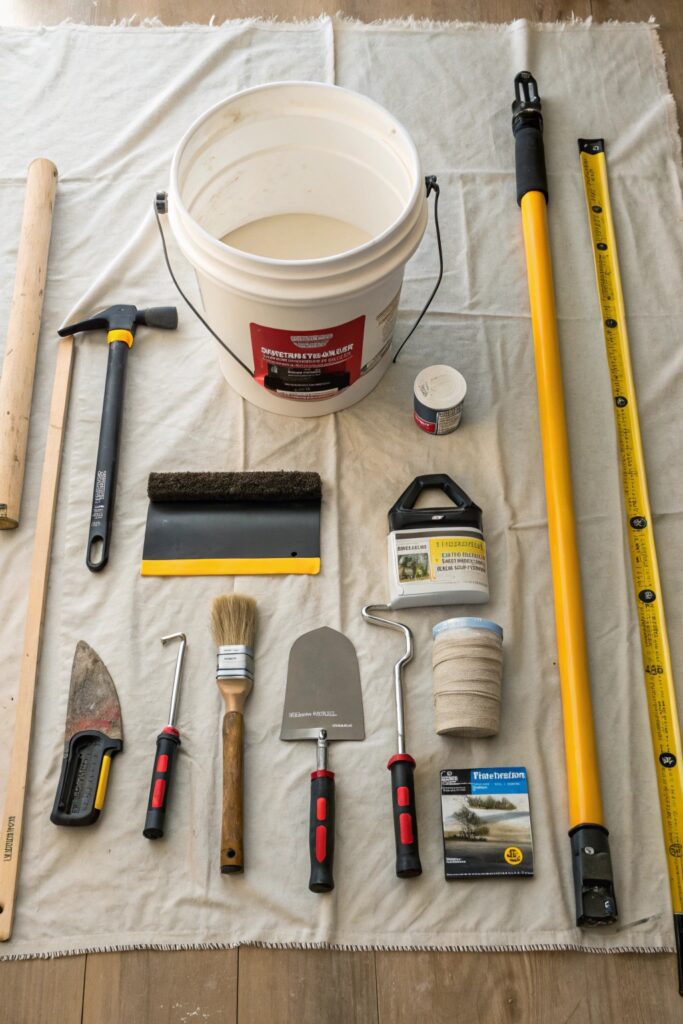
Spackle repairs need only a small putty knife (2-3 inches) and fine sandpaper — genuinely minimal tooling for the scope of work involved.
Skim coating requires a wider trowel or drywall knife (10-14 inches), a mixing paddle if working with powder-form compound, a pole sander for large wall areas, and adequate drop cloths or plastic sheeting to manage the more substantial dust and mess.
10. Finished Results and Durability
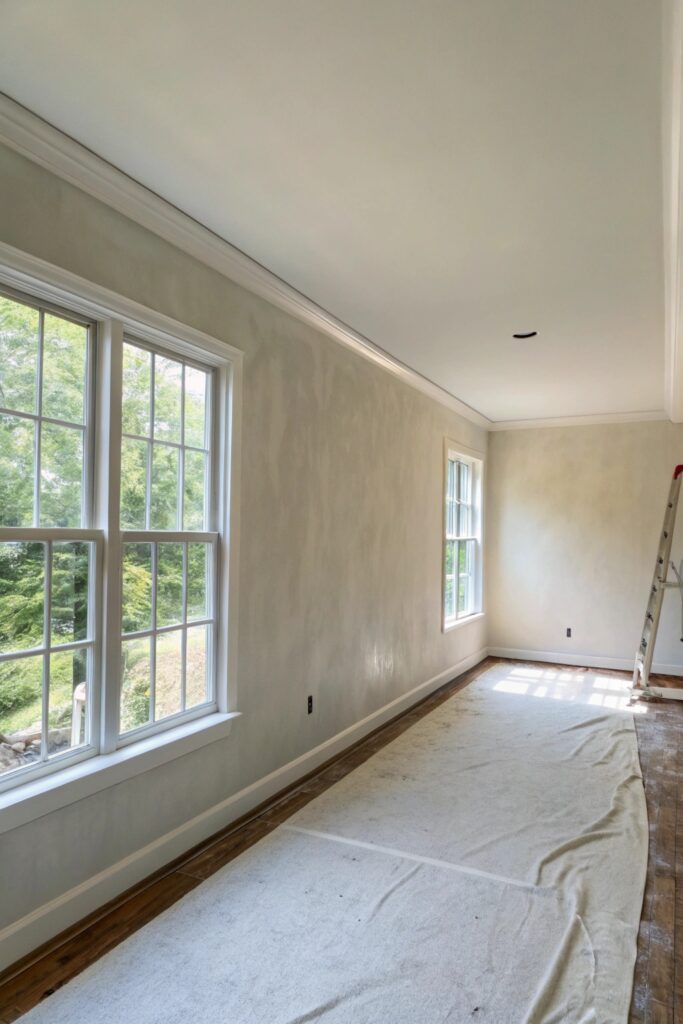
A properly applied spackle patch, once primed and painted, is essentially invisible and just as durable as the surrounding wall, since it’s filling a small isolated area rather than serving as a broad surface material.
A well-executed skim coat creates a genuinely smooth, professional-looking surface across an entire wall, but it requires more skill to execute evenly — an inconsistent skim coat can actually look worse than the original texture if trowel marks or uneven thickness aren’t corrected before painting.
Wrapping It Up
For anything smaller than a couple inches — nail holes, small dents, minor gouges — spackle is faster, cheaper, and better suited to the job. Once you’re addressing an entire wall’s texture or blending multiple old patches into one seamless surface, skim coating with joint compound is the appropriate material, even though it takes more time, tools, and technique to execute well.