
A toilet that keeps running after a full parts replacement usually means the problem isn’t the parts themselves, but something in the installation, the water level setting, or a component that wasn’t part of the standard replacement kit — the flush valve seat, the overflow tube, or the tank itself.
Below are 12 causes to check, roughly in order of how commonly they’re the actual culprit, with practical ways to confirm each one before replacing parts again.
1. Improper Flapper Seal
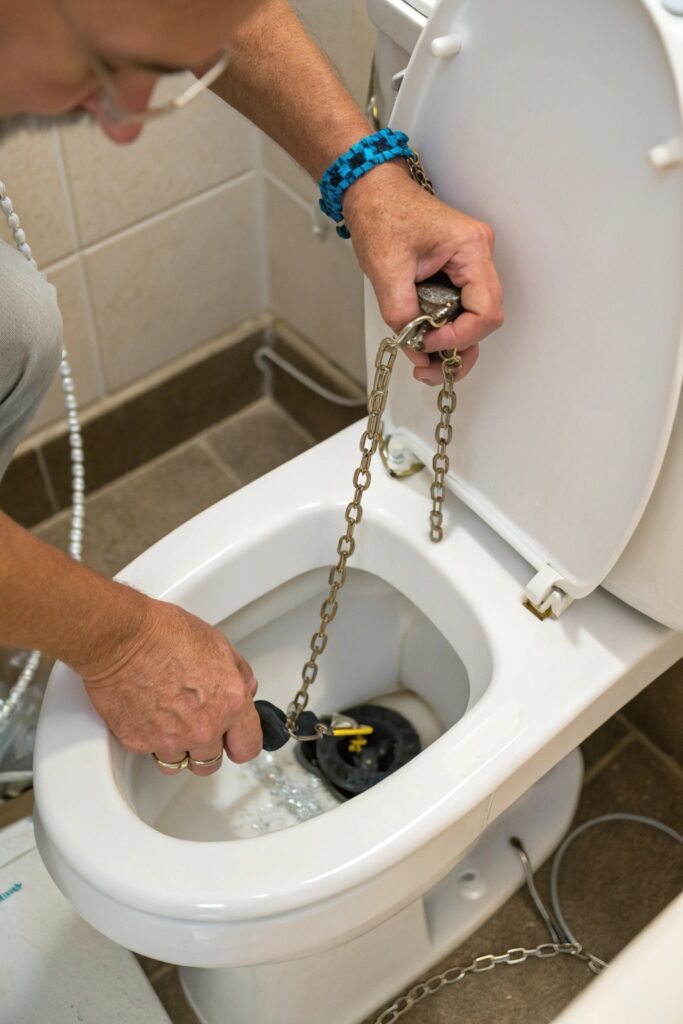
A flapper that doesn’t sit flush against the flush valve seat lets water continuously leak from the tank into the bowl, which is the single most common cause of a running toilet even after a full parts replacement. Check that the flapper chain has just a slight amount of slack — too tight and it holds the flapper open a crack; too loose and it can fold under the flapper itself.
Do a dye test to confirm: add a few drops of food coloring to the tank water and wait 10-15 minutes without flushing. If color appears in the bowl, water is bypassing the flapper seal even with a new flapper installed.
2. Damaged or Worn Flush Valve Seat
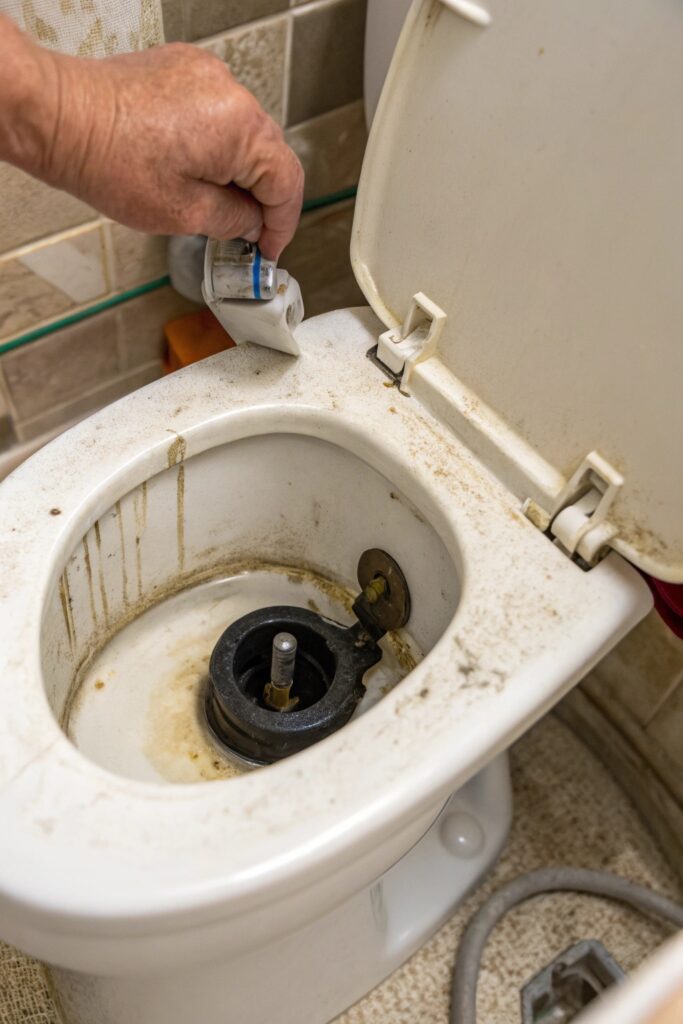
If the flush valve seat itself (the ring the flapper seals against, not the flapper) has mineral buildup, corrosion, or scratches, even a brand-new flapper won’t create a watertight seal against it. This is easy to overlook since the seat is often assumed fine when only the flapper gets replaced.
Run a finger around the seat’s rim to feel for roughness or buildup — a seat that feels gritty or uneven needs to be cleaned with a fine abrasive pad or, in more severe cases, replaced entirely with a seat repair kit.
3. Fill Valve Water Level Set Too High
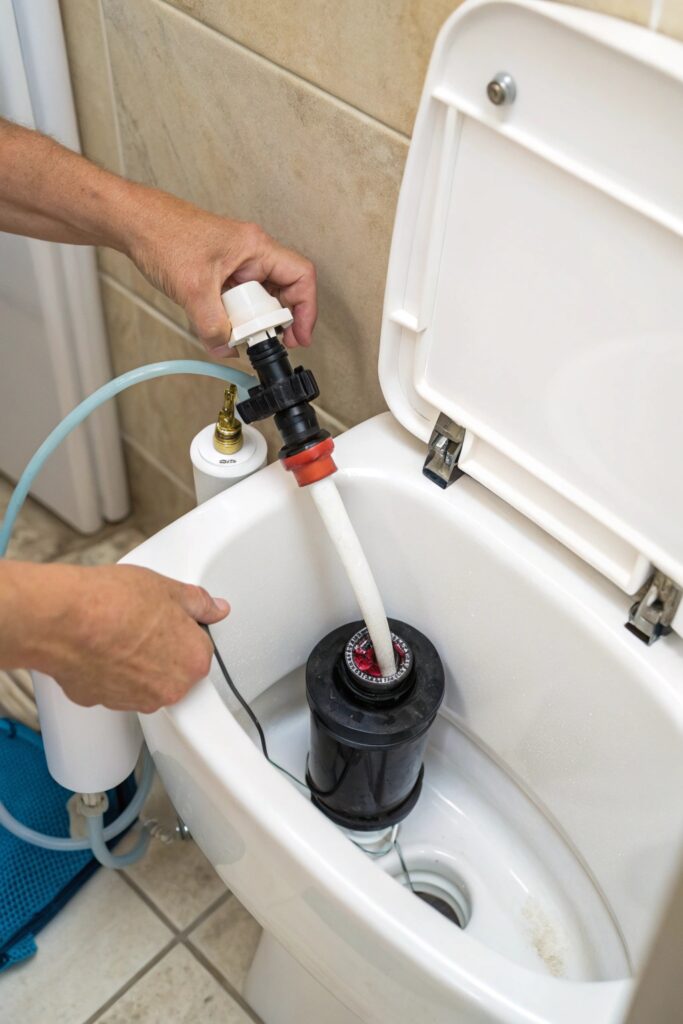
If the fill valve is set so the water level sits above the overflow tube’s opening, water continuously drains into the overflow tube and down into the bowl, mimicking a running toilet even with all new parts. This is a common installation mistake rather than a defective part.
The water level should sit about 1 inch below the top of the overflow tube — most fill valves have an adjustment screw or clip, and the correct level is often marked directly on the overflow tube itself.
4. Overflow Tube Cracked or Too Short
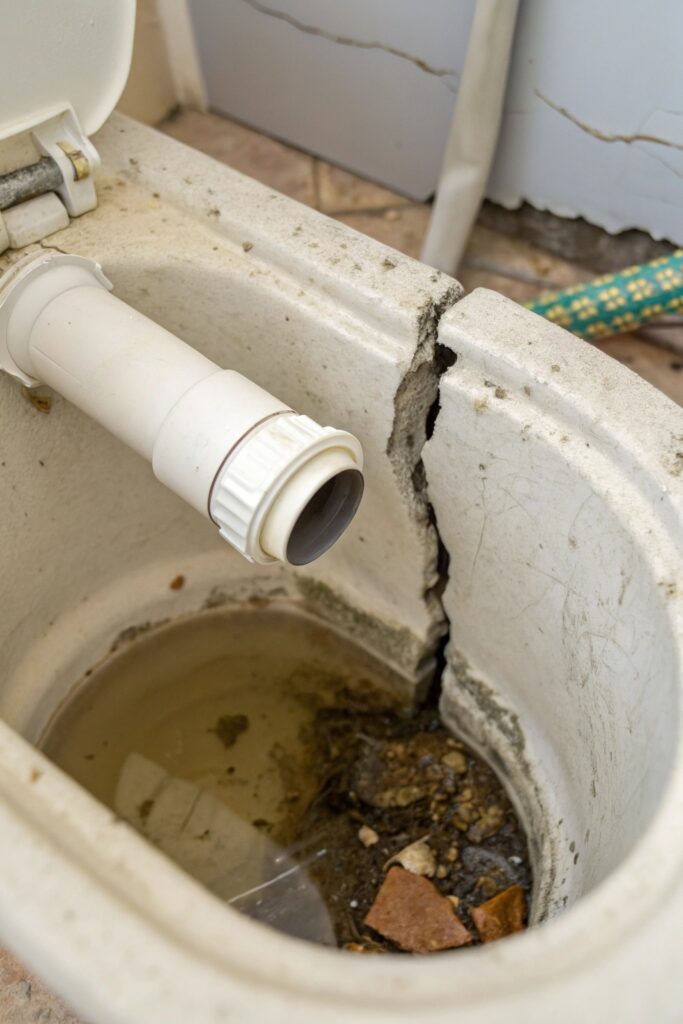
A cracked overflow tube, or one that was cut too short during a previous repair, lets water escape into the bowl continuously regardless of how well the flapper and fill valve are functioning. This is worth checking specifically if the tank was serviced by someone unfamiliar with the specific toilet model.
Inspect the tube for visible cracks along its length, and confirm its height is appropriate for your fill valve’s water level setting — replacement overflow tubes are inexpensive and straightforward to swap if damaged.
5. Chain Caught Under the Flapper
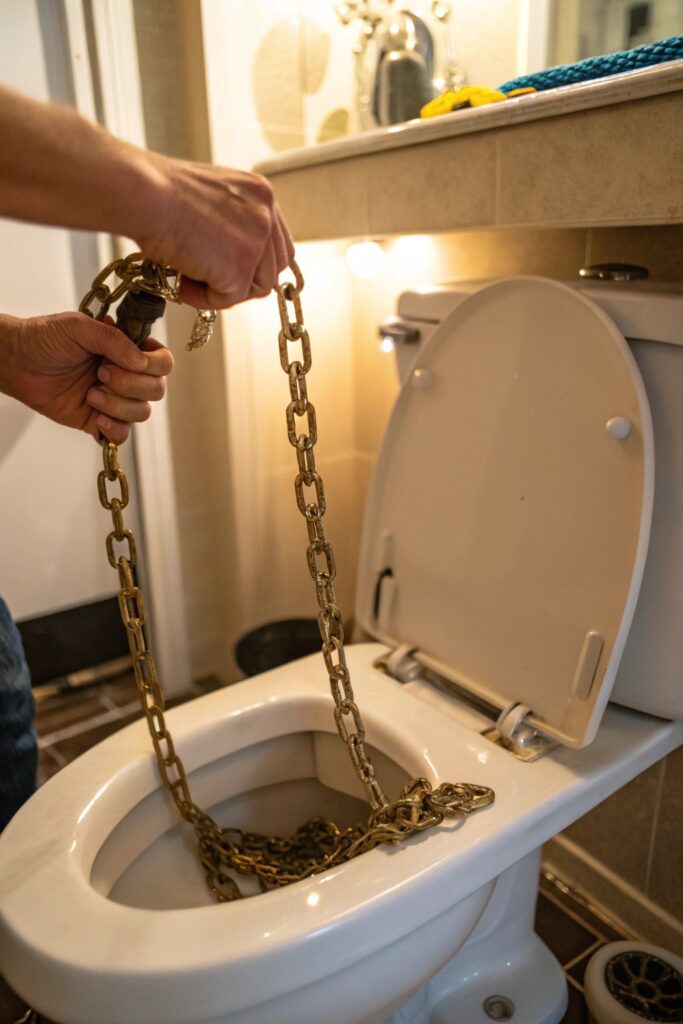
Even a perfectly good new flapper won’t seal if the flush chain gets caught underneath its edge after a flush, propping it open just enough to let water trickle through continuously. This is one of the easiest issues to fix and one of the easiest to overlook.
Open the tank lid after a flush and watch the flapper settle — if the chain visibly gets pinched under an edge, shorten it slightly or reroute it to hang straight down without excess slack that could fold under the flapper.
6. Faulty Fill Valve Installation
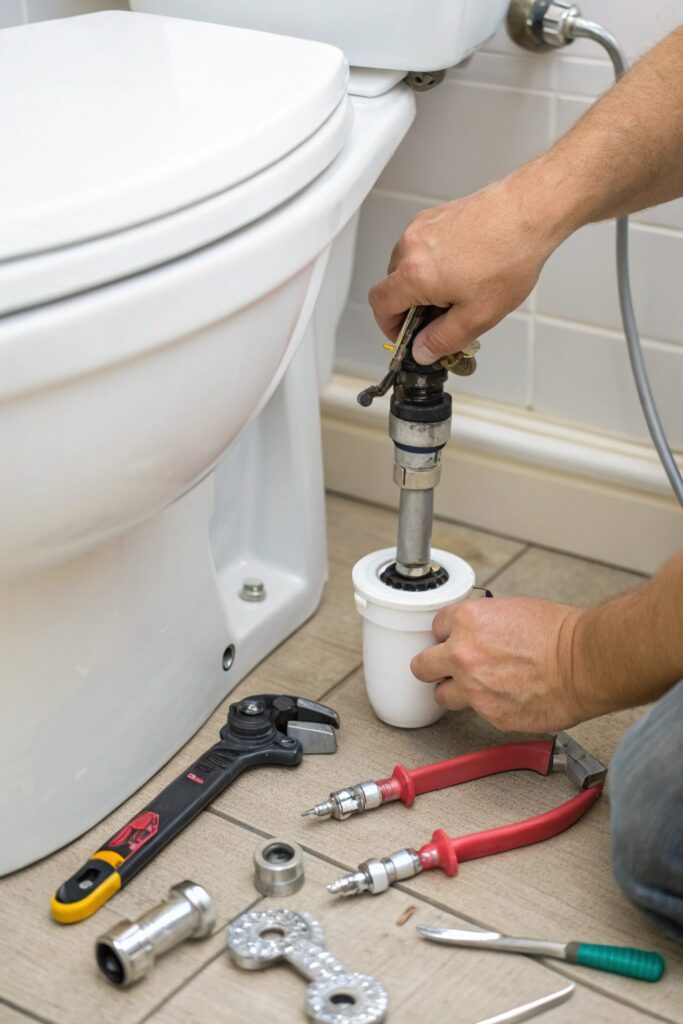
A fill valve that isn’t fully seated, has a loose connection at its base, or has a misaligned float can cause continuous minor water flow that sounds like running even when the flapper itself is sealing correctly.
Confirm the fill valve’s float (either a cup-style or ball-style, depending on the model) moves freely without catching on the tank wall or the flush valve, and that the valve shuts off completely once the target water level is reached.
7. Cracked Toilet Tank
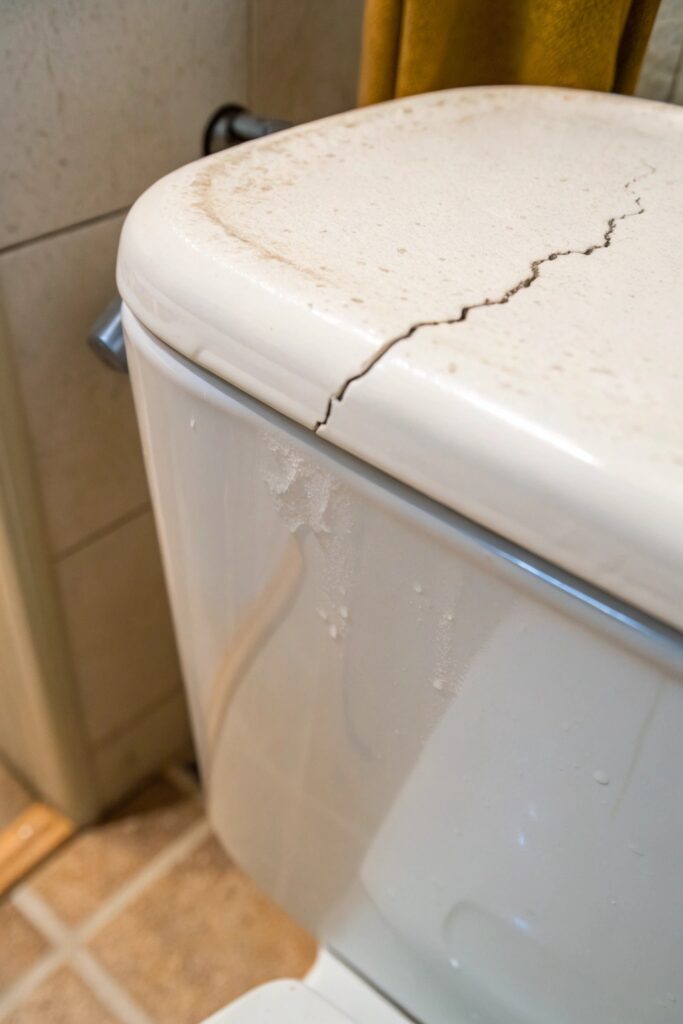
A hairline crack in the tank itself, even one too fine to see without close inspection, can cause a slow, continuous water loss that presents identically to a bad flapper or fill valve, and no amount of internal parts replacement will resolve it.
Dry the exterior of the tank completely, then check again after an hour with no toilet use — any new dampness on the tank’s exterior surface points to a structural crack rather than an internal component issue.
8. Mineral Buildup on New Parts
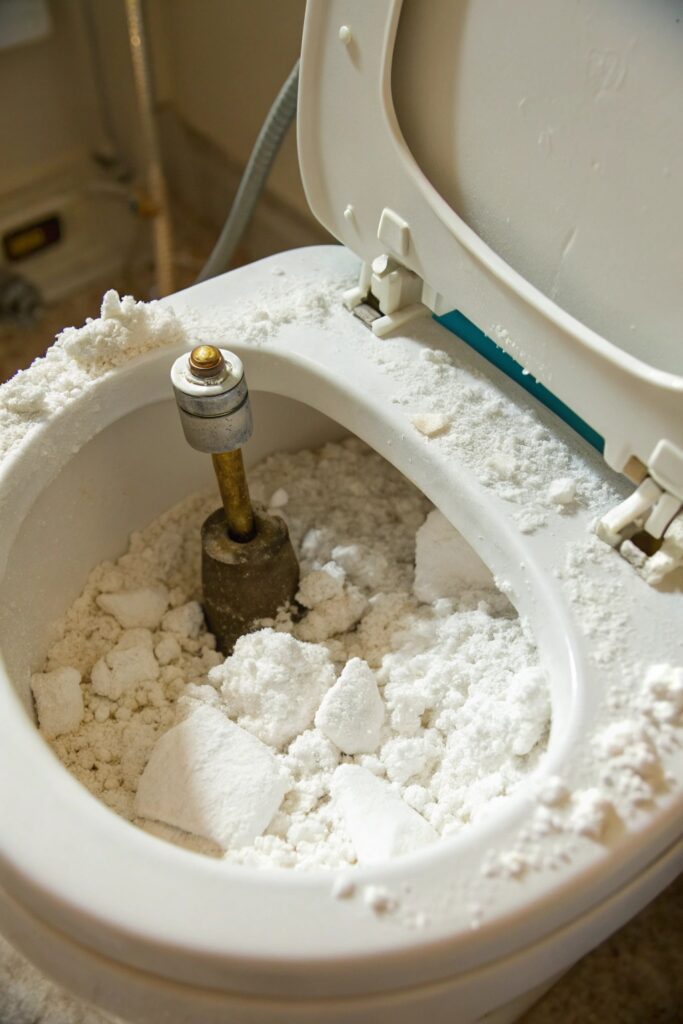
In hard water areas, mineral deposits can begin forming on new parts within just a few weeks of installation, particularly on the flush valve seat and fill valve, preventing a full seal even with recently replaced components.
A vinegar soak (fill the tank partially with white vinegar and let sit for a few hours) can dissolve early mineral buildup on the valve seat without needing to remove and replace parts again so soon after installation.
9. Water Pressure Too High
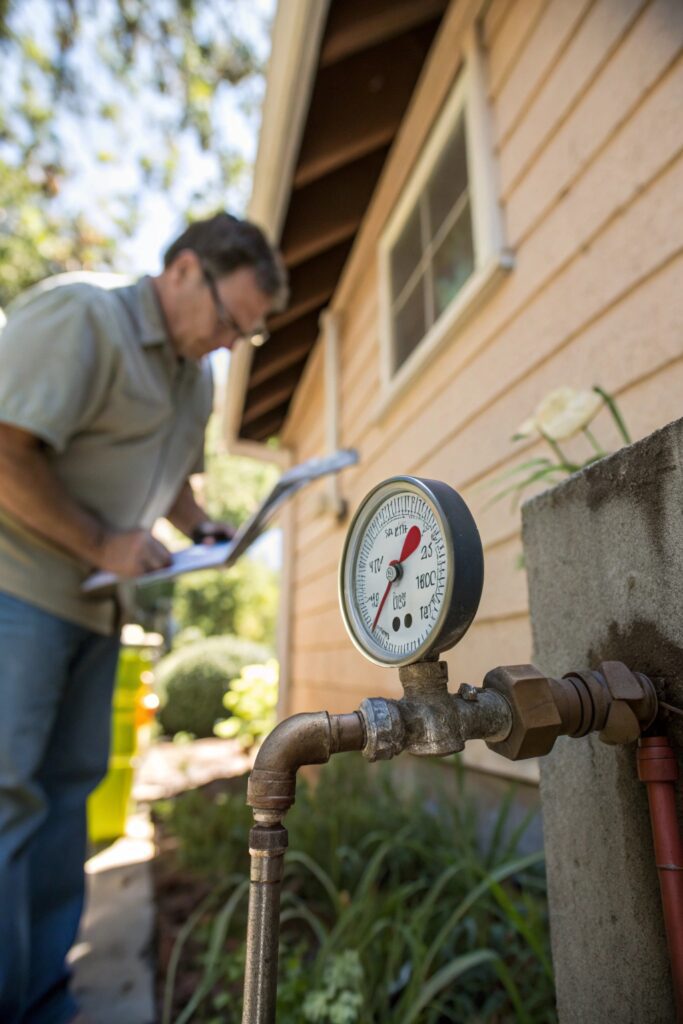
Household water pressure above roughly 80 PSI can cause a fill valve to struggle to fully shut off, creating a persistent trickle that reads as a running toilet regardless of how new or correctly installed the fill valve is.
A basic pressure gauge ($10-15, attaches to an outdoor spigot) confirms whether this is the underlying issue — if pressure reads high, a whole-house pressure regulator is the actual fix rather than another round of toilet parts.
10. Incompatible Replacement Parts
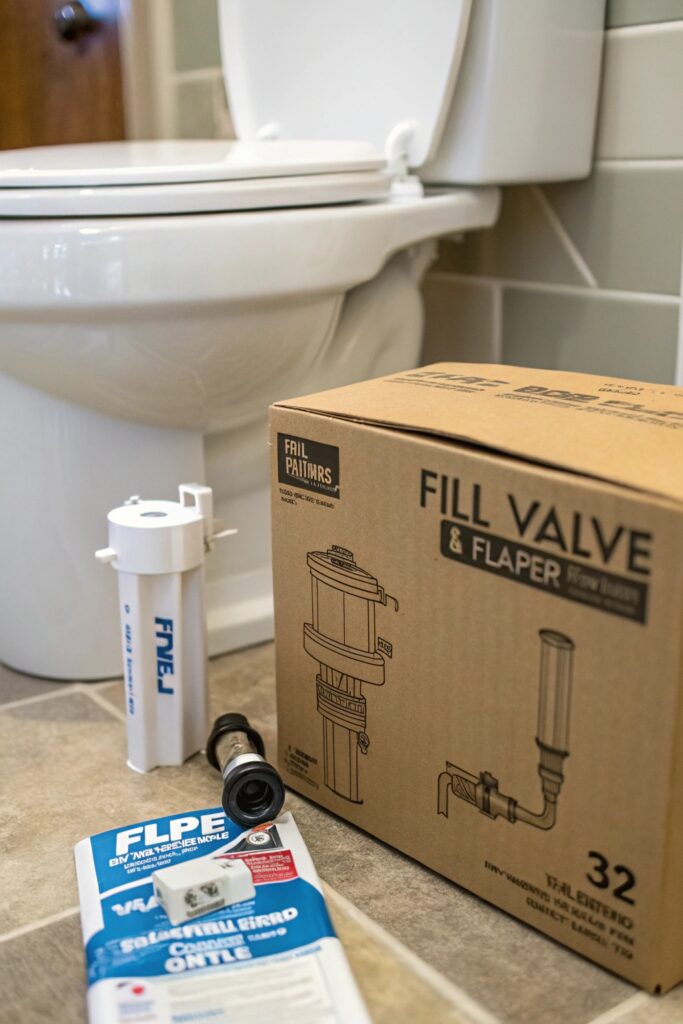
Universal flapper and fill valve kits don’t fit every toilet model precisely, and a slightly mismatched flapper size or shape can prevent a full seal even when installed correctly according to the included instructions.
Check your toilet’s specific brand and model (often printed inside the tank) against the replacement part’s compatibility list rather than assuming a universal kit will seal properly on every toilet design.
11. Debris in the Flush Valve or Fill Valve
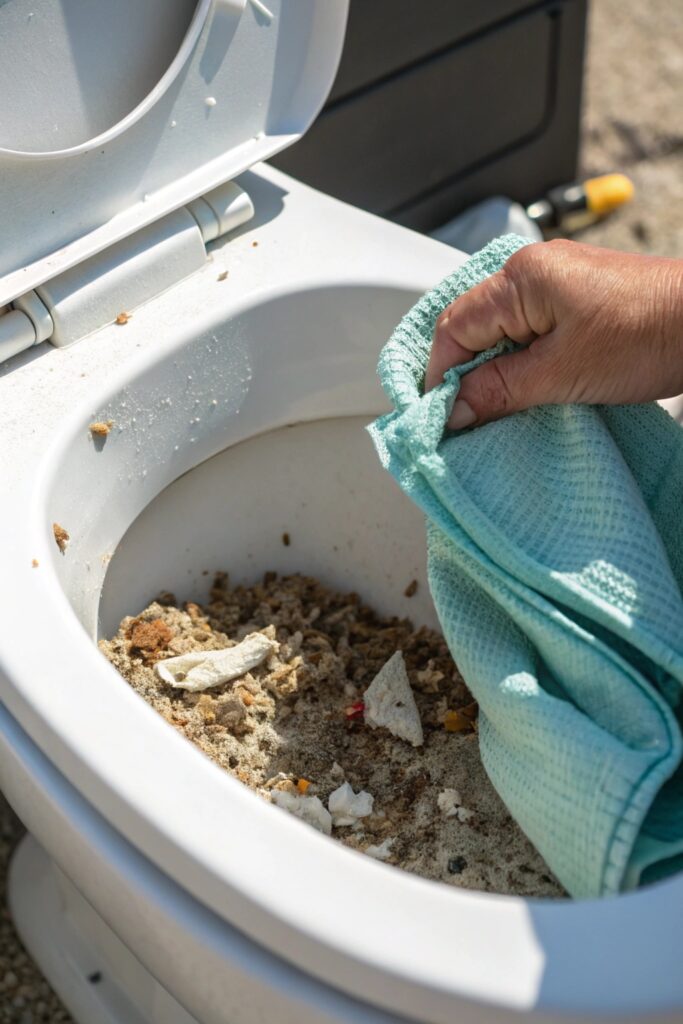
Small debris — grit, mineral flakes, or even fragments from old parts left in the tank during replacement — lodged in either valve can prevent a complete seal despite new components being installed correctly.
Turn off the water supply, flush to empty the tank, and visually inspect both valve seats for any visible debris before concluding the new parts themselves are defective.
12. Toilet Bowl Itself Has a Hidden Crack
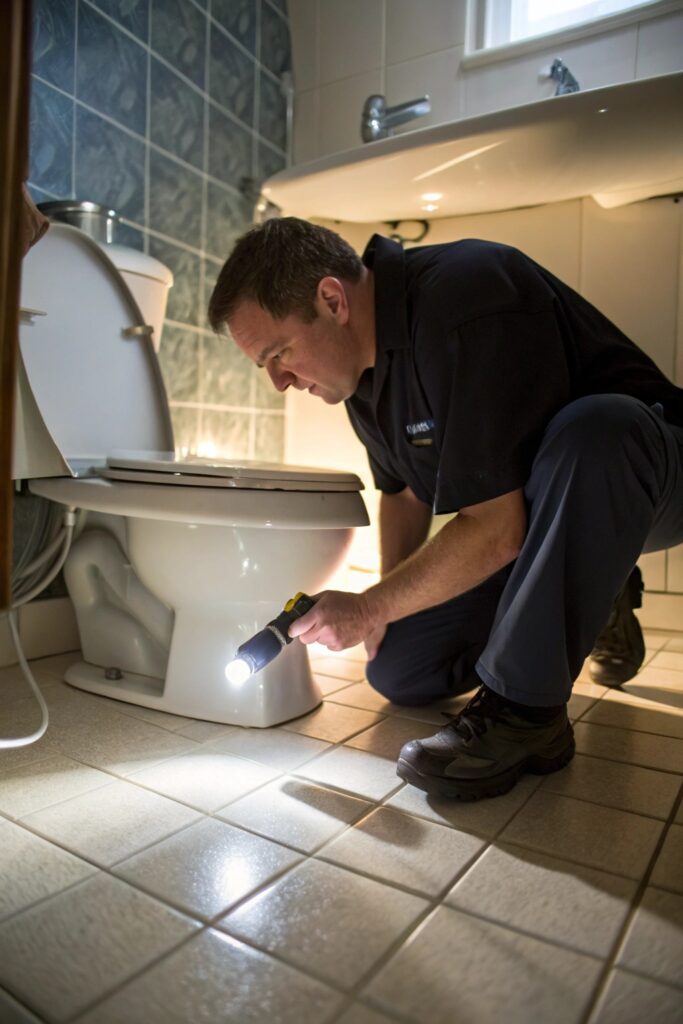
Less common than a tank crack, but a hairline crack in the bowl itself can cause a slow water loss that presents as a running toilet, especially if the crack sits below the waterline where it’s not visually obvious.
If every tank component checks out and water still runs, place a dry paper towel around the base of the toilet overnight — any dampness in the morning points to the bowl or its connection rather than anything inside the tank.
Final Thoughts
A dye test and a careful look at the flush valve seat resolve the majority of ‘still running after replacement’ cases, since these are the two things a standard parts swap doesn’t automatically fix. If those check out clean, work through water pressure and tank integrity next before assuming you need another round of replacement parts.