A home bar doesn’t require a dedicated room or major renovation to genuinely improve how you entertain — a well-planned cart or nook accomplishes most of what a full built-in bar does, at a fraction of the cost and commitment.
Below are 10 ways to build out a functional, good-looking home bar, with real costs and practical notes for each.
Looking for different bar styles and formats to choose from first? See our companion guide to home lounge room bar ideas for stylish entertaining.
1. Choose a Compact Bar Cart Over a Built-In Bar
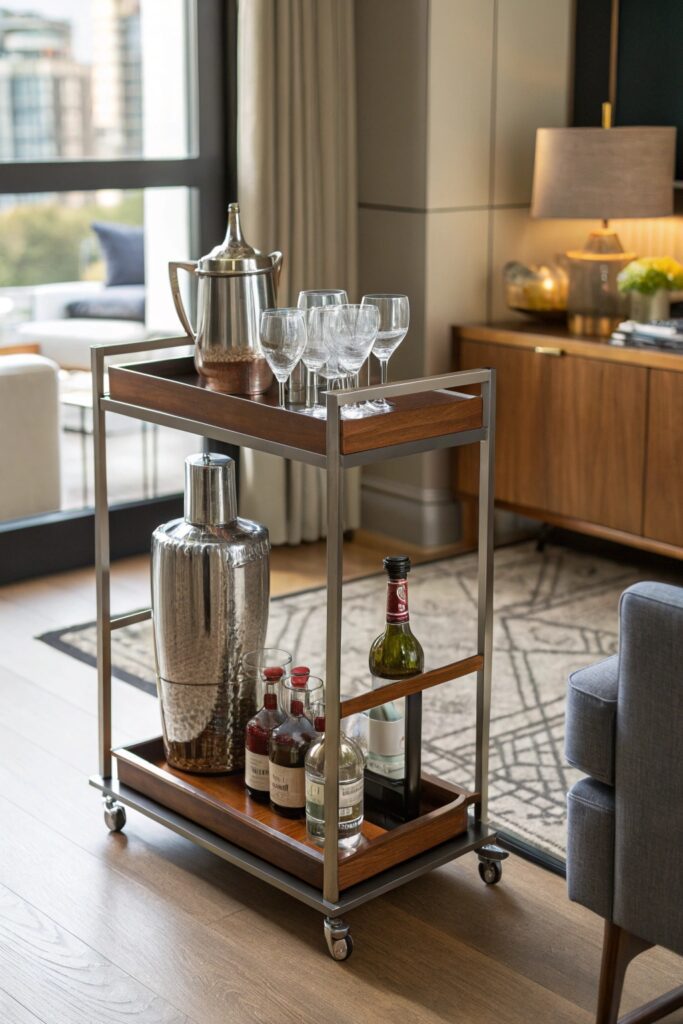
A rolling bar cart ($100-250) delivers most of a home bar’s function — bottle storage, mixing space, glassware display — without any renovation or permanent commitment, and it can be wheeled to wherever guests are gathered rather than fixing the bar’s location permanently.
Choose a cart with a lower shelf rated for bottle weight specifically, since some decorative carts prioritize style over structural capacity and can sag or wobble once fully loaded with a genuine bottle collection.
2. Build a Dedicated Bar Nook With Shelving
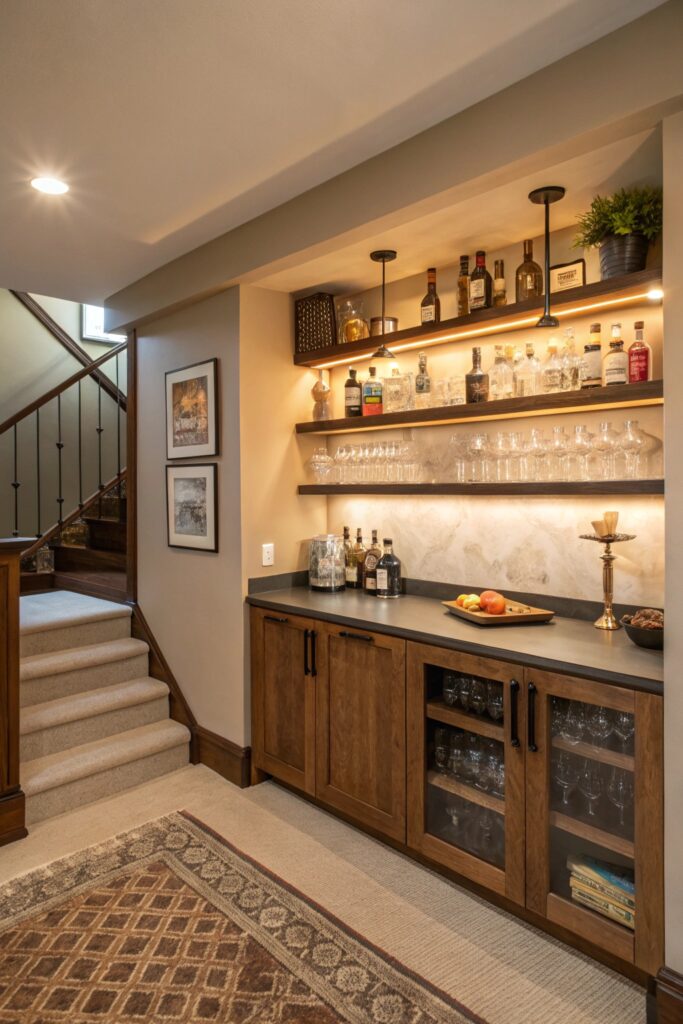
Converting an underused corner or alcove into a fixed bar nook with wall-mounted shelving ($150-400 depending on materials) creates a genuine focal point for entertaining without requiring a full built-in cabinetry investment.
Floating shelves in a material that matches your existing furniture (wood tone, metal finish) integrate the nook into the room’s overall design rather than reading as a separate, disconnected addition.
3. Add a Statement Backsplash or Accent Wall
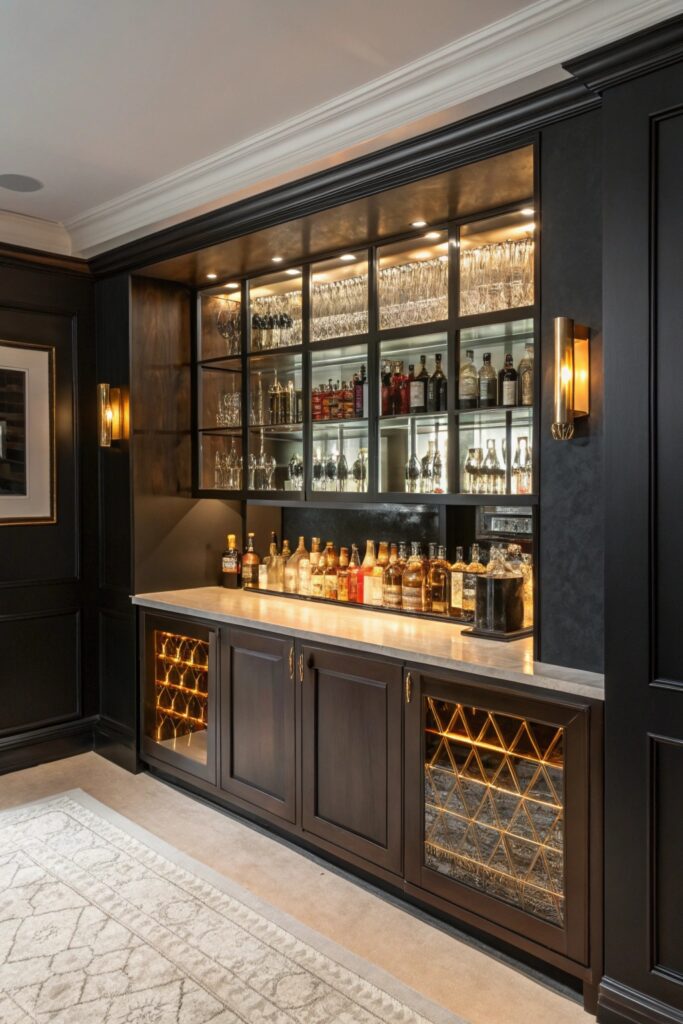
A bold tile backsplash, mirrored panel, or wallpapered accent behind the bar area ($100-300 depending on material and coverage) elevates a bar nook from purely functional to a genuine design feature worth building a room’s entertaining flow around.
Mirrored backing specifically has the added benefit of reflecting light and making a bottle display appear larger and more substantial than it actually is, which is a useful trick for a smaller bar area.
4. Install Under-Cabinet or LED Strip Lighting
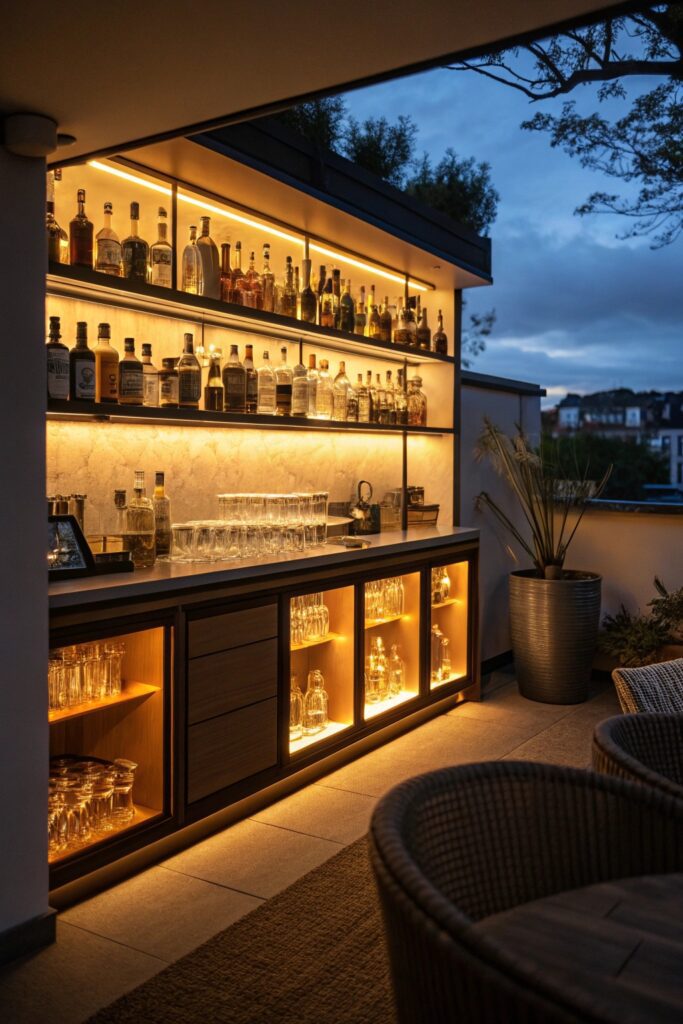
Warm-toned LED strip lighting ($20-40) installed under shelving or along the back of a bar area adds both functional task lighting for mixing drinks and genuine ambiance that a room’s main overhead lighting doesn’t provide.
Choose color-temperature-adjustable strips specifically if you want flexibility between brighter task lighting during setup and warmer, dimmer ambiance once guests arrive, rather than committing to one fixed color temperature.
5. Invest in Proper Glassware Storage
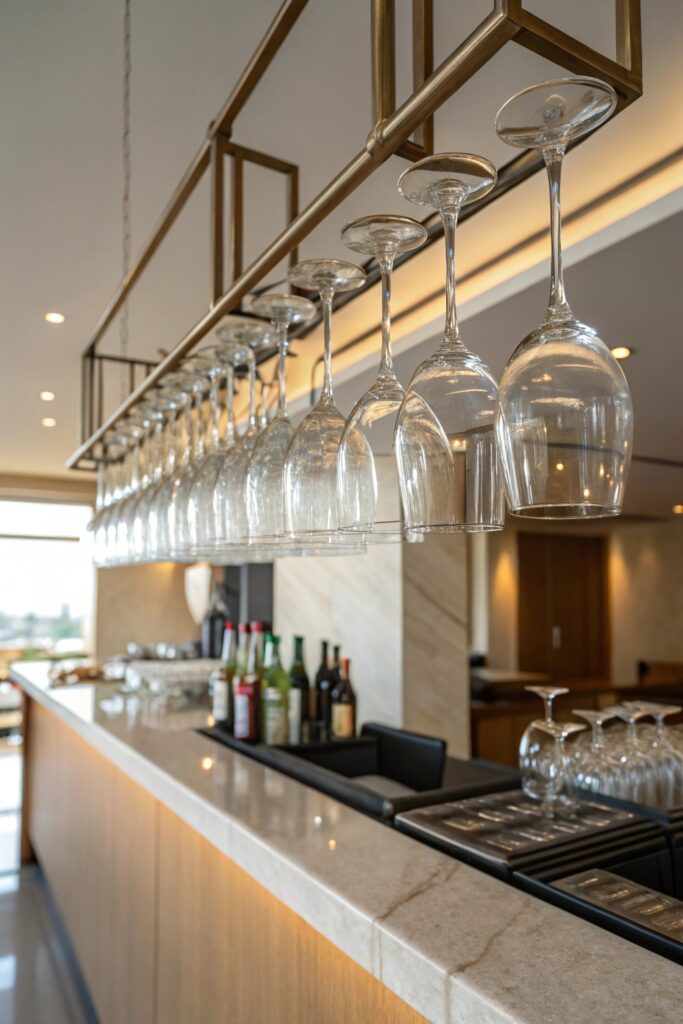
A dedicated hanging rack or open shelving for stemware ($30-80) keeps glasses both accessible and visually displayed as part of the bar’s overall look, rather than hidden away in a closed cabinet where they contribute nothing to the space’s design.
Hanging stemware racks specifically save counter and shelf space compared to upright storage, which matters more in a compact bar nook than a full built-in bar with abundant storage already.
6. Add a Mini Fridge or Wine Cooler
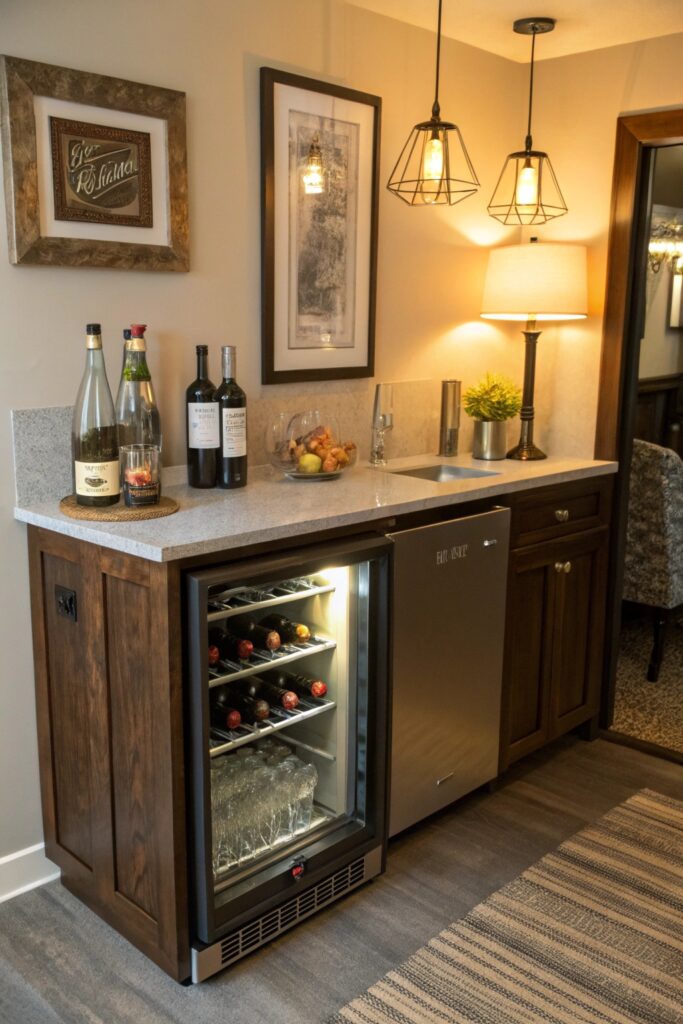
A compact beverage fridge or wine cooler ($150-400 depending on capacity and features) genuinely elevates a home bar’s functionality, since chilled wine, mixers, and garnishes on hand eliminate repeated trips to the kitchen during entertaining.
Check the unit’s noise rating if it will sit in a room where conversation happens regularly — some budget compressor-based coolers run noticeably louder than thermoelectric models, which matters more in a lounge setting than in a kitchen.
7. Create a Signature Cocktail Station
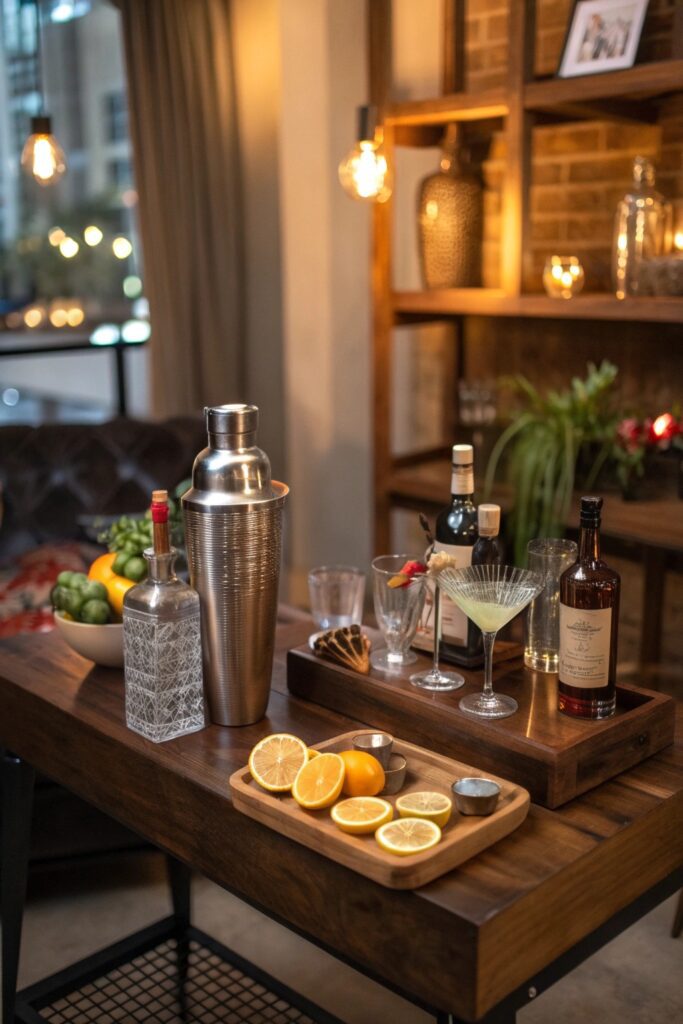
A dedicated small tray or station with your most-used bar tools (shaker, jigger, strainer, muddler) kept assembled and ready reduces the friction of making drinks for guests, encouraging more actual use of the bar rather than it becoming a purely decorative display.
Quality bar tool sets run $30-60 and are worth the investment over flimsy included tools, since a shaker that doesn’t seal properly or a jigger with worn measurement lines makes drink-making noticeably more frustrating.
8. Use Open Shelving to Display Bottles as Decor
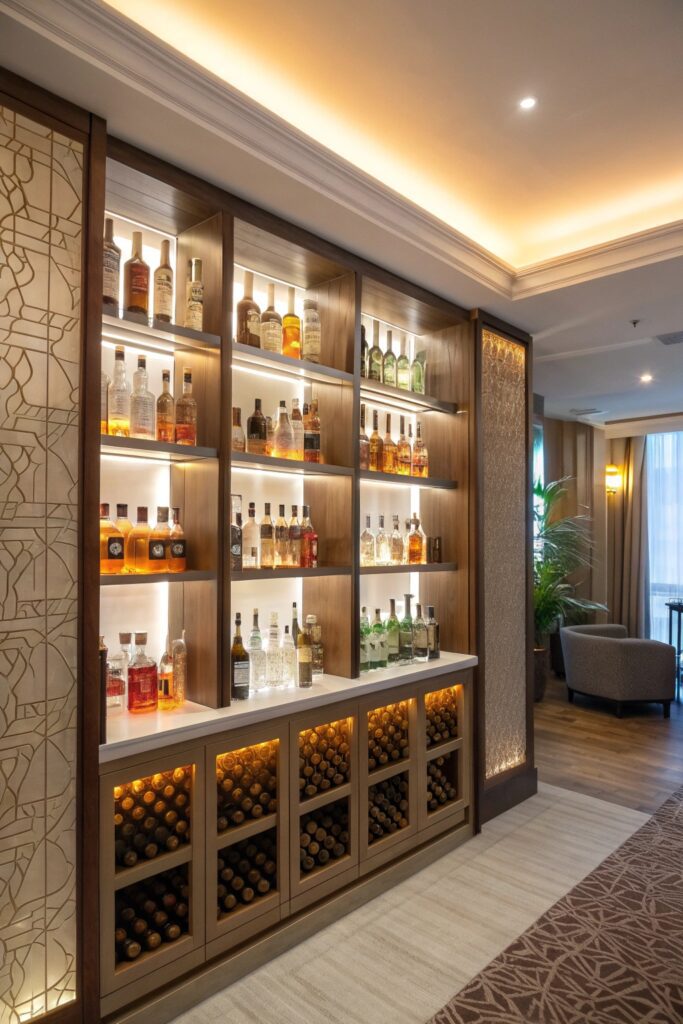
Arranging bottles by height, color, or label design on open shelving turns a functional liquor collection into a genuine styling element, working the same way a curated bookshelf arrangement does for books.
Group bottles with similar bottle shapes or label colors together rather than organizing purely by liquor type, which tends to read more visually intentional even though it’s less practically organized for quick access.
9. Add Comfortable Seating Nearby
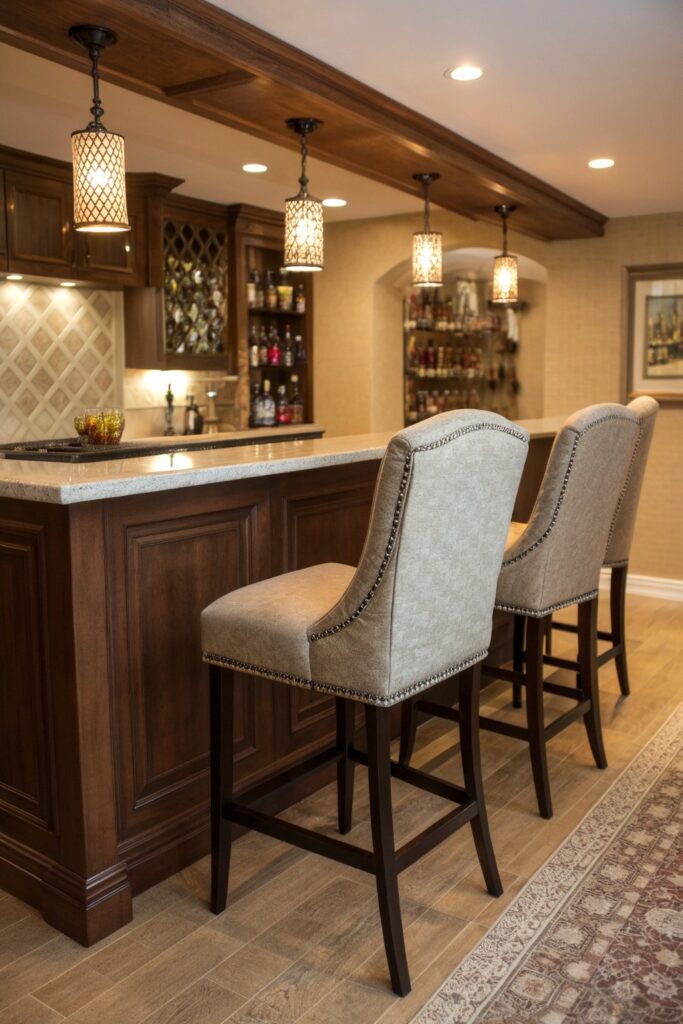
A couple of bar stools or a small seating cluster near the bar area extends its function beyond a mixing station into a genuine gathering spot, which matters more for how the space actually gets used during entertaining than the bar’s visual design alone.
Choose stool height carefully relative to your specific counter or cart height — a mismatch here is a common and easily avoidable comfort issue that undermines an otherwise well-designed bar area.
10. Personalize With Bar Accessories and Art
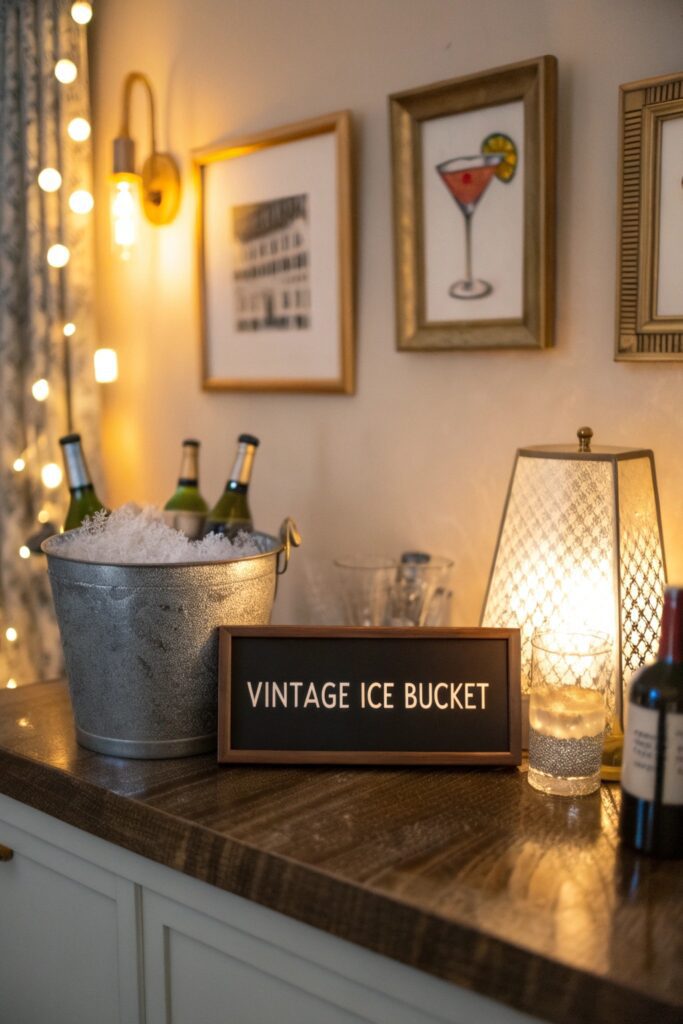
Framed vintage cocktail recipe prints, a personalized bar sign, or coasters and accessories reflecting your specific taste turn a generic bar setup into a space that feels genuinely yours rather than assembled from a single retailer’s matched collection.
These smaller personal touches are also the least expensive way to keep refreshing the space’s look seasonally or as your taste evolves, without needing to replace any of the larger furniture or fixture investments.
Wrapping It Up
A bar cart and proper glassware storage are worth prioritizing first if you’re starting from nothing, since both establish genuine function at relatively low cost. Lighting and a statement backsplash are the next highest-impact additions once the functional basics are covered, doing more to elevate the space’s overall feel than any single bottle or accessory purchase.