
A built-in cabinet is a bigger commitment than a freestanding furniture piece, since it’s considerably harder to reverse or relocate once installed, and several of these ideas involve real structural or electrical considerations beyond the visual design. The details below cover both the styling direction and these practical requirements for each option.
Below are 10 built-in approaches worth considering, with the specifics for each.
1. The Classic Floor-to-Ceiling China Cabinet
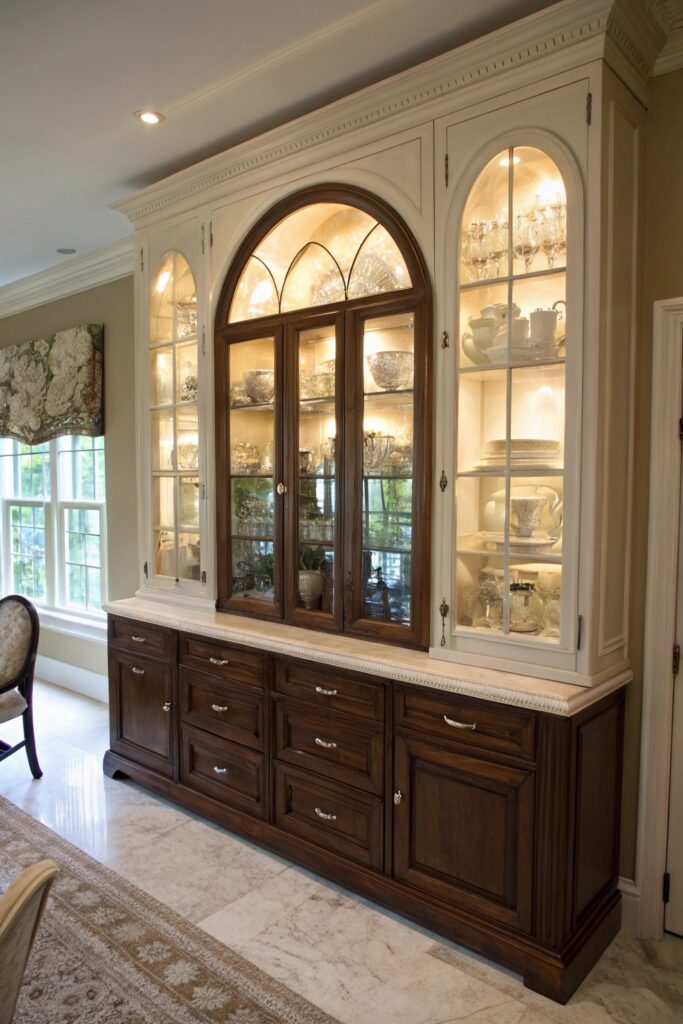
A fully loaded china cabinet carries real weight, so it needs to be anchored into wall studs rather than drywall alone, and adjustable shelf pins should be rated for the actual weight of stacked plates and glassware rather than just decorative display. Tempered glass doors are the standard safety choice, and UV-protective glass is worth considering if any displayed pieces are prone to fading with sun exposure.
2. The Sophisticated Dry Bar
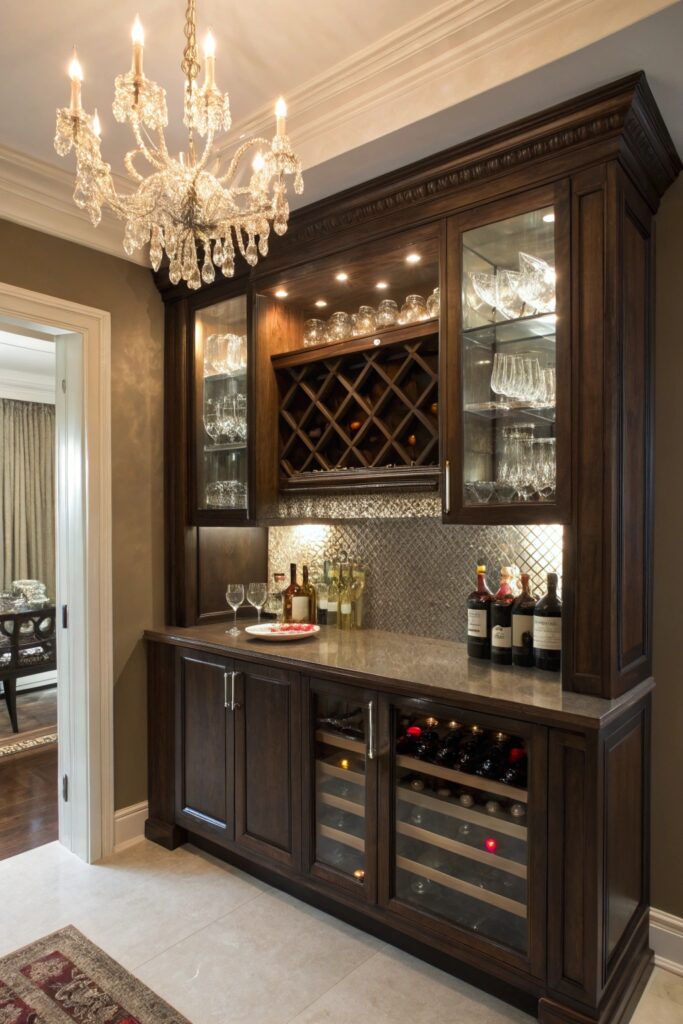
A built-in wine fridge or beverage cooler benefits from its own dedicated electrical circuit, since compressor-based appliances can trip a shared circuit already carrying other loads. These units also need real airflow clearance behind and around them — fully sealing one into cabinetry without ventilation gaps can cause it to overheat and shorten its lifespan.
3. The Discreet Buffet and Credenza
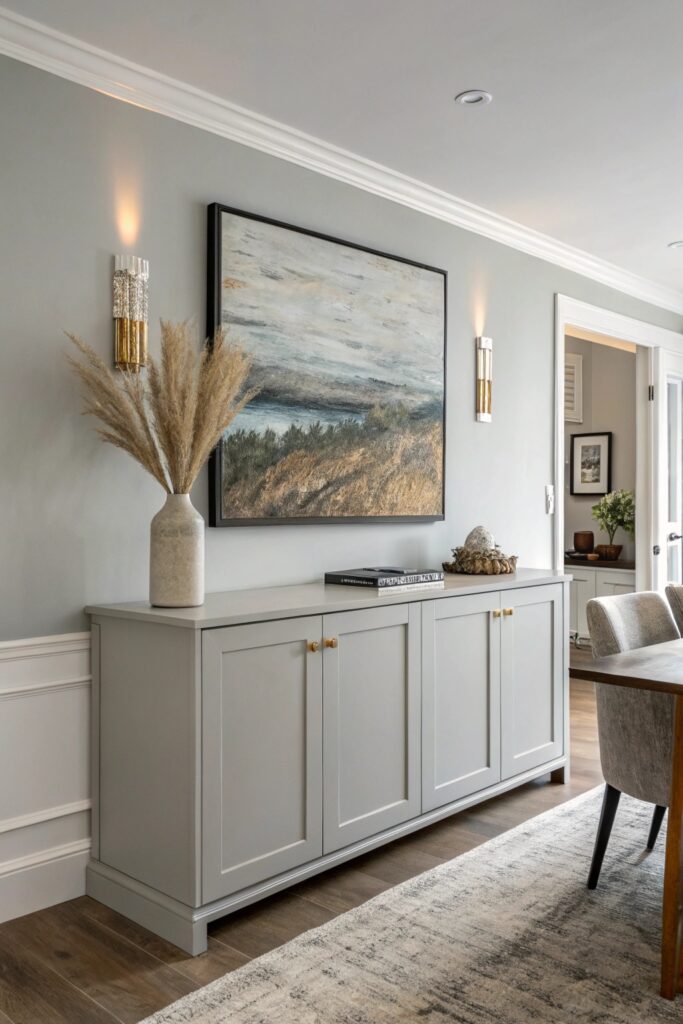
A built-in buffet typically runs shallower than a full china cabinet, often 18 to 20 inches deep, which keeps it from protruding too far into the room while still offering real storage for linens and serveware.
4. The Cozy Window Seat with Storage
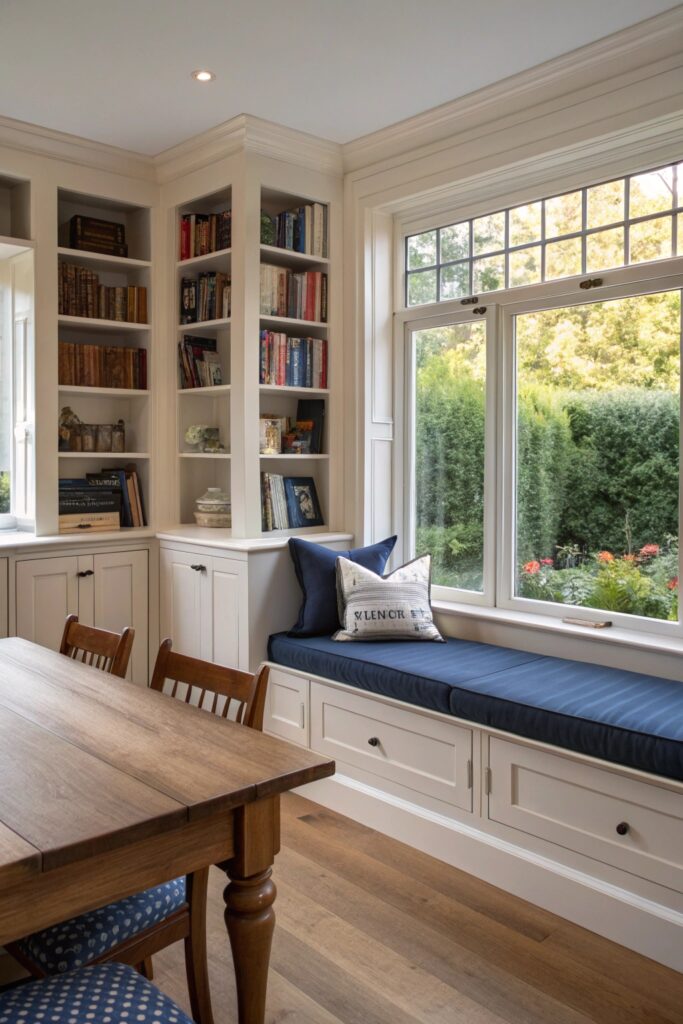
A window seat that doubles as storage needs to be built to handle actual seating weight, not just constructed like a decorative box with a hinged lid — this is a real structural distinction worth discussing with whoever builds it. Soft-close hinges rated for repeated daily use hold up better than standard hinges on a lid that gets opened and closed regularly.
5. The Library-Style Wrap-Around Shelving
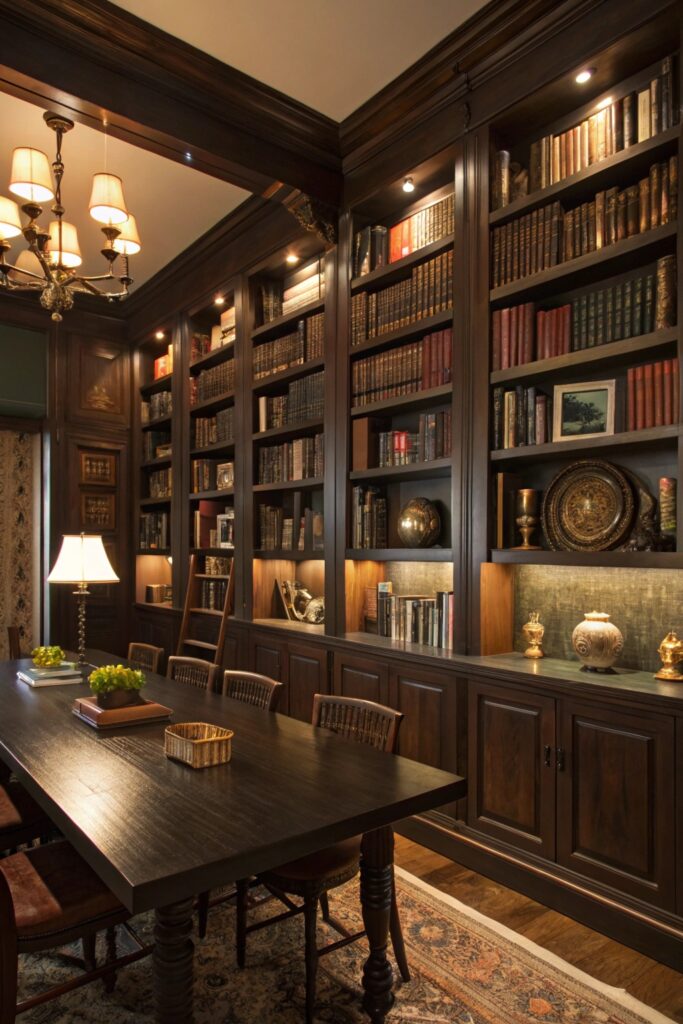
Keep unsupported shelf spans to around 32 to 36 inches between brackets or supports when the shelving will hold books or dishware, since wider spans are prone to visible sagging over time even with a seemingly sturdy shelf material.
6. The Corner Niche Solution
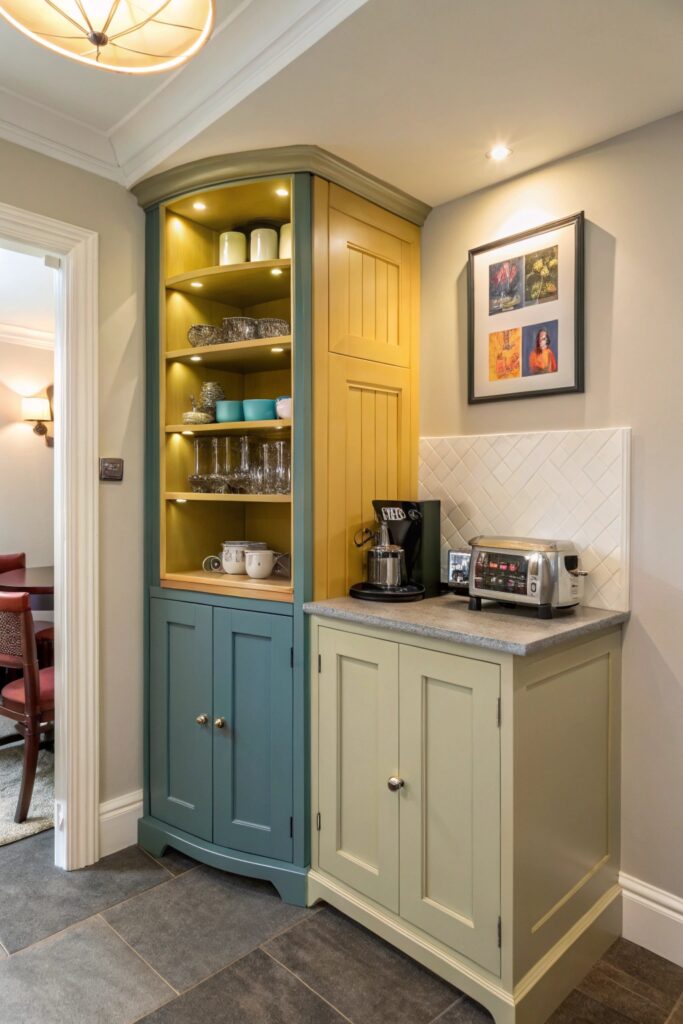
A corner cabinet benefits from hardware specifically designed for this awkward space — a lazy susan mechanism or angled pull-out shelving — rather than a standard straight shelf configuration that leaves much of the corner’s depth hard to reach.
7. The Multi-Purpose “Clozffice”
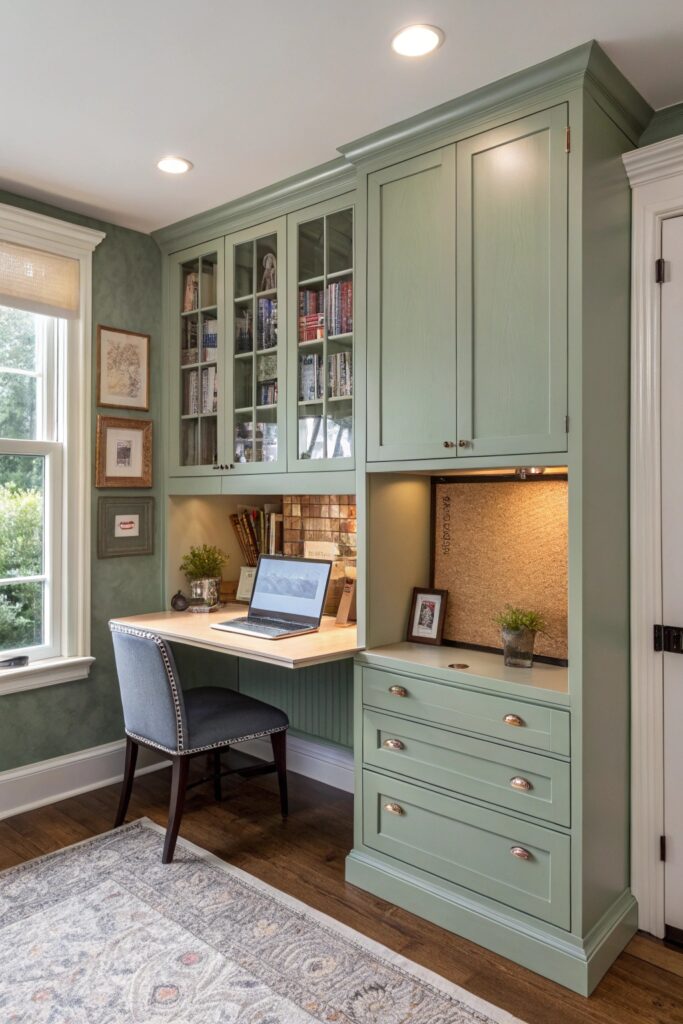
If this built-in doubles as a small workspace, planning electrical outlet placement during construction — rather than relying on an extension cord afterward — makes the space considerably more functional for actual daily laptop or device use.
8. The Minimalist Floating Cabinets
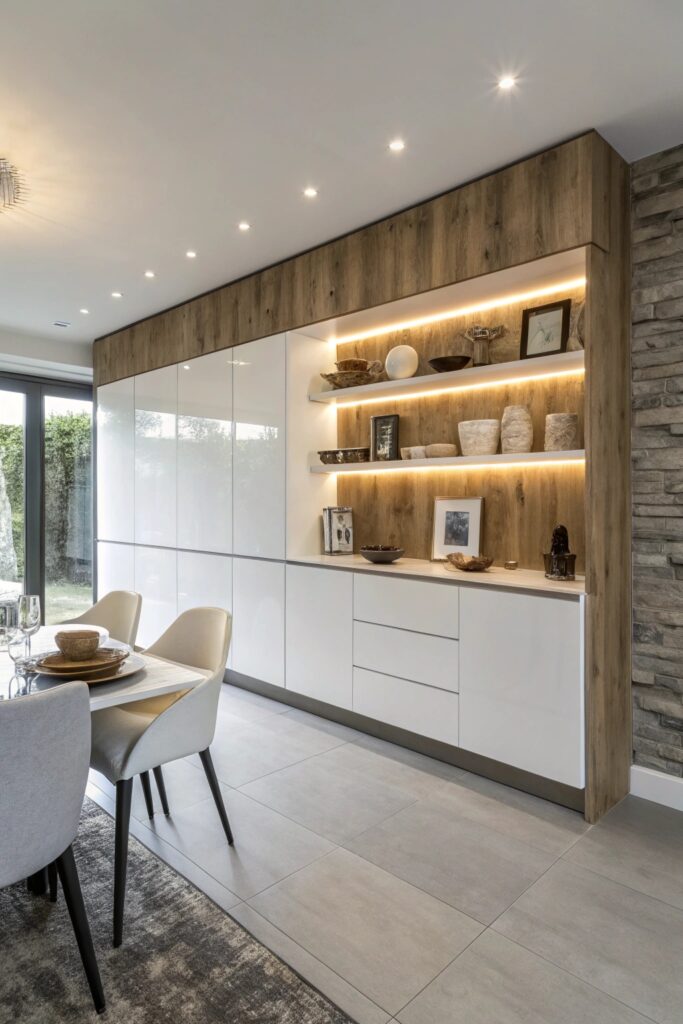
Since floating cabinets have no floor support beneath them, the wall-mounting hardware carries the full weight of both the cabinet and its contents — confirming the mounting brackets are rated for that combined weight matters more here than with any floor-standing built-in.
9. The Recessed Wall Pantry
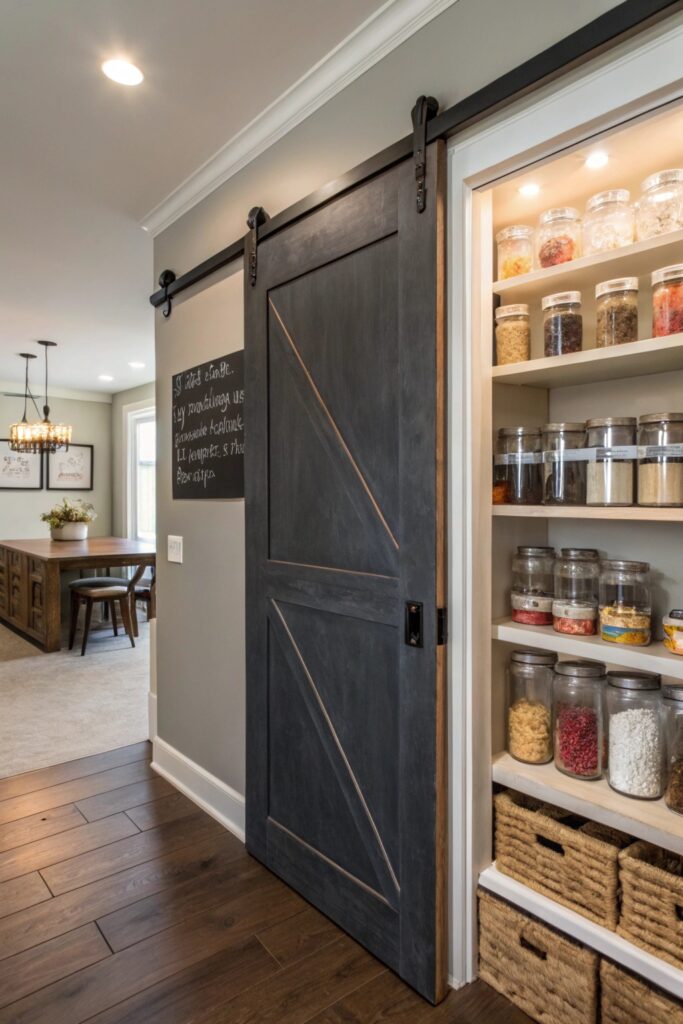
Cutting storage into an existing wall requires confirming the cavity doesn’t contain load-bearing framing, plumbing, or electrical lines first — a stud finder helps, but consulting a contractor before cutting into any wall is worth the extra step to avoid a costly surprise mid-project.
10. The Mirrored Display Alcove
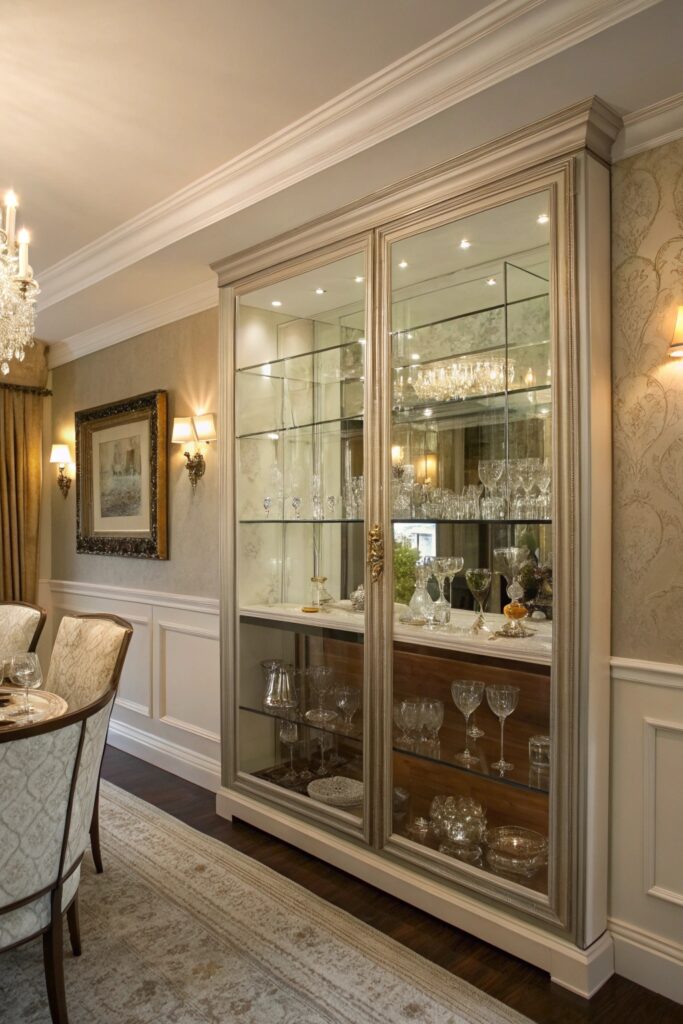
A mirror backing this kind of alcove amplifies whatever light the room gets, which matters especially in a smaller or darker dining space. Mirror-specific mastic or clips should be used to mount it rather than a standard adhesive, which can damage the mirror’s silvering backing over time.
Matching Materials to Your Dining Room’s Existing Trim
A built-in that matches the room’s existing baseboard, crown molding, and door casing profile reads as original to the house rather than an obvious later addition, which matters more for resale value and overall cohesion than most people initially consider. If matching exactly isn’t possible with off-the-shelf millwork, a carpenter can often replicate the profile for a reasonable added cost.
Paint or stain color consistency between the built-in and any existing trim in the room also affects how integrated the finished piece feels — a built-in painted a noticeably different white than the room’s existing trim can look mismatched even when the style itself is well chosen.
What a Built-In Project Costs
A simpler built-in like open shelving or a basic cabinet typically costs $1,500 to $4,000 depending on materials and size.
A more elaborate floor-to-ceiling china cabinet or a dry bar with electrical and plumbing work runs considerably higher, often $6,000 to $15,000 or more depending on the scope and finish quality.
Permits and Timeline Expectations
Built-ins involving new electrical circuits, plumbing, or structural changes to a wall typically require a permit in most jurisdictions, even though the work happens inside an existing room rather than as a visible addition to the home. Skipping this step can create real problems later, particularly when selling a home, since unpermitted work sometimes needs to be disclosed or corrected before a sale closes.
A straightforward built-in without electrical or plumbing work might take one to two weeks from start to finish, while a more involved project with custom millwork, electrical, or structural changes can run four to six weeks or longer depending on contractor availability and how custom the design is.
Getting quotes from at least two or three contractors before committing helps confirm both the price and the timeline are reasonable for your specific project, since labor costs and current availability vary considerably by region and by how busy a given contractor’s schedule already is.
Living with the empty space for a week or two before finalizing a design, paying attention to how you actually move through the room and what you find yourself wishing had storage, often surfaces practical needs that aren’t obvious from photos of other people’s finished built-ins.
A well-executed built-in tends to add genuine functional value to a dining room well beyond its initial cost, since the storage it provides gets used daily in a way that purely decorative upgrades often don’t match in practical terms.
Wrapping It Up
Because built-ins are so much harder to undo than freestanding furniture, it’s worth mocking up the planned dimensions with painter’s tape on the actual wall and floor before construction begins, confirming the piece won’t crowd the table, block a doorway swing, or interfere with existing outlets and switches.
For anything involving electrical work, wall cavities with unknown contents, or load-bearing structural questions, working with a licensed contractor rather than a general handyman helps ensure the finished built-in is both safe and durable enough to justify the investment over a comparable freestanding piece.