
A home theater’s projector, screen, and audio system function best as a matched system rather than individually chosen components, and several of these ideas involve real acoustic and electrical planning that’s much harder to retrofit once the room is finished. The details below cover both the design direction and these technical specifics for each element.
Below are 10 home theater ideas worth considering, with the specifics for each.
1. The Classic Tiered Seating Home Theater
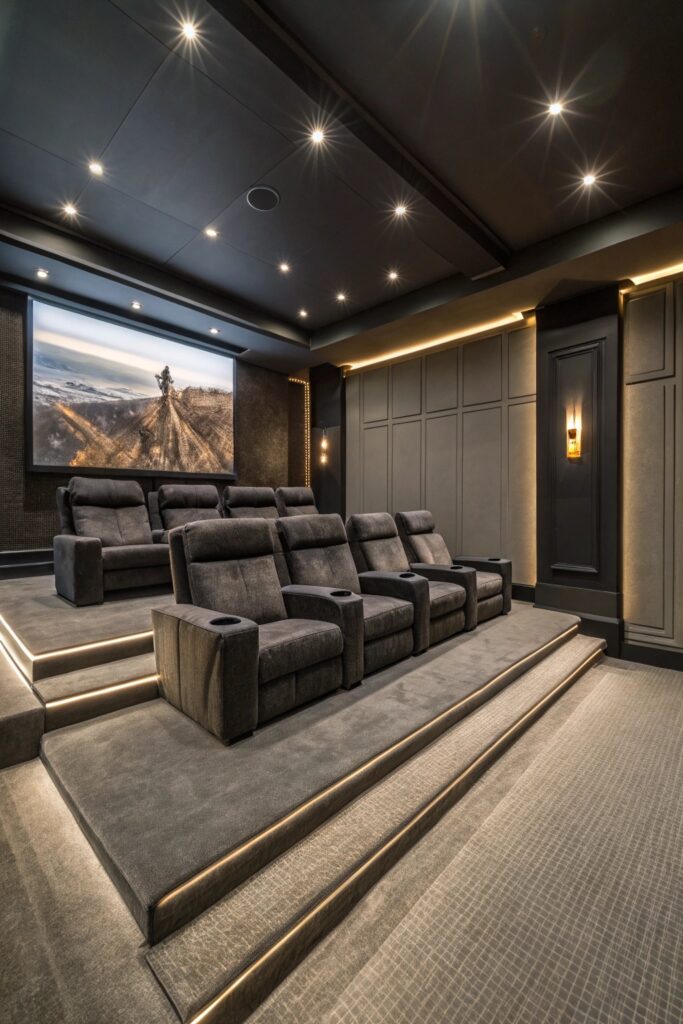
Risers typically run 6 to 8 inches per tier to keep sightlines clear over the row in front, and these platforms need real structural framing underneath the carpet — this is load-bearing seating, not a decorative step.
2. The Luxury Recliner Home Theater
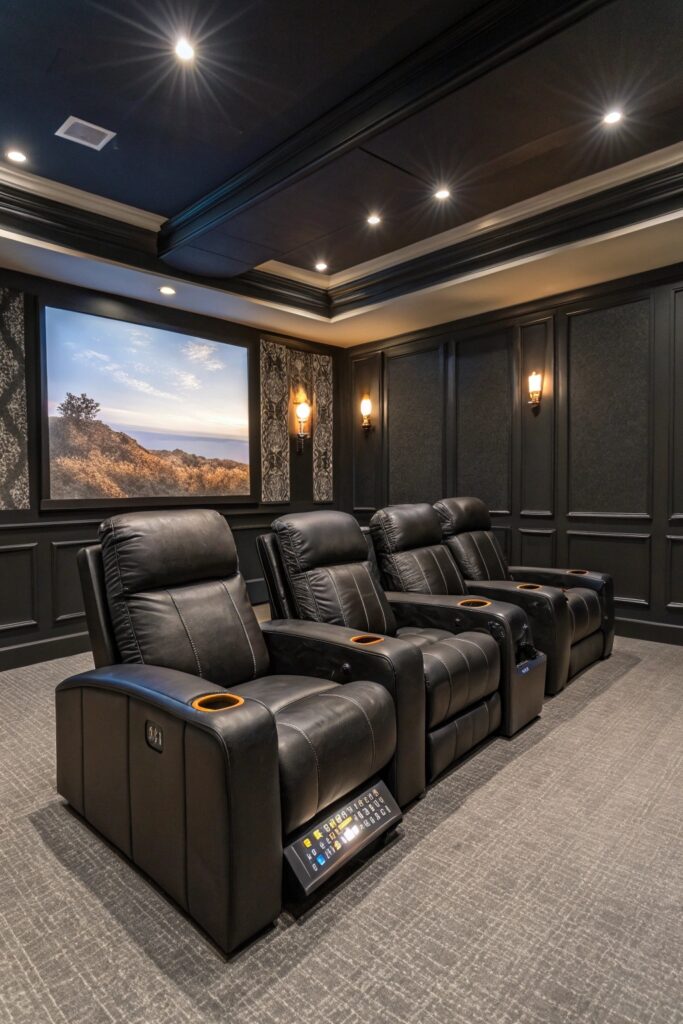
Power recliners need a dedicated outlet at each seating position rather than a shared extension cord, and leaving several extra inches of wall clearance behind each seat accounts for the additional depth a fully reclined position requires.
3. The 4K Laser Projector and Acoustically Transparent Screen
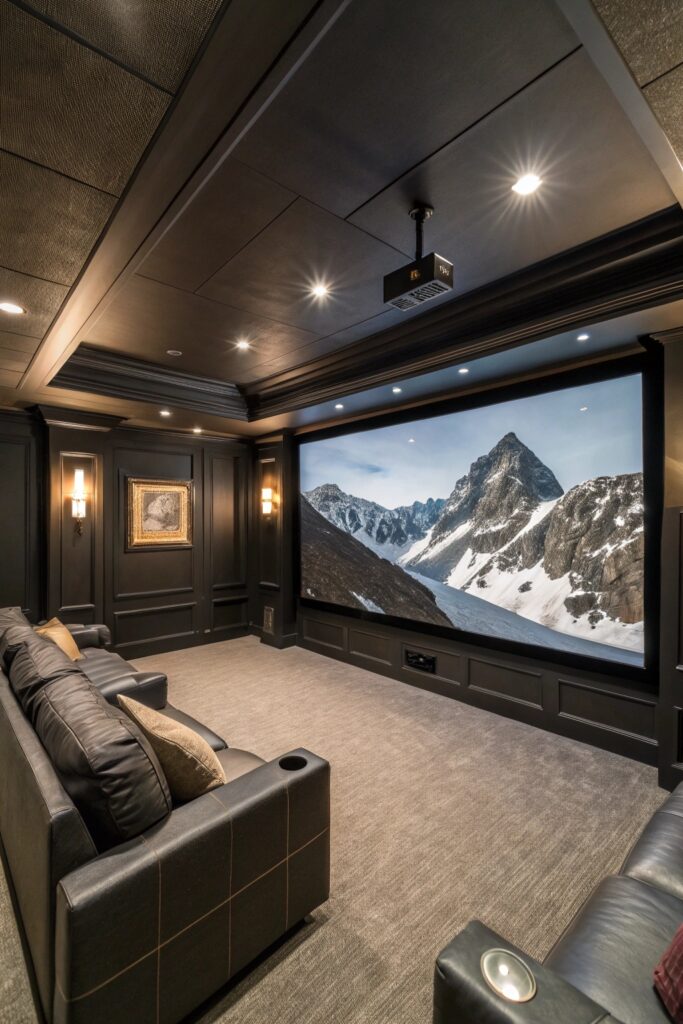
An acoustically transparent screen lets the center channel speaker sit directly behind it, so dialogue actually sounds like it’s coming from where the actors’ mouths appear on screen — a real technical advantage a solid screen can’t replicate.
4. The Dolby Atmos Surround Sound Home Theater
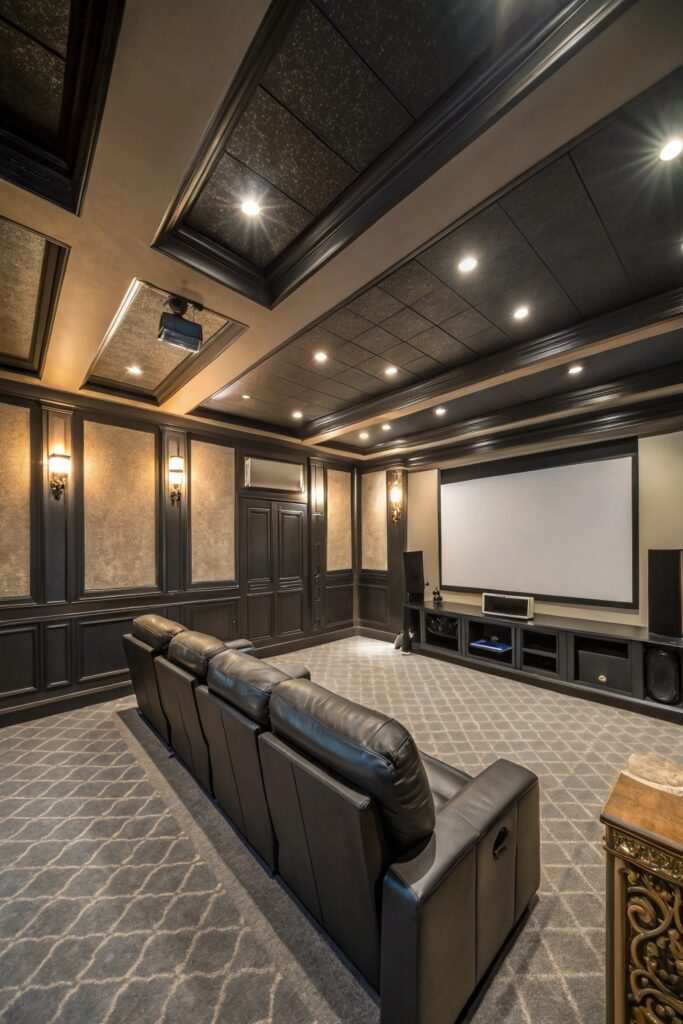
Atmos specifically requires ceiling-mounted or upward-firing speakers rather than just additional ear-level surrounds, since the format encodes height information. Ceiling speakers need to be anchored into actual joists, which in a basement often means working around existing ductwork or plumbing already running through that space.
5. The Acoustic Treatment Home Theater
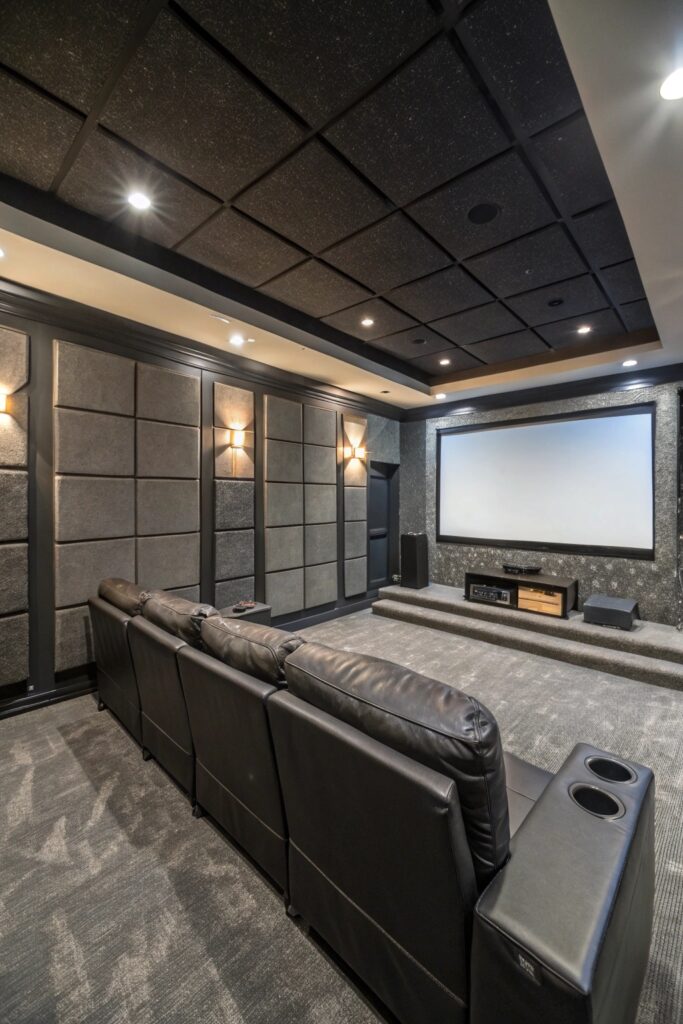
Soundproofing and acoustic treatment solve different problems and use different materials — mass-loaded vinyl and dense insulation keep sound from transferring out of the room, while foam panels and bass traps manage how sound reflects within it. Confusing the two is a common mistake that leaves one problem unaddressed.
6. The Star Ceiling Home Theater
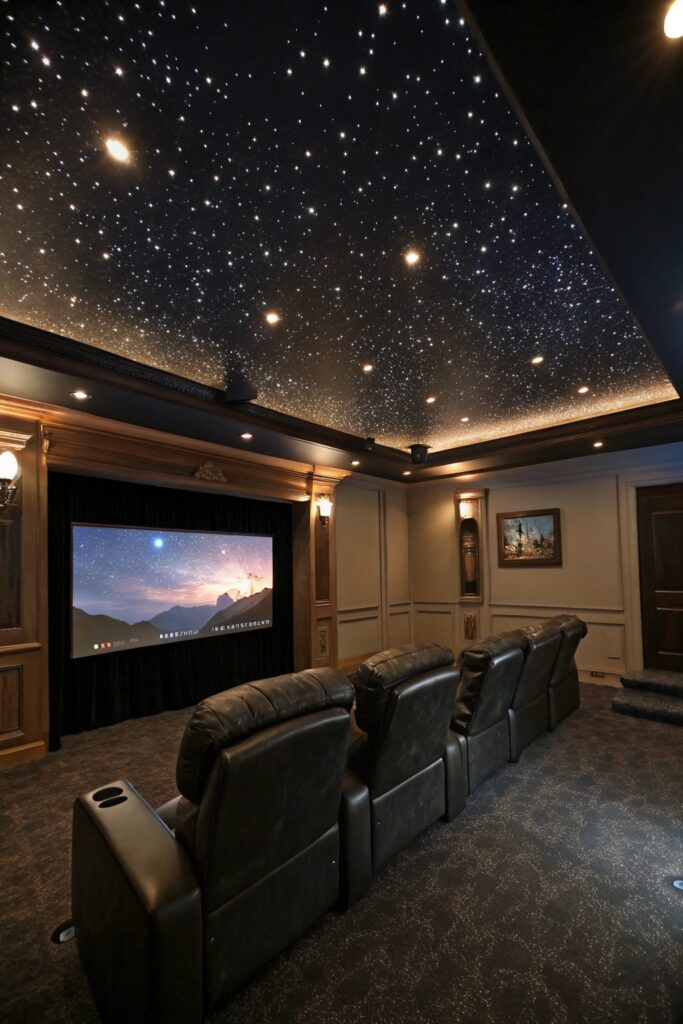
A fiber optic star ceiling needs a dedicated illuminator positioned where its heat output isn’t a fire risk near the ceiling material, and the fiber cables need to be run before the ceiling is finished, since this isn’t something easily retrofitted after the fact.
7. The Dark Luxe Home Theater Aesthetic
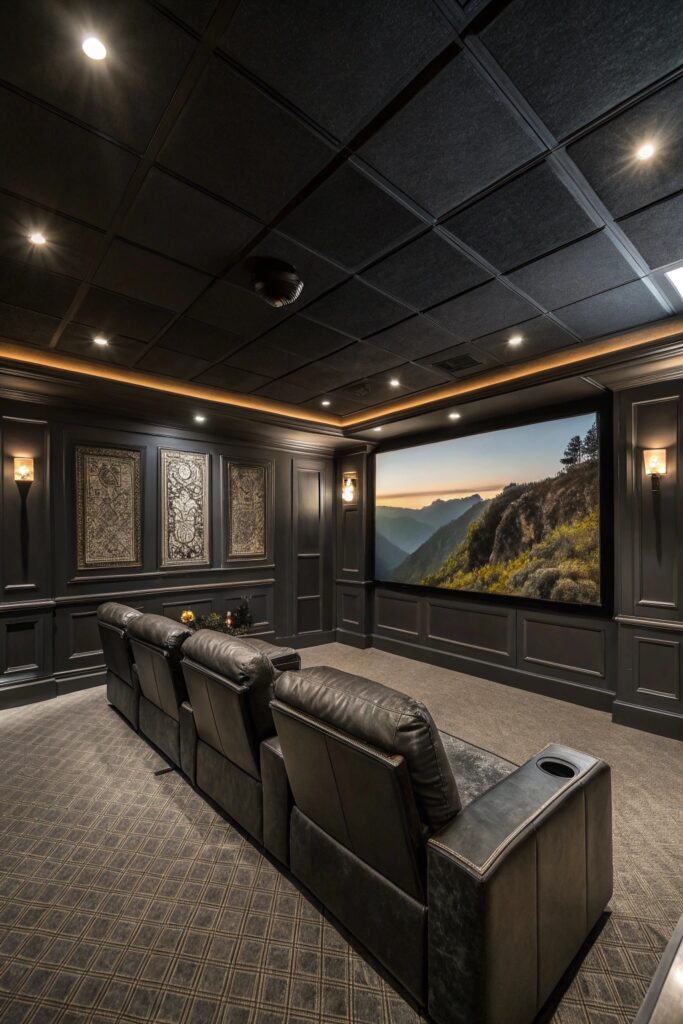
Dark walls and ceiling here serve a real functional purpose beyond the look — reducing ambient light reflection that would otherwise degrade contrast and black levels on the projected image, unlike a dark room elsewhere in the house where the goal is usually the opposite.
8. The Home Theater with Dedicated Snack Bar
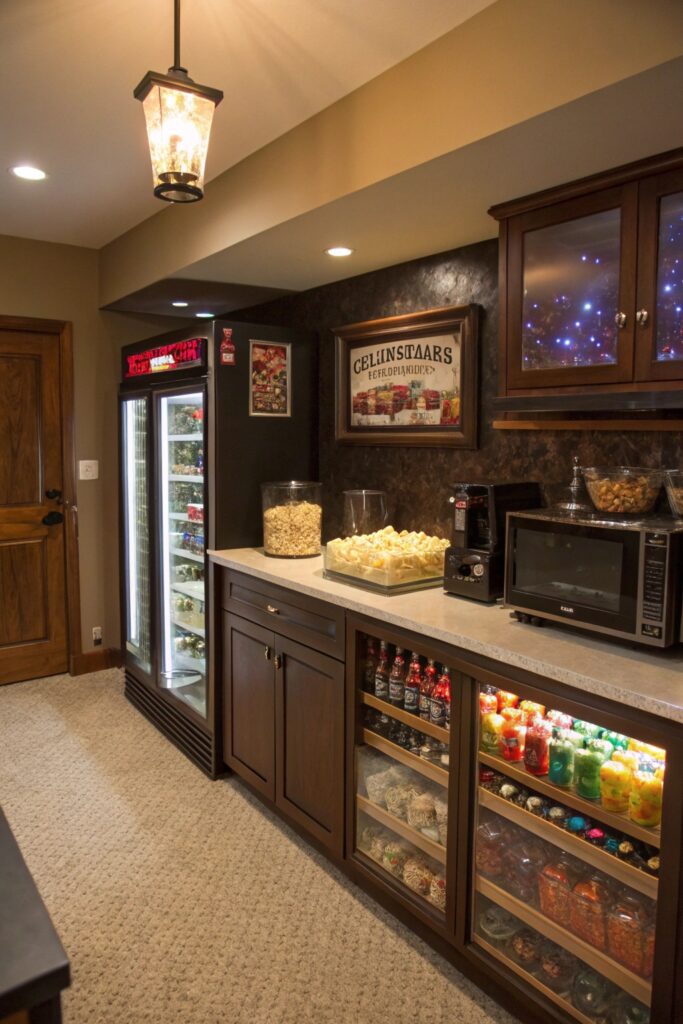
Positioning any cooking appliance with ventilation that carries odors and grease away from the seating and electronics keeps the theater space itself free of smells and residue that could affect equipment over time.
9. The Smart Home Theater with Full Automation
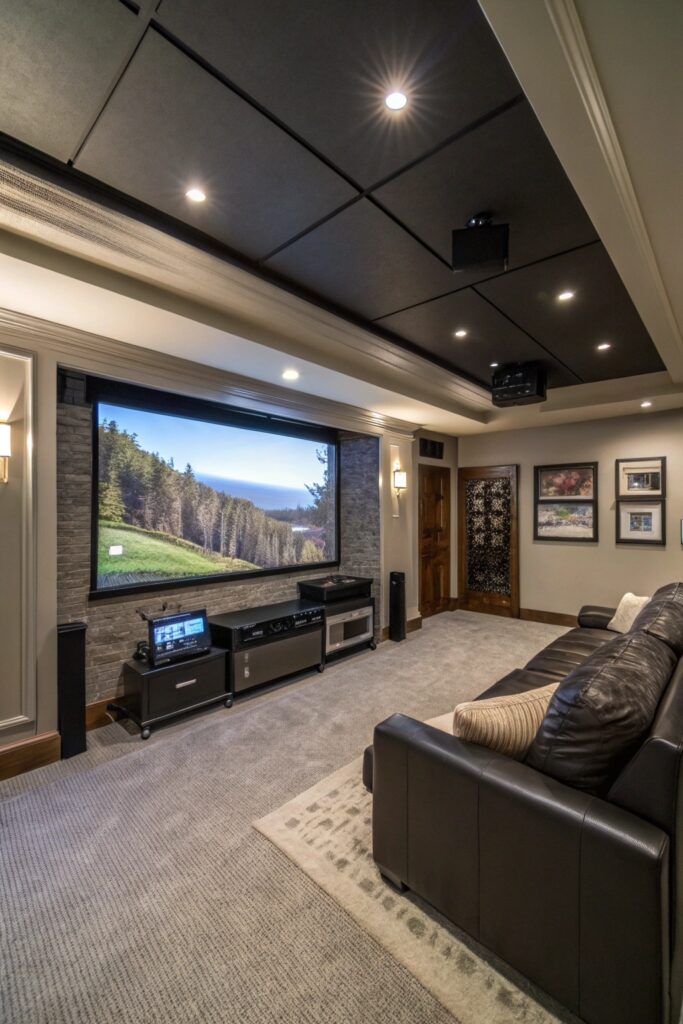
Running actual ethernet to the equipment rather than relying solely on WiFi matters more here than in most rooms, since a basement often gets a weaker signal from a router upstairs, and automation controlling lights, screen, and sound together needs a reliable connection to function consistently.
10. The Multi-Purpose Basement Theater and Game Room
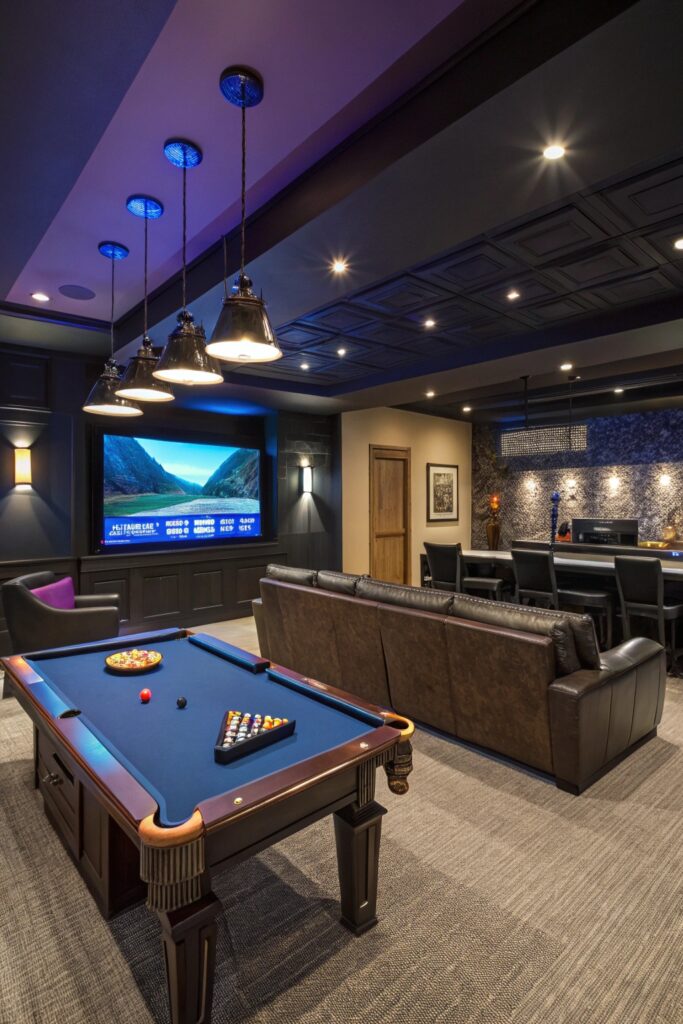
Game consoles output at different refresh rates than film content, and some projectors have input lag that’s fine for movies but noticeable during competitive gaming — worth confirming your specific projector handles both use cases before committing to a dual-purpose setup.
Screen Size and Projector Throw Distance
The projector’s throw distance — how far it needs to sit from the screen to fill it properly — depends on the specific model’s lens and the screen size you want, so checking this against your actual room dimensions before purchasing either component prevents a mismatch between the two.
A general starting point for seating distance is roughly 1.5 to 2.5 times the screen’s diagonal measurement, though personal preference and the specific content you watch most often can shift this range in either direction.
What a Basement Home Theater Costs
A basic setup with a quality projector, screen, and sound bar typically costs $2,000 to $6,000.
A fuller build including tiered seating, full acoustic treatment, and a Dolby Atmos system runs considerably higher, often $15,000 to $40,000 or more depending on the scope and equipment chosen.
HVAC and Ventilation Considerations
A fully sealed, well-insulated theater room built for sound isolation can also trap heat from the projector, electronics, and seated occupants more than a typical room, so confirming the basement’s HVAC system can adequately condition this specific space matters as much as the acoustic planning.
A dedicated supply and return vent for the theater room, rather than relying on whatever airflow naturally reaches the space, keeps the room comfortable during longer movie sessions with several people and running equipment generating heat.
Getting quotes from at least two or three audio-video specialists before finalizing equipment purchases helps confirm both the technical recommendations and the pricing are reasonable, since this is a category where expertise varies more between installers than with standard home renovation work.
A well-built basement home theater tends to become one of the most used spaces in the house for many families, offering an experience that’s hard to replicate in a standard living room, which is worth factoring into how much of the overall budget makes sense to allocate toward this particular project.
Testing the room’s actual sound and picture quality by watching a familiar movie before finalizing every equipment purchase catches calibration issues that specs alone can’t reveal, since a projector or speaker system that measures well on paper can still sound or look off in the room’s real acoustics and lighting conditions.
Whichever combination of these ideas fits your space and budget, treating the acoustic and electrical foundations as seriously as the visual design produces a theater room that performs as well as it looks for years to come.
Checking that your basement’s ceiling height can comfortably accommodate a projector mount and any ceiling speakers without creating a head-clearance issue for tiered seating rows is worth confirming early, since this is one constraint that’s difficult to work around after construction has started.
Final Thoughts
Planning acoustic treatment, wiring, and ceiling speaker placement before the room gets finished saves considerable cost and disruption compared to opening up walls and ceilings later — this is one project where the unglamorous infrastructure decisions matter as much as the seating and screen choices most people focus on first.
Working with an audio-video specialist for the technical systems, even if you’re handling the styling and construction yourself, helps ensure the projector, screen, and sound system are actually matched to the room’s size and shape rather than assembled from generically compatible parts.